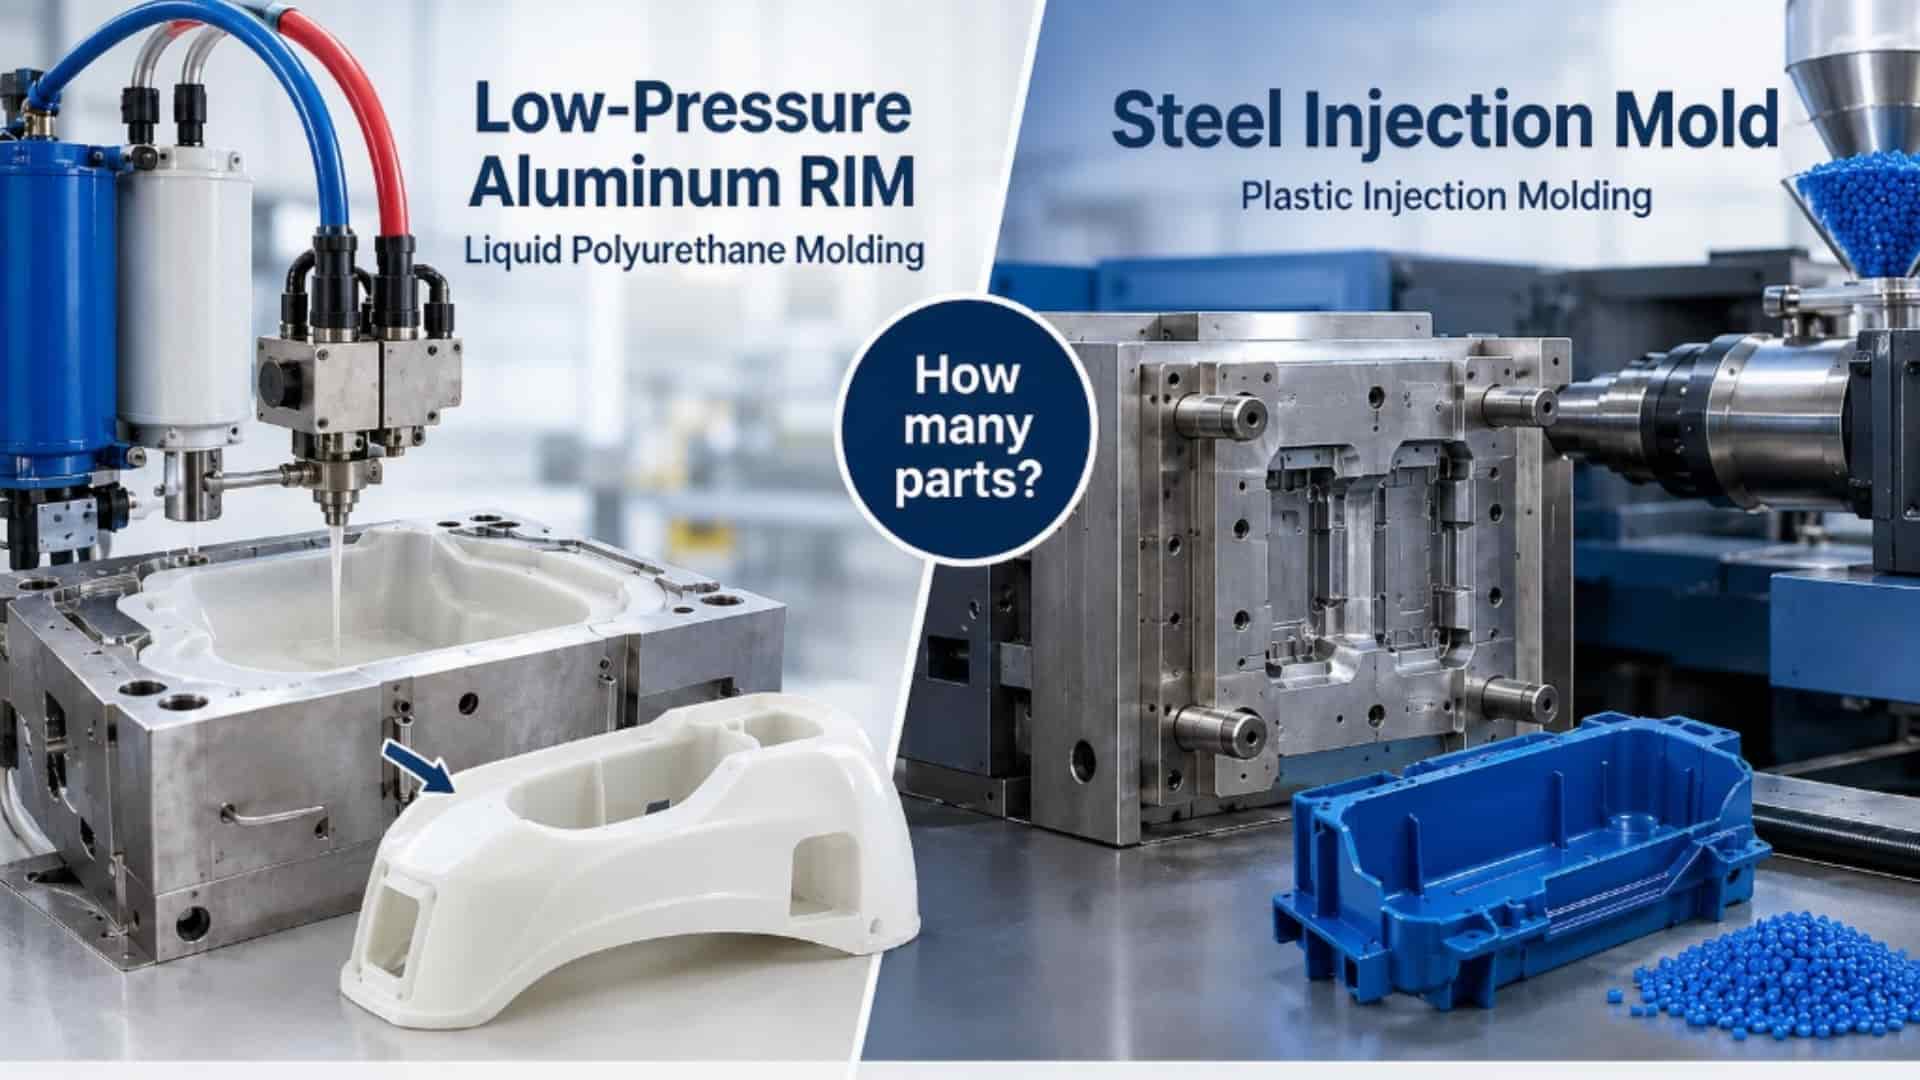

Choosing between rim vs injection molding comes down to one variable: how many parts you need and how fast you need them. Reaction injection molding (RIM) uses low-pressure aluminum tooling and liquid thermoset chemistry, which makes it the lower-risk choice for prototypes and low-to-mid volume runs. Traditional plastic injection molding uses high-pressure steel tooling and solid thermoplastic pellets, which makes it the lower-cost choice once volumes climb into the tens of thousands. This article gives you a side-by-side comparison and a decision framework so you can pick the right process for your part, your budget, and your timeline. It focuses on the decision itself rather than on defining each process from scratch; our dedicated RIM and injection molding resources cover the deeper technical background.
RIM vs. Injection Molding at a Glance
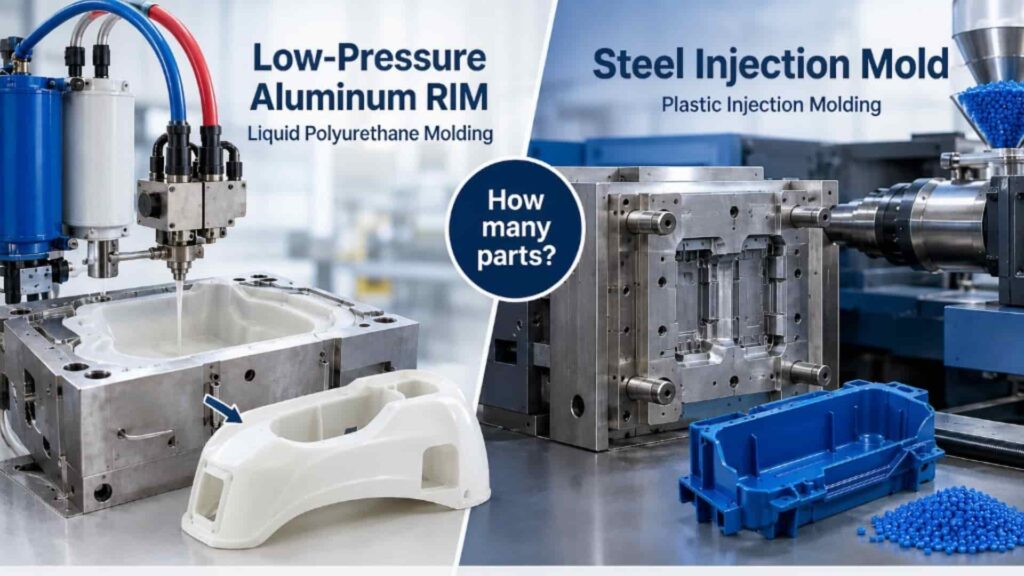
The fastest way to see the difference is to compare the two processes on the factors that actually affect your project: tooling, pressure, volume, and lead time.
| Aspect | Reaction Injection Molding (RIM) | Plastic Injection Molding |
|---|---|---|
| Material form | Two liquid reactive components that mix and chemically cure inside the mold | Solid thermoplastic pellets melted and re-solidified |
| Molding pressure | Low pressure; low clamp tonnage | High pressure (commonly 15,000–30,000+ psi) |
| Mold type | Aluminum or composite; lower cost, faster to build | Hardened steel; higher cost, longer to build |
| Best production volume | Prototypes and low-to-mid volume (typically up to a few thousand parts) | High volume (tens of thousands to millions of parts) |
| Tooling lead time | Shorter, often measured in weeks | Longer, often measured in months |
| Unit cost curve | Higher per part, but small upfront spend | Very low per part, but large upfront spend |
| Wall thickness | Flexible; can vary within one part | Usually uniform and relatively thin |
| Typical part size | Large, lightweight structural parts are favorable | Limited by machine tonnage and platen size |
| Surface finish | Good; often painted or textured | Excellent as-molded; wide finish options |
The practical takeaway: RIM trades the per-part economy of high-volume injection molding for much lower upfront tooling cost and faster turnaround. Injection molding trades a large upfront commitment for the lowest possible unit cost at scale.
Read the table as a spectrum, not a verdict. A part at the upper edge of the RIM volume range may still favor injection molding if the design is frozen and the program is long. A part near the injection molding minimum may still favor RIM if revisions are expected. The sections below turn these dimensions into a concrete decision.
How Each Process Works
Both processes shape molten material in a closed mold, but the chemistry and the forces involved are different, and that difference drives every other comparison in this article.
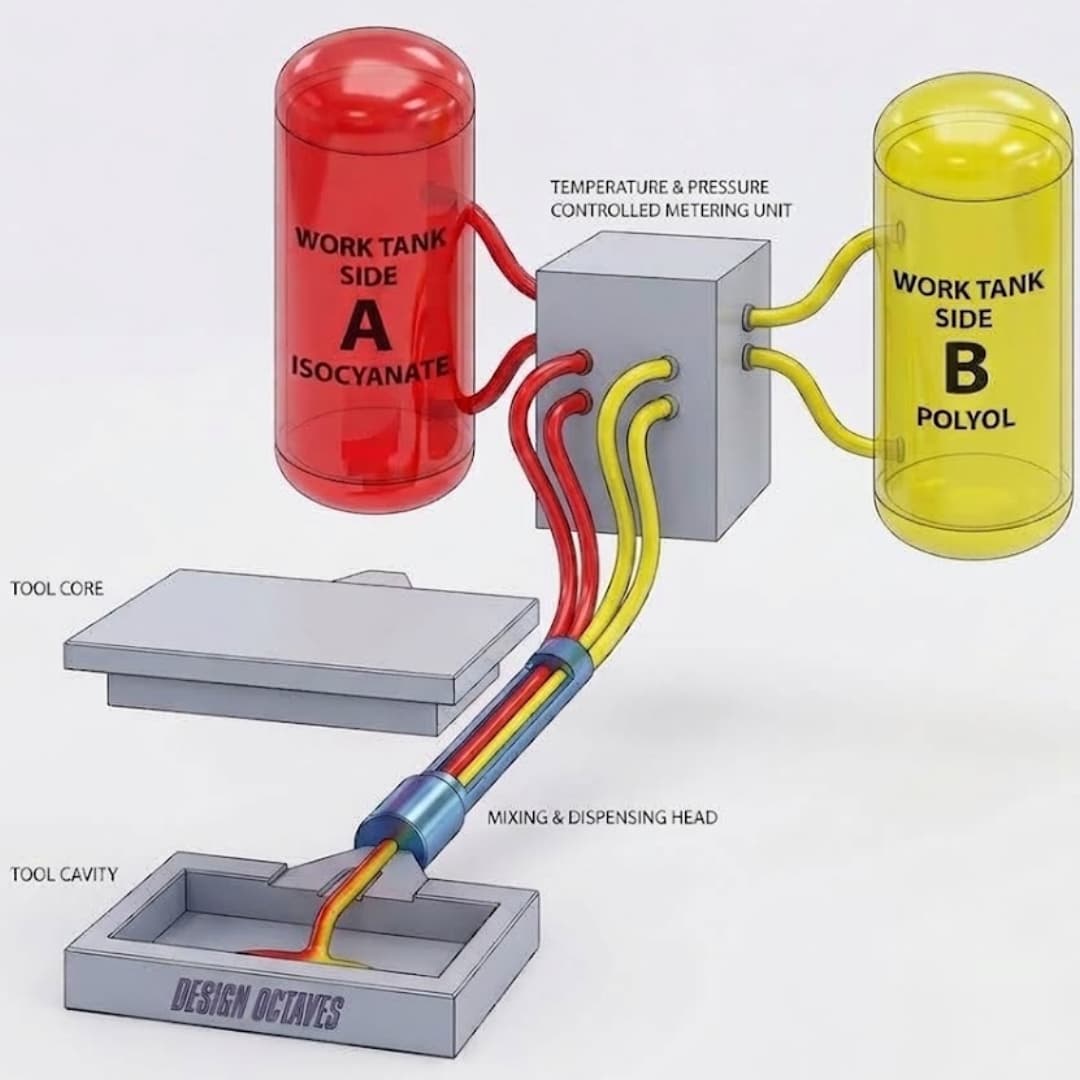
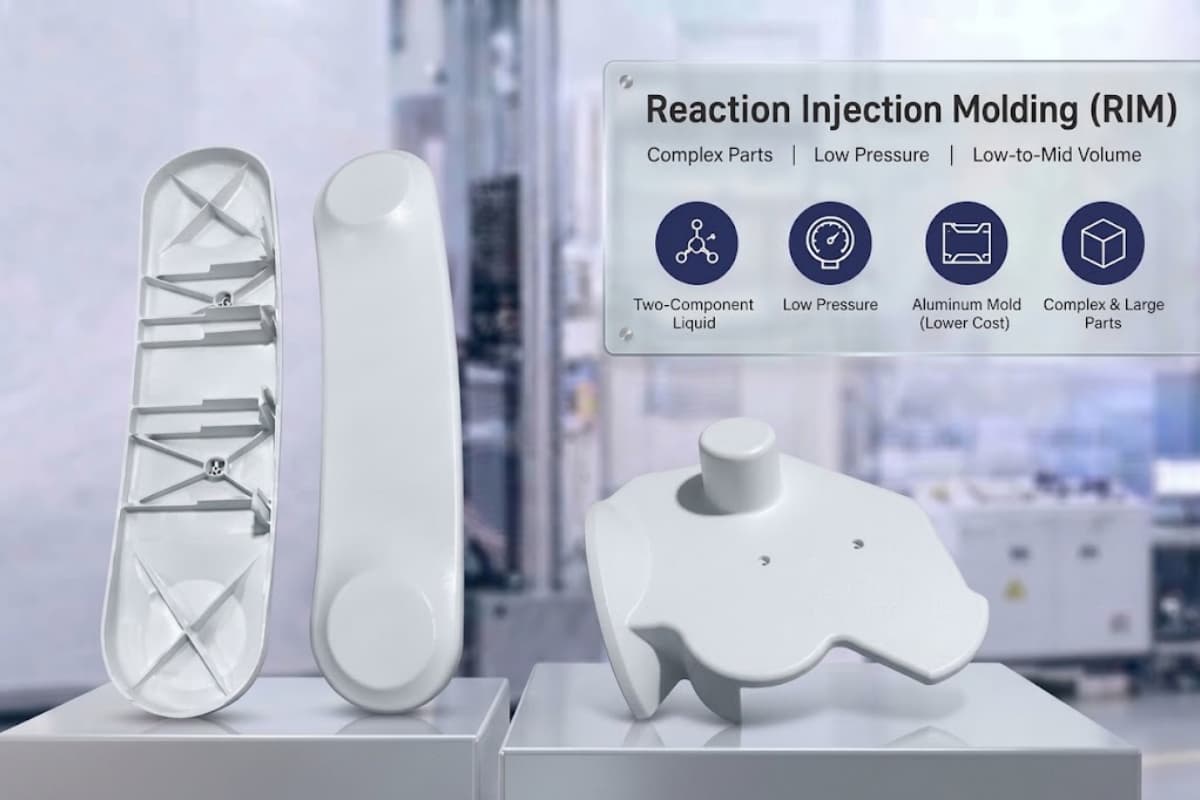
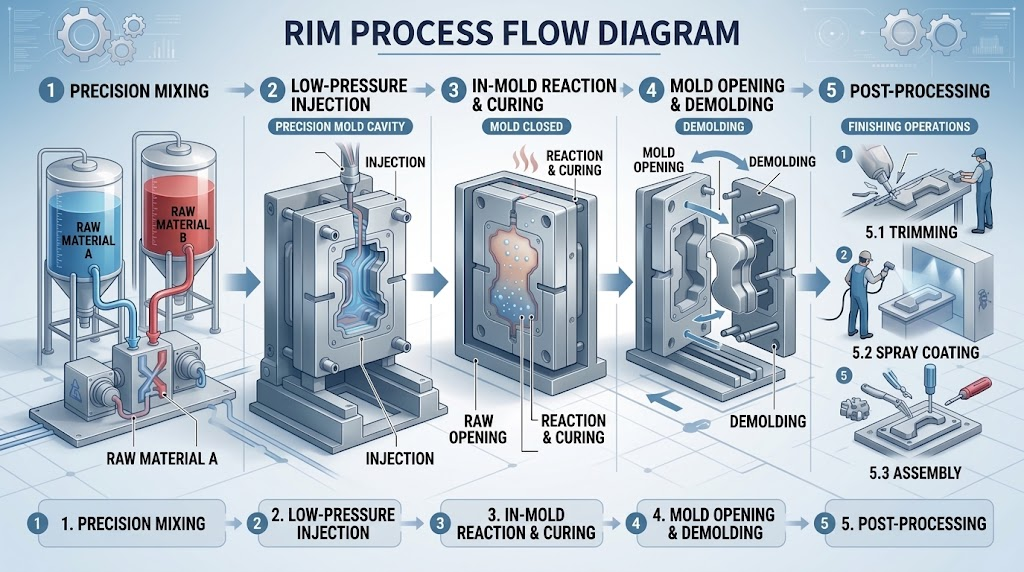
Reaction injection molding mixes two liquid components — commonly a polyol and an isocyanate for polyurethane systems — and injects them into a mold at low pressure. The materials react and cure inside the cavity, forming a cross-linked thermoset part. Because the pressure is low, the mold does not need to be steel; aluminum or epoxy-filled tooling is sufficient. That is why RIM tooling can be built quickly and inexpensively relative to injection molding.
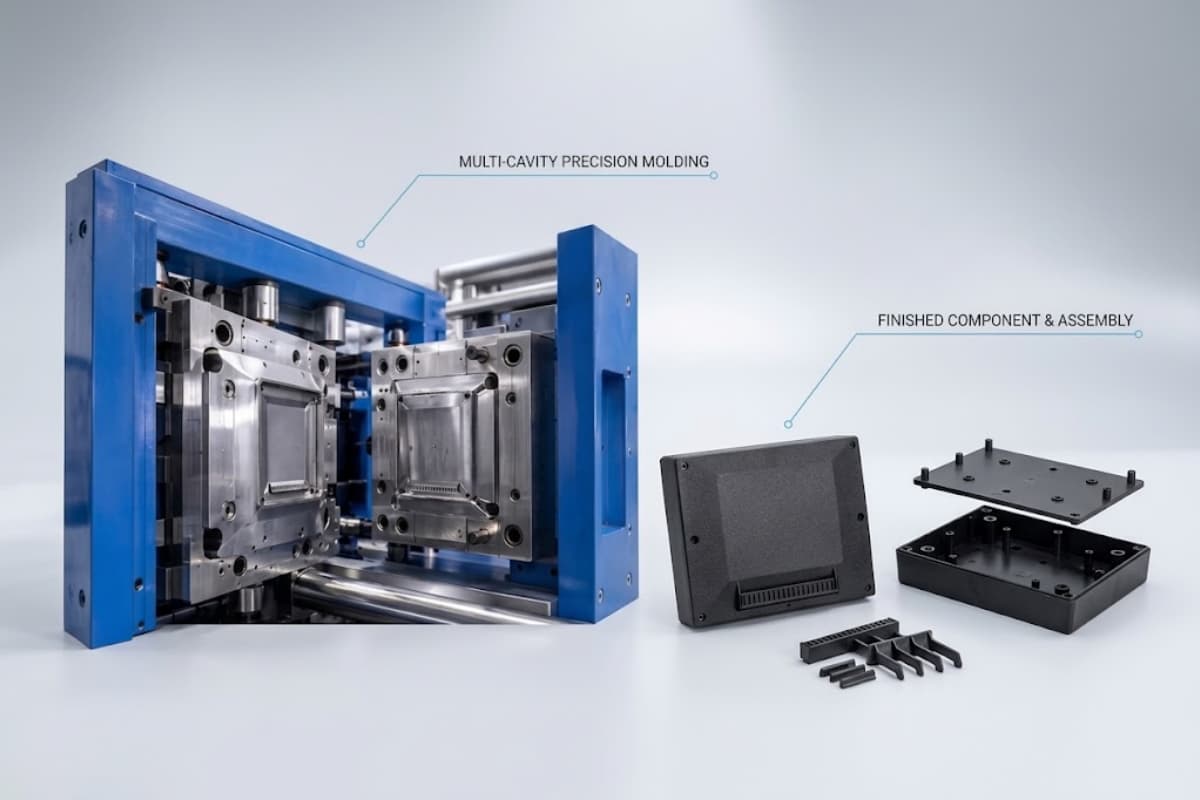
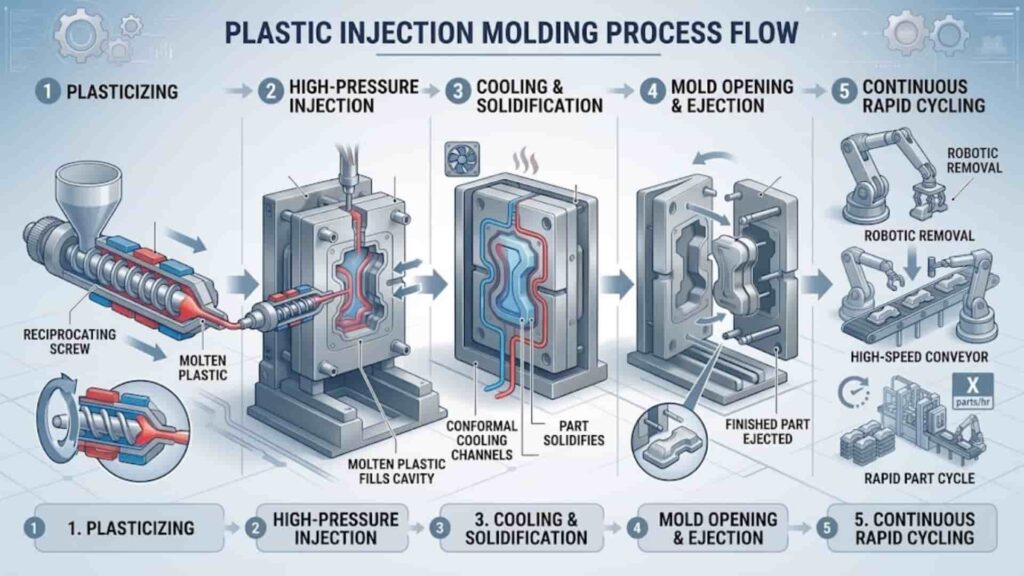
Plastic injection molding feeds solid thermoplastic pellets into a heated barrel, melts them, and forces the melt into a steel mold at high pressure. The part solidifies as it cools and is ejected. The steel mold must withstand repeated high-pressure cycles, which is why it is expensive and takes longer to manufacture — but it also lasts for hundreds of thousands or millions of shots.
A typical RIM cycle runs as follows:
- Two liquid components are metered and mixed in the correct ratio.
- The mixed liquid is injected into the mold at low pressure.
- The material reacts and cures inside the cavity.
- The part is demolded, often with little or no cooling wait.
- Optional finishing — trimming, painting, or insert installation — follows.
A typical injection molding cycle runs as follows:
- Thermoplastic pellets are plasticized in a heated barrel.
- The melt is injected into the steel mold at high pressure.
- The part cools and solidifies.
- The mold opens and the part is ejected.
- The cycle repeats at high speed across the full production run.
These sequences explain the lead-time gap. RIM’s mold is simple and low-pressure, so it can be built and iterated quickly; the injection mold must be engineered for millions of high-pressure cycles, which takes longer up front but pays off in cycle speed at volume.
Core difference: RIM is a thermoset process (the material changes irreversibly during cure); injection molding is a thermoplastic process (the material can be melted and re-melted). That single fact explains the tooling cost, the pressure, the wall-thickness flexibility, and the volume economics below.
Cost & Lead Time: Where RIM Wins and Where It Doesn’t
Cost is where the two processes diverge most sharply, and it is also where rough estimates cause the most expensive mistakes. The figures below are industry-common ranges, not GoodTech quotes; the exact numbers depend on part size, material, surface finish, and order quantity, and should be confirmed with the supplier.
| Factor | RIM (industry-common) | Injection Molding (industry-common) |
|---|---|---|
| Tooling cost | Aluminum mold roughly $2,000–$8,000 | Steel mold typically $30,000 and above |
| Tooling lead time | About 2–3 weeks | About 8–12 weeks (sometimes longer) |
| Unit cost at low volume | Competitive — low overhead | High — the steel mold cost is amortized over few parts |
| Unit cost at high volume | Higher per part | Very low per part |
| Best economic range | Prototypes and low-to-mid volume | High-volume production |
A useful way to think about it is the break-even point. Industry sources often place the RIM-versus-injection-molding break-even somewhere between roughly 100 and 3,000 parts, depending on geometry and material. Below that range, RIM almost always wins on total project cost because you avoid a five-figure steel mold. Above it, injection molding’s low unit cost overtakes the saved tooling. The exact crossover moves with part complexity: a large, thick-walled part with a short program may never favor injection molding, while a small, thin, high-run part may cross over well below 100 parts.
If your program is a one-off prototype, a bridge production run, or a product still subject to design changes, RIM protects you from committing to steel tooling you may need to scrap. For bridge production — the gap between prototype and full injection molding — RIM is frequently the most economical path because it delivers production-representative parts without the steel mold. If your volume is committed and stable, injection molding’s unit-cost advantage compounds with every additional part.
Three things move these ranges most: part size (larger molds cost more in both processes, but steel scales worse), material system (filled or high-performance chemistries add cost), and surface requirements (painting or texturing adds finishing time). None of these change the structural conclusion — RIM wins on upfront cost, injection molding wins on unit cost — but they shift the exact break-even, which is why a supplier quote matters more than a generic table.
Which Should You Choose? A Decision Framework
Use this framework to move from comparison to a concrete choice. Start with your expected volume, then check the other three factors.
Choose RIM if:
- Your total run is in the prototype or low-to-mid volume range (commonly up to a few thousand parts).
- You need parts in weeks, not months, and design changes are still likely.
- Your part is large, lightweight, or has varying wall thickness that would be expensive or impossible in steel tooling.
- You want to validate a design with production-representative material before investing in a steel mold.
Choose injection molding if:
- Your volume is high and committed (commonly tens of thousands of parts or more).
- Unit cost at scale matters more than upfront tooling cost.
- Your geometry is stable and suited to uniform, thin-wall thermoplastic molding.
- You need the broadest selection of certified thermoplastic grades and as-molded surface quality.
Four dimensions to confirm before deciding:
- Volume — the single strongest signal. Low and uncertain favors RIM; high and stable favors injection molding.
- Part size and wall profile — large or thick-section parts lean toward RIM; small, thin, high-precision parts lean toward injection molding.
- Material requirements — if your application needs a thermoset (polyurethane, epoxy, silicone) or specific elastomeric properties, RIM is the natural fit; if it needs a commodity or engineering thermoplastic, injection molding offers the wider menu.
- Speed and flexibility — if you expect design revisions, RIM’s cheap, fast tooling absorbs changes; injection molding punishes changes with expensive mold rework.
When the signals split — for example, mid volume but stable design — the break-even math above decides it. Share your part count, size, material, and timeline with an engineering team and ask for a written process recommendation rather than guessing.
Worked example. Consider a 600 mm equipment enclosure, 800 units, design not yet frozen. Volume is low-to-mid, the size is large, and revisions are likely — three of the four signals point to RIM. Even though the unit cost is higher, avoiding a steel mold keeps the total project cost lower and protects against design changes. Now consider a 50 mm connector housing, 200,000 units, frozen design. The steel mold is justified many times over by unit-cost savings across the run, so injection molding is the clear choice. The framework does not require guesswork; it requires your volume and your confidence in the design.
Material & Part Suitability
The right process is also the one that can deliver the material properties your application needs.
| If your part needs… | RIM | Injection Molding |
|---|---|---|
| Thermoset polyurethane, epoxy, or silicone chemistry | Strong fit | Not applicable (thermoplastic only) |
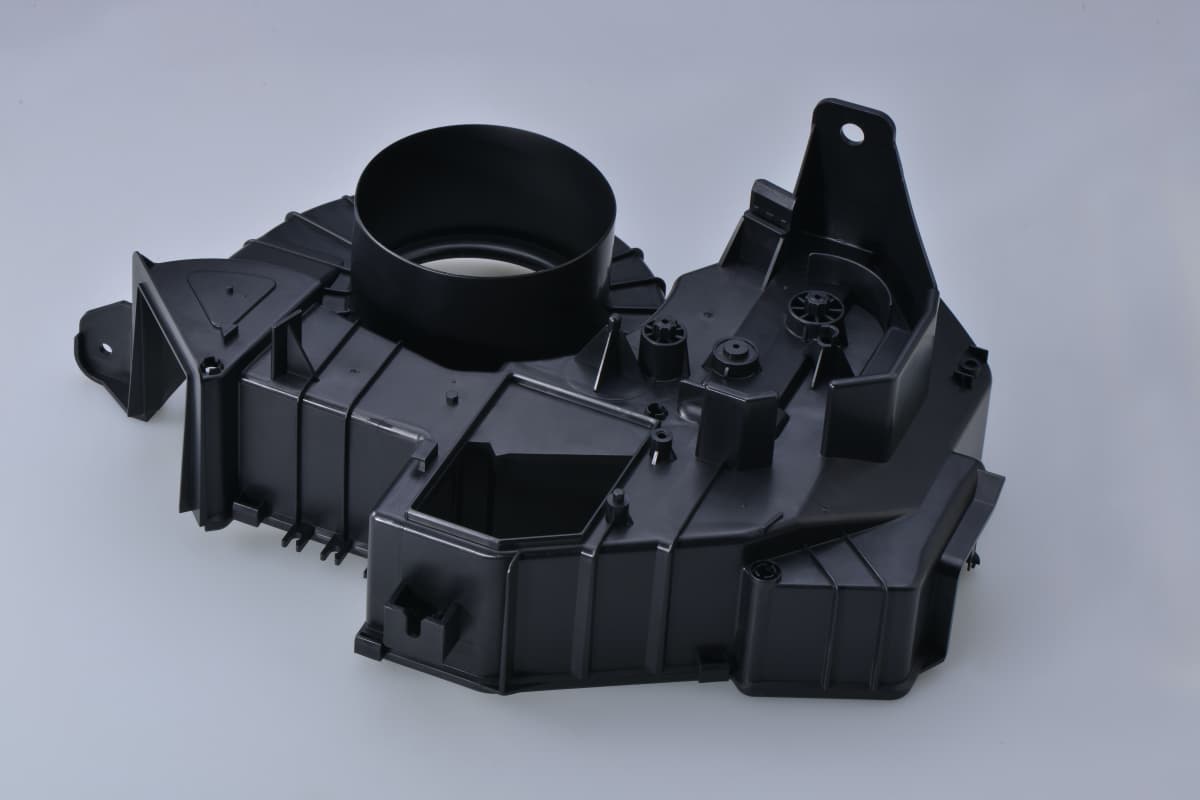
| Large, rigid-yet-lightweight structural shell | Strong fit (car bumpers, enclosures) | Possible, but mold and machine cost rise with size |
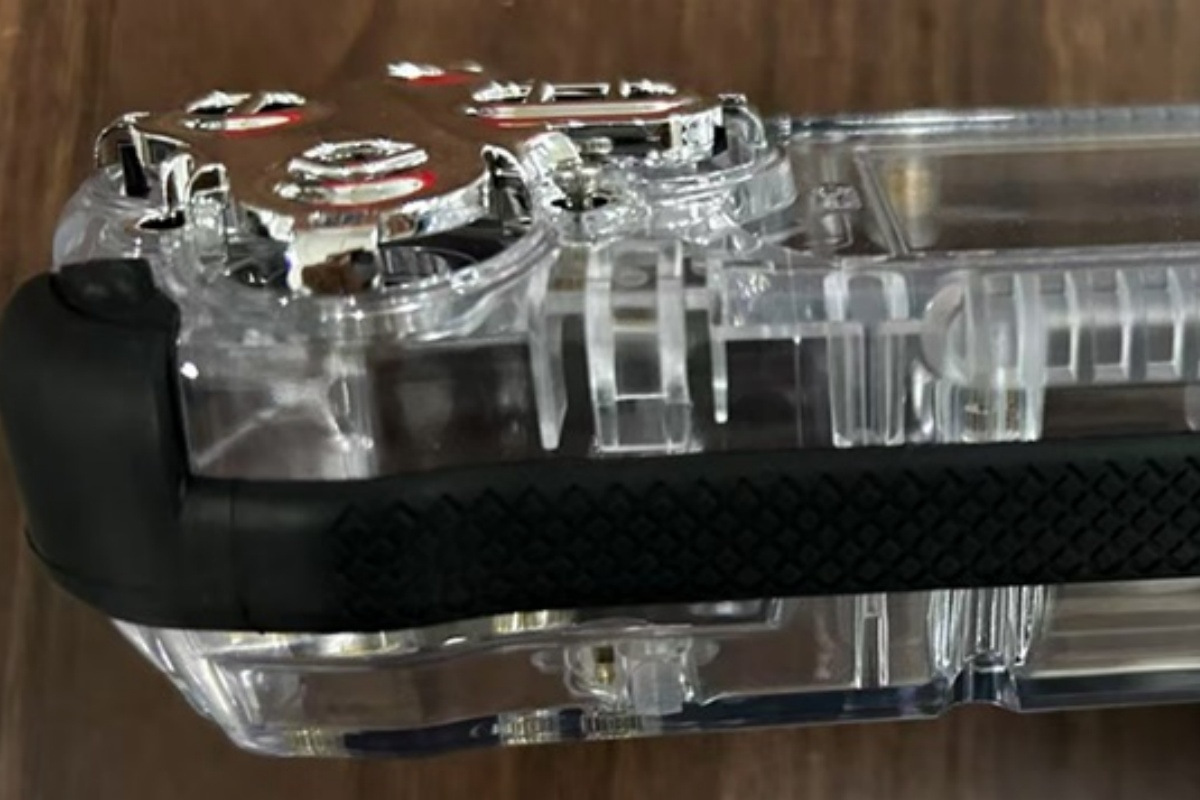
| Soft-touch or elastomeric surfaces | Strong fit (TPE-like via PU systems) | Possible with overmolding, adds complexity |
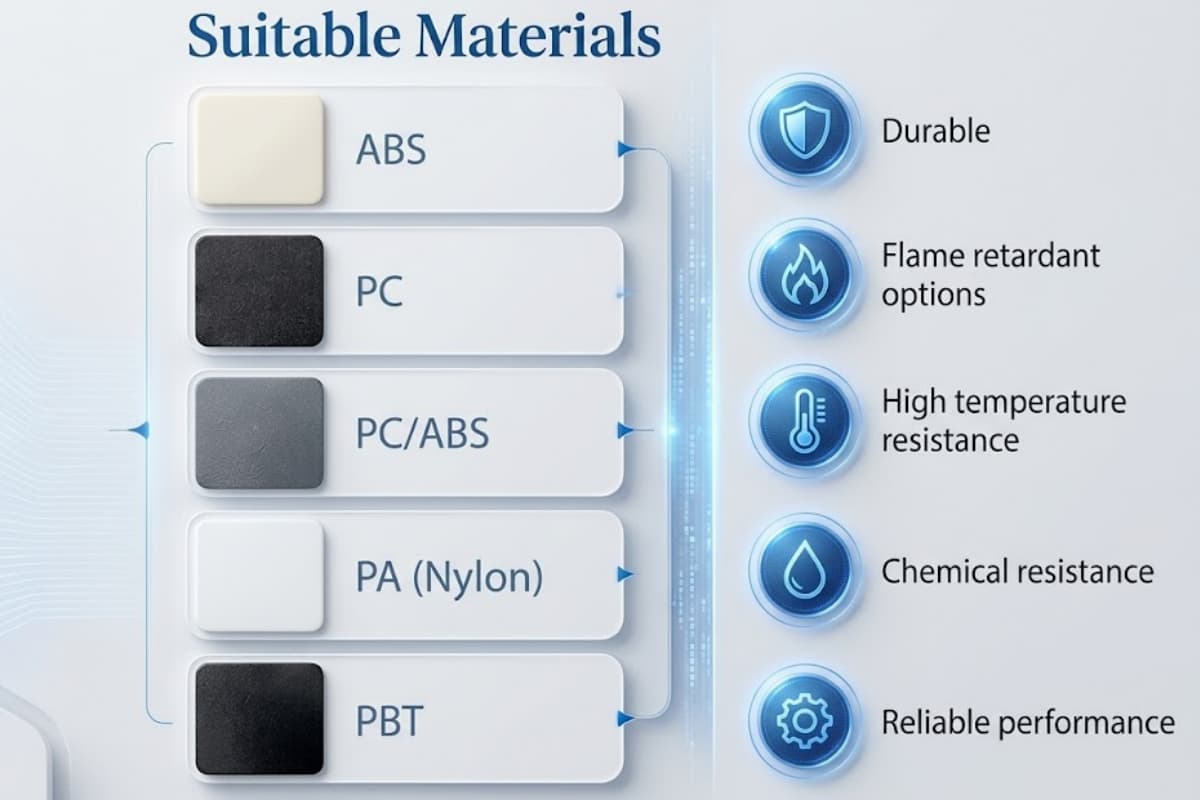
| Commodity or engineering thermoplastics (ABS, PC, PP) | Not applicable | Strong fit |
| Tight-tolerance, high-volume small parts | Weak fit (unit cost) | Strong fit |
| Frequent design iterations | Strong fit (low-cost tooling) | Weak fit (steel rework cost) |
A common pattern is to use RIM during the prototyping and low-volume phase, then transition to injection molding only after the design is frozen and volume justifies the steel mold. That staged approach lets you reach market quickly without over-committing capital early. For many teams, running the early phase through rapid prototyping with RIM validates both the part and the market before the larger tooling investment.
Within RIM, polyurethane is the most common system and spans soft elastomers to rigid structural foams; epoxy and nylon (PA) systems serve higher-temperature or chemical-resistant needs; liquid silicone adds heat and hygiene performance. Within injection molding, the material menu is broader — from commodity plastics like polypropylene and ABS to engineering grades like polycarbonate and PEEK — which is one reason injection molding dominates high-volume consumer and automotive interiors. If your material is undecided, confirm it with the supplier before tooling, because the choice between a thermoset and a thermoplastic determines the process outright.
Common Mistakes When Choosing Between RIM and Injection Molding
Mistake 1: Assuming injection molding is always cheaper. It is cheaper per part, but only after the steel mold is paid for. Below the break-even volume, the opposite is true.
Mistake 2: Assuming RIM is only for prototypes. RIM produces production-representative, structurally capable parts. It is a valid production process for low-to-mid volume programs, not just a stand-in for prototyping.
Mistake 3: Designing a RIM part like a thermoplastic part. RIM tolerates varying wall thickness and large sections that injection molding would struggle with. Applying uniform thin-wall thermoplastic rules to a RIM quote can inflate cost and miss the process’s real advantage.
Mistake 4: Committing to steel tooling before the design is stable. If revisions are likely, the cost of mold changes outweighs the unit-cost savings. RIM’s lower-cost tooling absorbs iteration far better.
Mistake 5: Comparing only unit price. Tooling cost, lead time, and flexibility are part of the total cost. A process that looks expensive per part can be the cheaper total project when volume is low or uncertain.
Mistake 6: Assuming RIM parts are weaker. RIM polyurethane structures can match or exceed the stiffness-to-weight ratio of many thermoplastics, especially as large, lightweight shells. Strength depends on the formulation and section design, not on the process name, so evaluate the specific material data rather than the category.
FAQ
Is RIM cheaper than injection molding?
It depends on volume. RIM has lower upfront tooling cost and is usually cheaper for prototypes and low-to-mid volume runs. Injection molding has a much higher upfront cost but a lower unit cost, so it becomes cheaper above the break-even point, which industry sources often place between roughly 100 and 3,000 parts.
What is the difference between thermoset and thermoplastic in these processes?
RIM is a thermoset process: liquid components cure into a permanent, cross-linked structure inside the mold. Injection molding is a thermoplastic process: solid pellets melt and re-solidify and can be re-melted. This difference drives the tooling, pressure, and wall-thickness characteristics of each process.
How many parts make RIM worth it?
RIM is typically worth it from a single prototype up to a few thousand parts. Above that, injection molding’s unit-cost advantage usually takes over. The exact number depends on part size, material, and how stable the design is.
Can RIM replace injection molding?
For low-to-mid volume and for parts needing thermoset materials or large varying-thickness geometries, RIM is a complete production process, not a substitute. For very high volumes of thermoplastic parts, injection molding remains the lower-cost option. Many programs use both in sequence.
How long does RIM tooling take compared to injection molding tooling?
RIM aluminum tooling is commonly built in about 2–3 weeks, while steel injection molds commonly take 8–12 weeks or longer. These are industry-common ranges and vary with part complexity.
Key Takeaways
The decision between RIM and injection molding is mostly a volume-and-flexibility decision. Pick RIM when your run is low-to-mid volume, time is short, or the design may still change. Pick injection molding when volume is high, stable, and unit cost dominates. Let the break-even range — not the per-part price alone — guide the call.
Please contact GoodTech for technical support
If you have a part in mind, the fastest next step is to share its quantity, size, material, and timeline with an engineering team and request a written process recommendation. GoodTech’s Chicago and Shenzhen engineering teams support RIM and traditional injection molding programs, including mold fabrication and Vietnam manufacturing, and can confirm tooling cost and lead time for your specific part.
Get a process recommendation for your part — tell us your volume, material, and dimensions, and we will advise whether RIM or injection molding fits, then provide a quote and DFM review. Contact our engineering team.