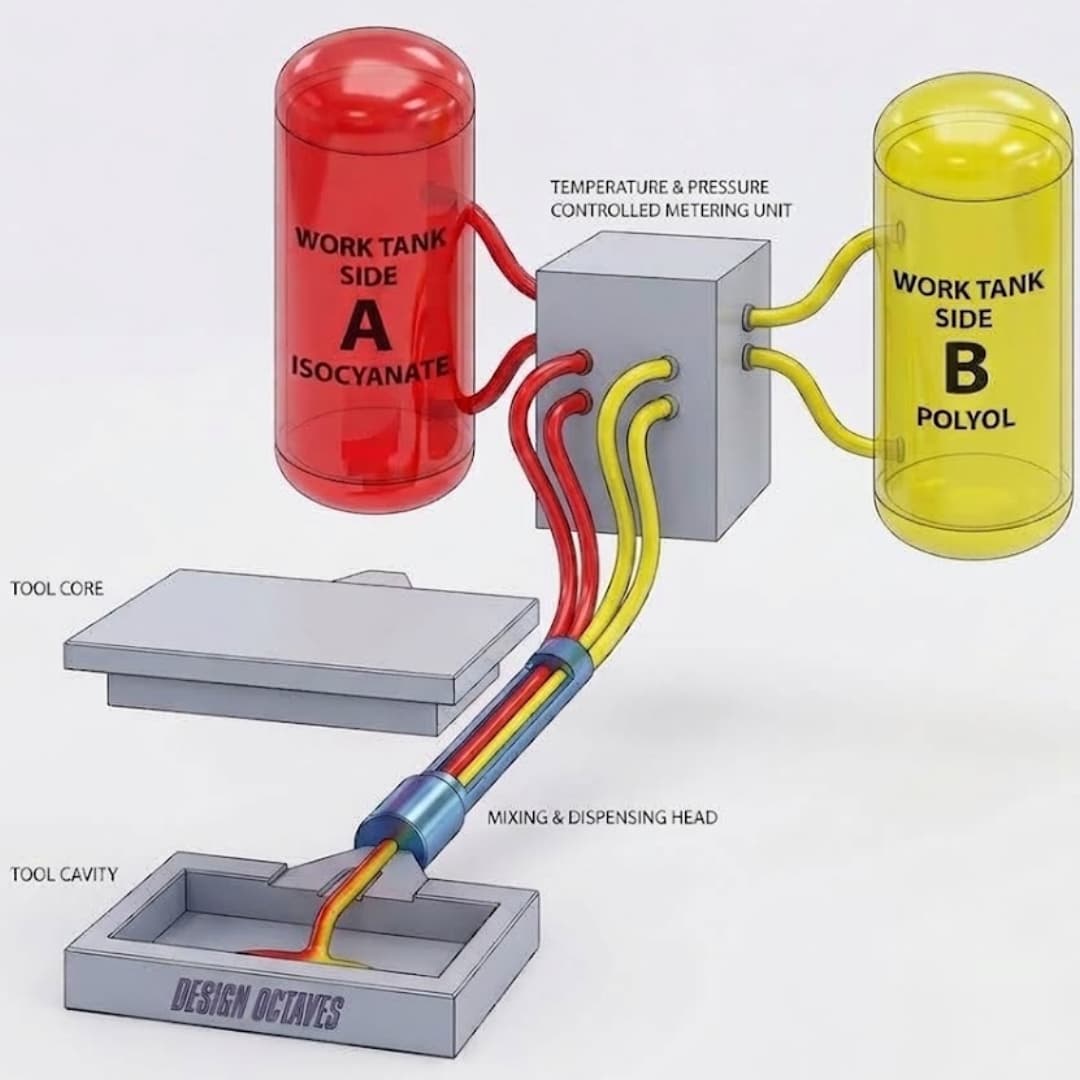

Deciding between injection molding vs 3d printing comes down to one number: how many parts you need. Below roughly 100 units, 3D printing wins on total cost and speed to first part. Above about 1,000 units, injection molding drops per-part cost to cents and beats every alternative on consistency. Between those points, the right choice depends on material, tolerance, and how settled your design is. This guide compares the two processes across cost, speed, materials, and precision, then gives a step-by-step framework for when to use injection molding vs 3d printing based on your volume.
How Each Process Works
Start with the mechanism: the two methods build parts in opposite directions.
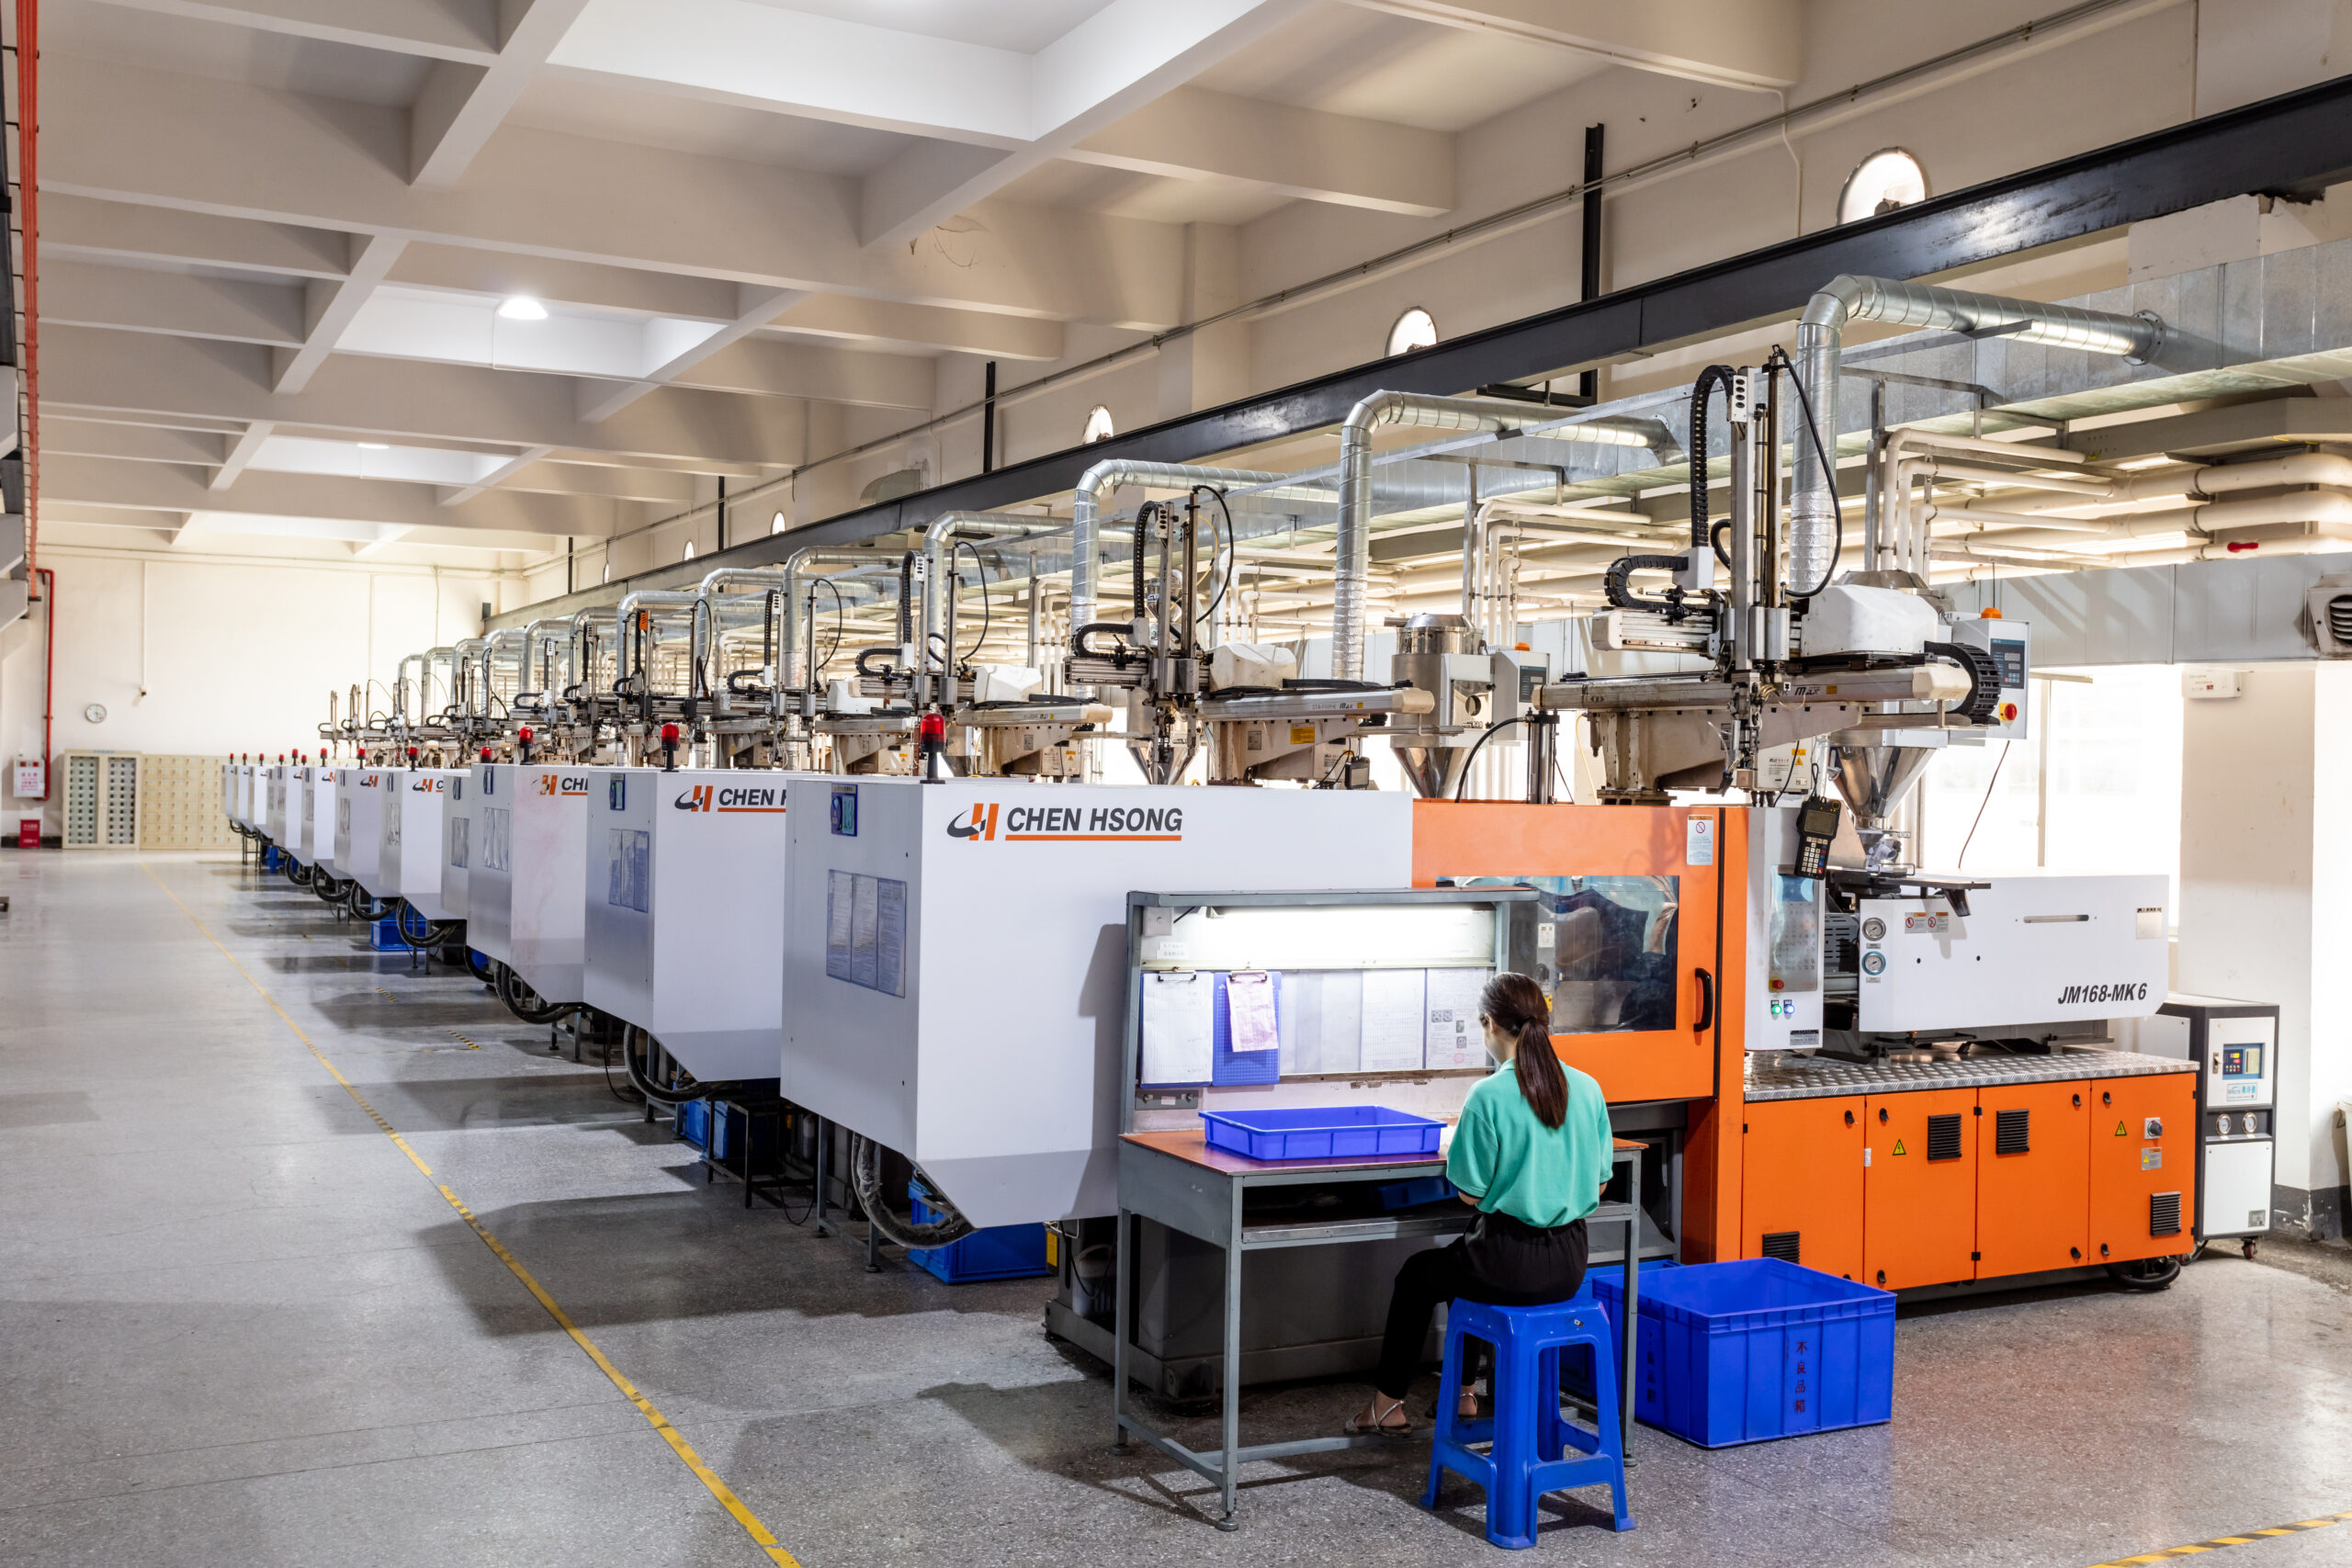
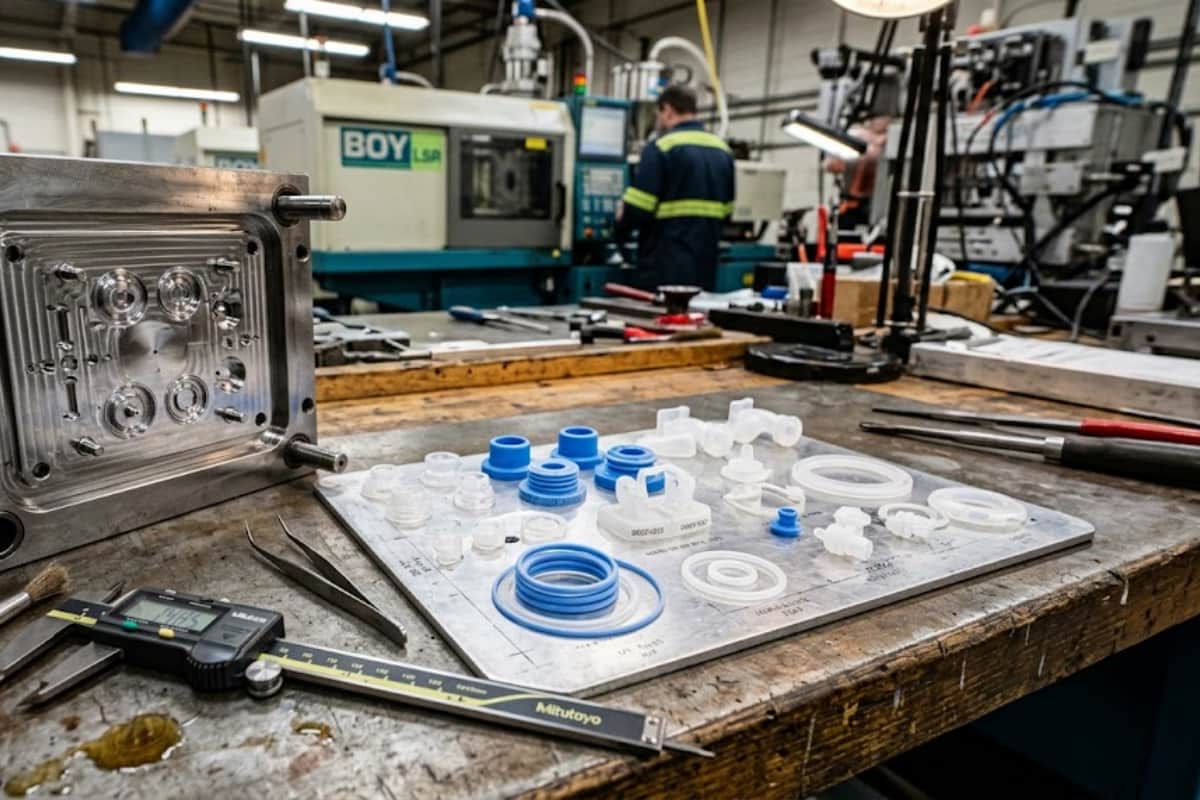
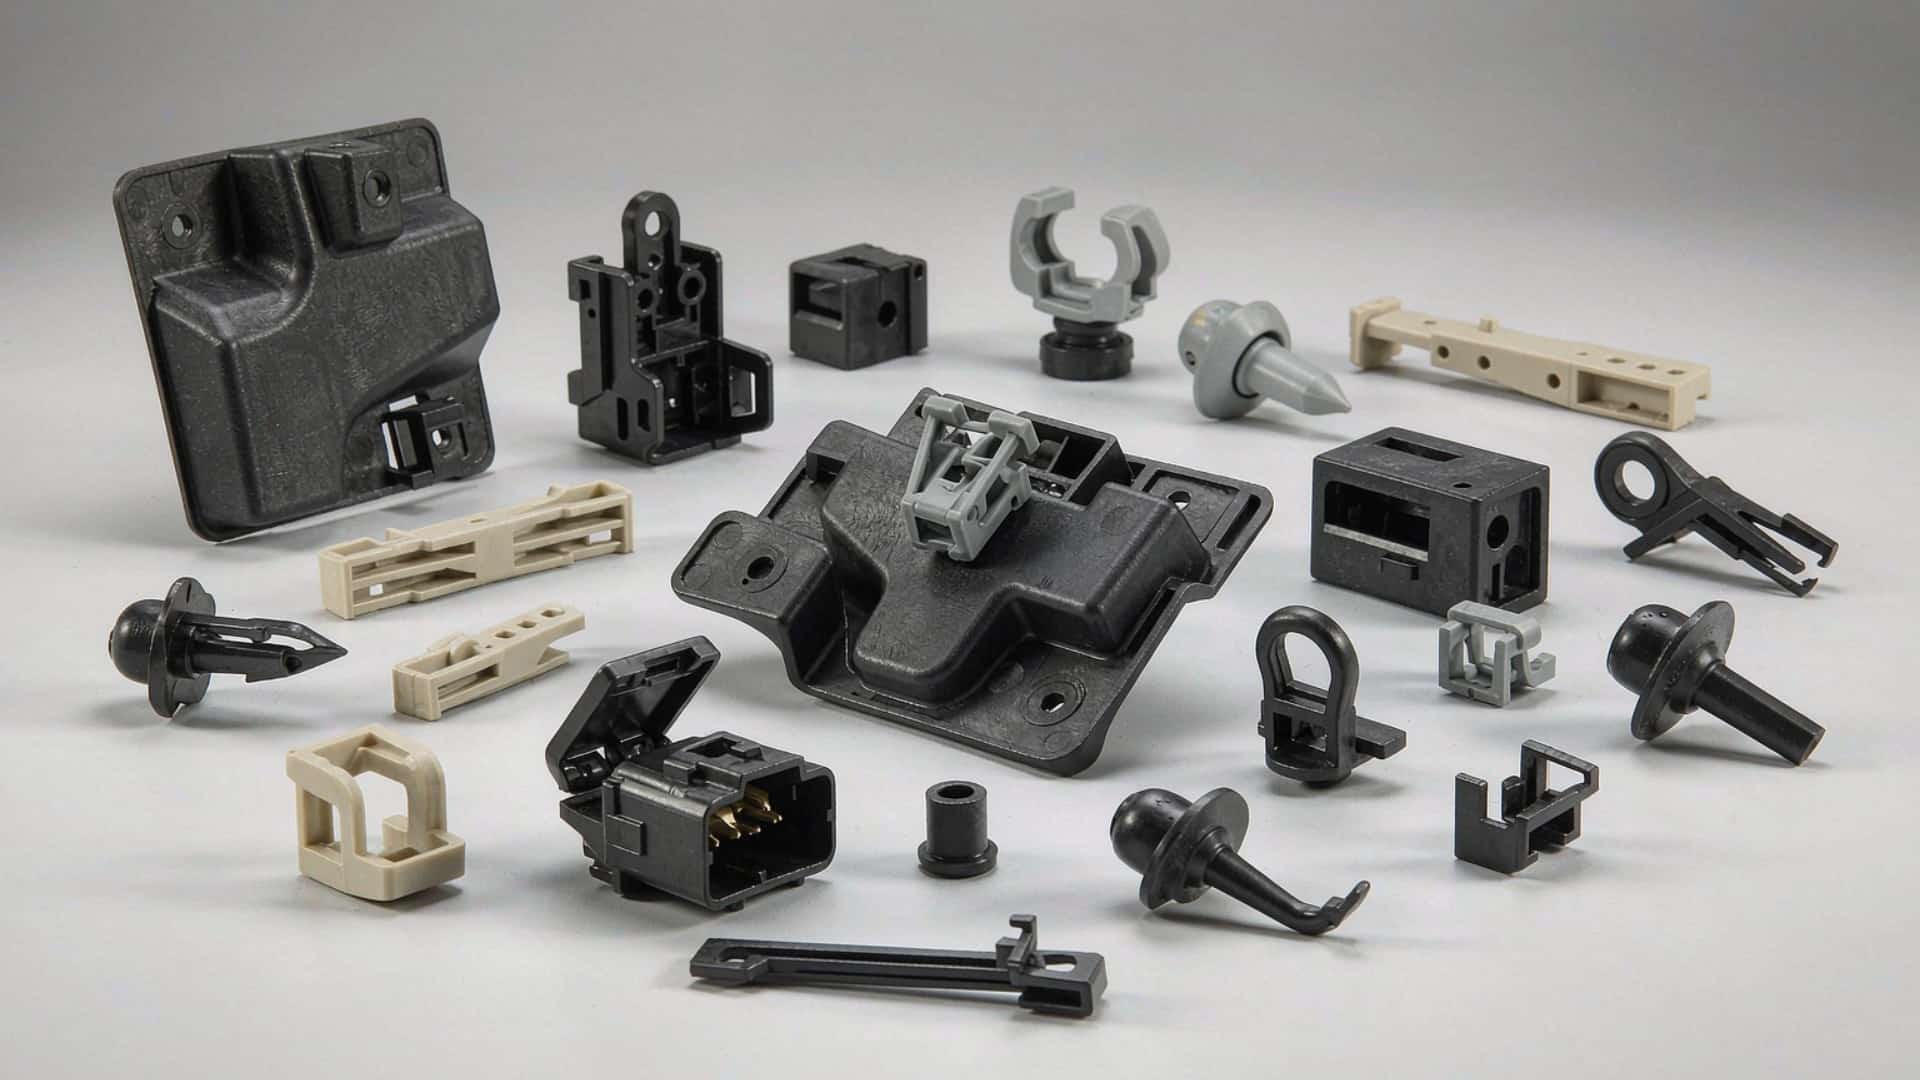
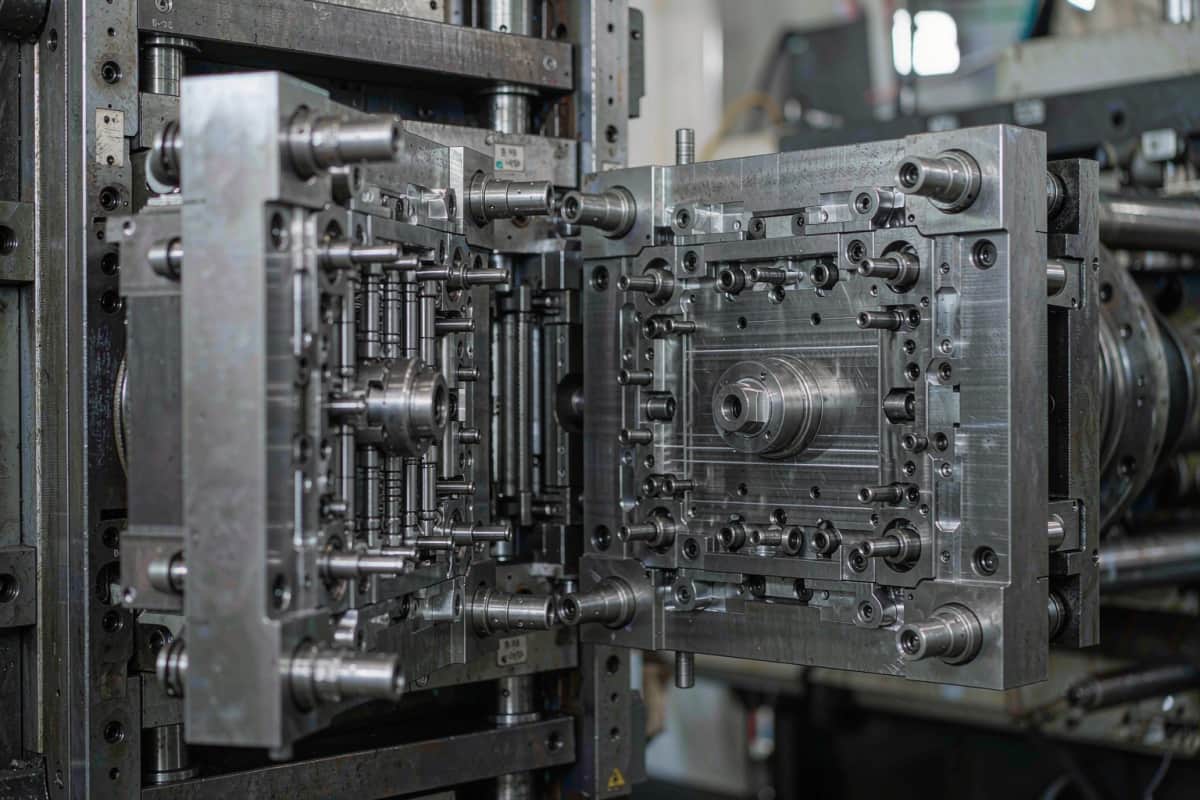
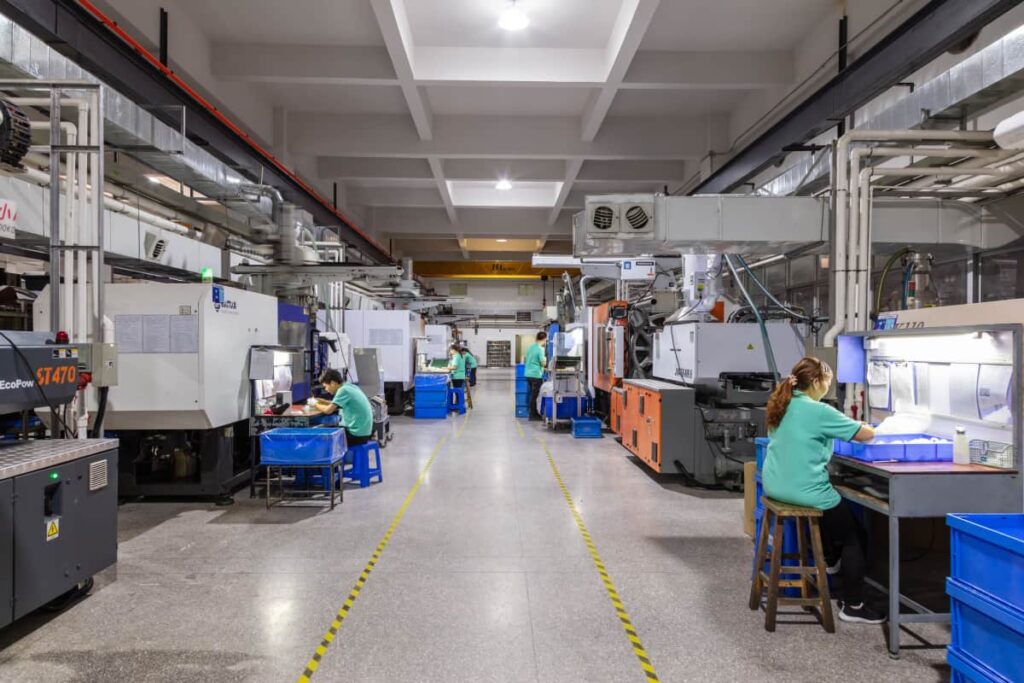
Injection molding forces molten thermoplastic into a steel or aluminum mold under high pressure. The part cools in seconds and ejects as a finished, repeatable component. The mold is the expensive, fixed asset; once it exists, every cycle produces an identical part.
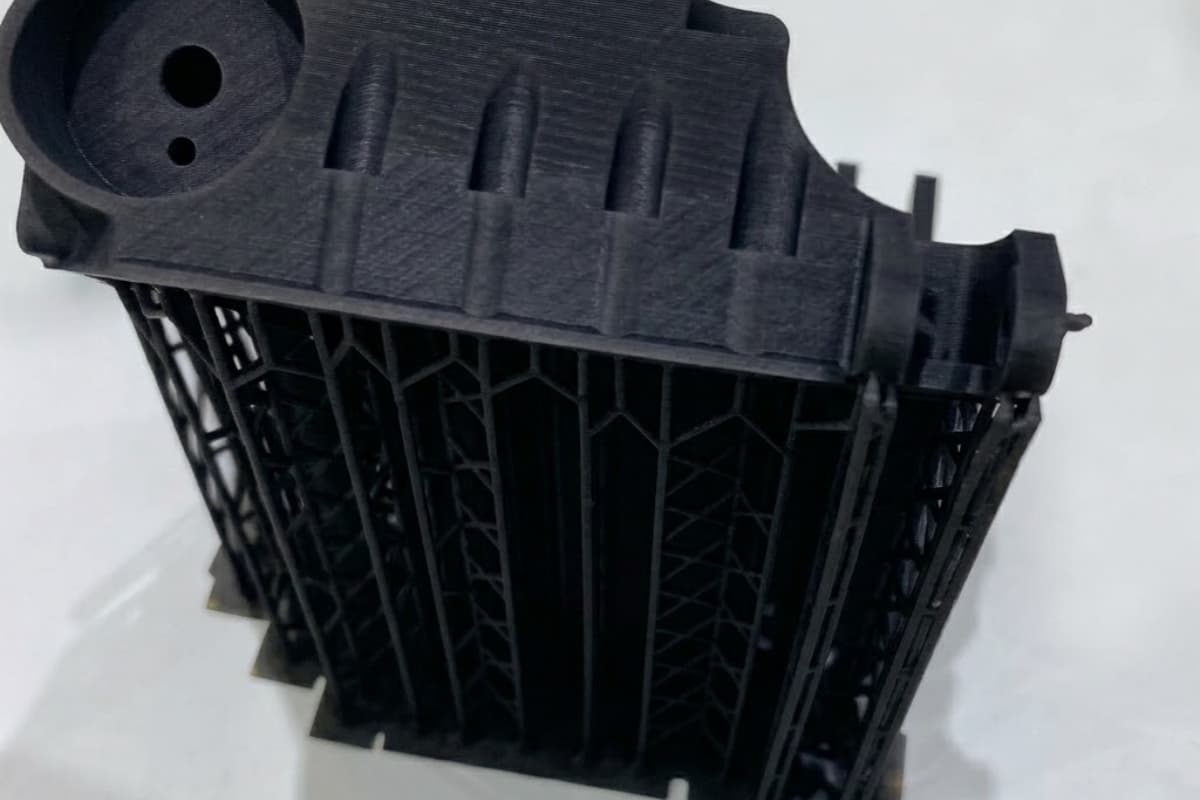
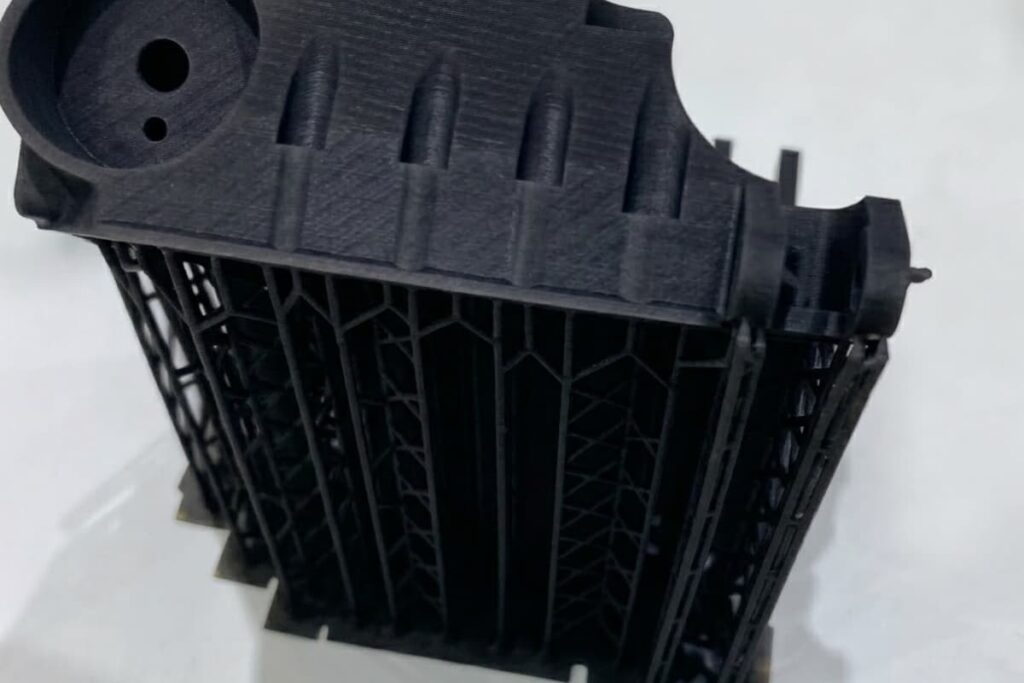
3D printing, also called additive manufacturing, builds the same CAD file layer by layer with no tooling. There is no mold to wait for, but each part takes minutes to hours, and mechanical properties differ from molded parts because of the layered structure.
The practical difference: molding is a tooling investment that pays back across volume, while 3D printing is a per-part cost that stays flat no matter how many you make.
The 5 Factors That Decide: A Side-by-Side View
Most selection questions reduce to five variables. The table below shows where each process holds the advantage.
| Factor | 3D Printing | Injection Molding |
|---|---|---|
| Best volume | 1–500 parts | 1,000–1,000,000+ parts |
| Upfront cost | None (no tooling) | Mold tooling required ($3,000–$100,000+, industry benchmark) |
| Per-part cost | Flat, $5–$100+ per part | Drops to $0.10–$5.00 at volume (industry benchmark) |
| First part lead time | Hours to days | 3–8 weeks (tooling) |
| Material range | Limited (~30–200 grades) | Extensive (hundreds of engineering resins) |
Use this table as a first filter: if your volume is under 500, stop at the 3D printing column. If it is over 1,000 and the design is locked, the molding column wins.
Cost Comparison: Where the Break-Even Point Is
The crossover is the single most important number in this decision. Across published industry benchmarks (SOMI Custom Parts, mfgcalcs, PlasticXperts, 2025–2026 data), the injection molding vs 3d printing cost gap closes and inverts somewhere between 500 and 5,000 parts, depending on part size, material, and mold type.
| Annual volume | 3D printing (per part) | Injection molding (per part, tooling amortized) |
|---|---|---|
| 100 parts | $5–$20 | $30–$100 (tool dominates) |
| 1,000 parts | $5–$15 | $2–$8 |
| 10,000 parts | $5–$15 | $0.30–$1.50 |
| 100,000 parts | $5–$15 | $0.10–$2.00 |
Planning note: These figures are industry benchmarks for estimating only. They are not a GoodTech quote. Actual cost depends on part geometry, material grade, cavity count, and order volume—confirm with the supplier before budgeting.
Below the crossover, you pay for tooling on every part. Above it, the mold cost spreads so thin that per-part price collapses. For a 10,000-part run, molded parts can cost 10–50× less per unit than printed ones.
Speed to First Part vs Speed at Scale
Speed means two different things here, and confusing them causes bad decisions.
- First part: 3D printing wins outright. A prototype can move from CAD to physical part in hours. Injection molding needs 3–8 weeks to design, machine, and prove out a mold before the first good part exists.
- Production speed: Molding wins by orders of magnitude. A cycle runs 15–90 seconds, producing dozens of parts per hour per cavity. A 10,000-part order might take days by molding and months by printing.
If you need to test form, fit, or function this week, print. If you need 50,000 identical parts by next quarter, mold.
Materials & Mechanical Properties
Material choice often decides the process before cost does. Injection molding accesses the full range of engineering thermoplastics—ABS, polycarbonate, nylon (PA6/PA66), POM, PPS, and glass-filled grades—plus certified options such as UL 94 V-0 flame-retardant and medical or food-contact grades. 3D printing covers a narrower set, and printed parts carry layer lines that create weak axes.
| Property | 3D Printing | Injection Molding |
|---|---|---|
| Material breadth | Limited | Hundreds of resins |
| Strength profile | Anisotropic (layer lines) | Isotropic (solid, uniform) |
| Certified grades | Rare | Standard (UL94 V0, medical, food) |
| Glass-filled options | Limited | Standard (GF30, GF50) |
For structural, sealed, or regulated parts, molding’s material access and isotropic strength are usually decisive. For a one-off jig or a visual prototype, printing’s material limits rarely matter.
Precision, Surface Finish & Consistency
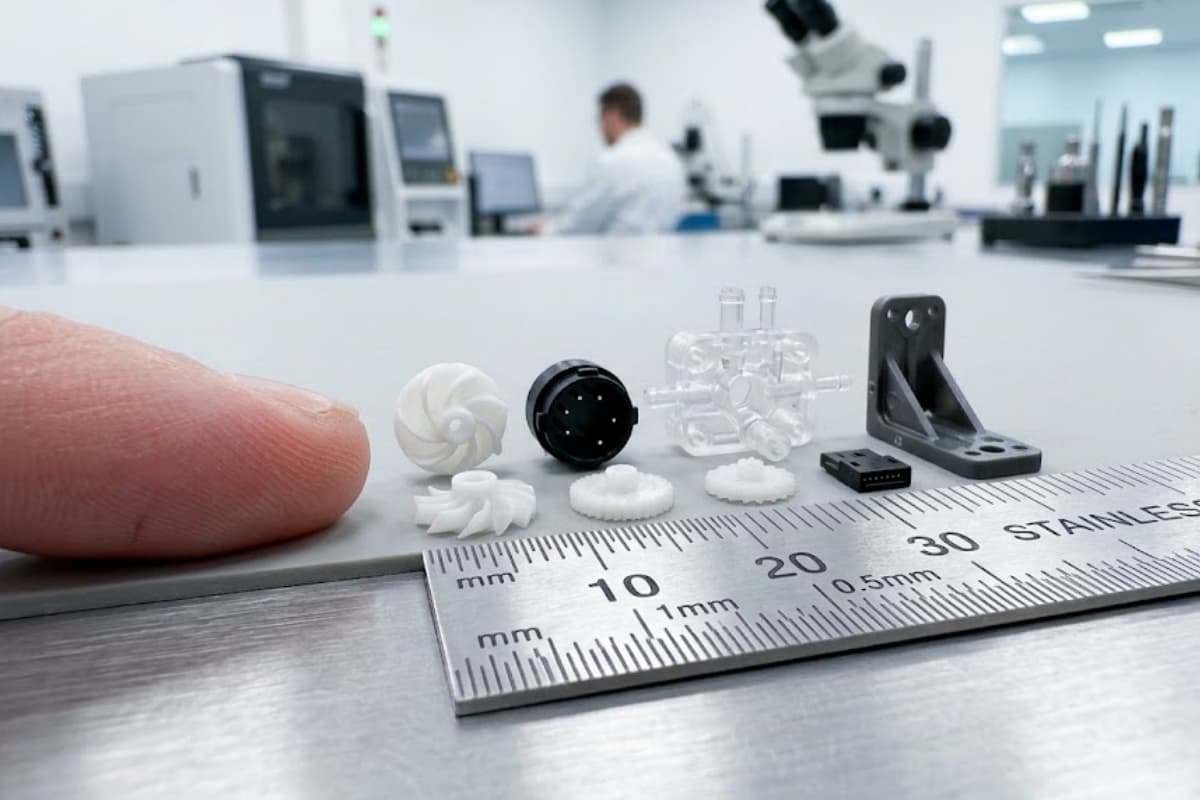
- Tolerances: Molding holds tight, repeatable tolerances (commonly ±0.02–0.05 mm on well-designed features). 3D printing varies more part to part.
- Surface finish: Molded parts leave the tool with a production-quality surface. FDM prints show layer lines and need post-processing.
- Consistency: The millionth molded part matches the first. Printed parts drift with machine calibration and material lot.
If the part must seal, snap-fit, or meet a spec every time, molding removes the variables that printing leaves in.
Decision Framework: A Step-by-Step Selection Guide
Work through five questions in order. The answer usually becomes clear by step three. This is the core of rapid prototyping vs production molding selection.
- How many parts do you need? Under 100 → print. Over 1,000 with locked design → mold. Between → go to step 2.
- Does the part need to seal, hold tolerance, or meet a certification? Yes → molding is the destination.
- Where are you in the product lifecycle? Early validation → print to prove the design. Production → mold.
- When can you commit to tooling? Cutting a mold before the design is final is one of the most expensive mistakes in hardware. Wait until the design is locked.
- Can one supplier run both stages? A vendor who does prototyping and molding under one roof transfers the design cleanly and avoids rework.
| Your situation | Recommended process |
|---|---|
| < 100 parts, design still changing | 3D printing |
| 100–1,000 parts, non-critical | 3D printing or bridge tooling |
| 1,000+ parts, design locked | Injection molding |
| Tight tolerance / certified material | Injection molding |
| Need part this week | 3D printing |
When to Use Both: The Prototype-to-Production Path
The false choice is either/or. The efficient path uses both: print to validate, then mold to scale. This is the practical answer to the rapid prototyping vs production molding question.
A typical sequence runs three phases. Print 1–50 parts for design validation. Move to aluminum bridge tooling for 100–1,000 market-test units. Commit to hardened steel tooling only for the 5,000+ production run. This staged approach protects you from cutting an expensive steel mold on an unproven design.
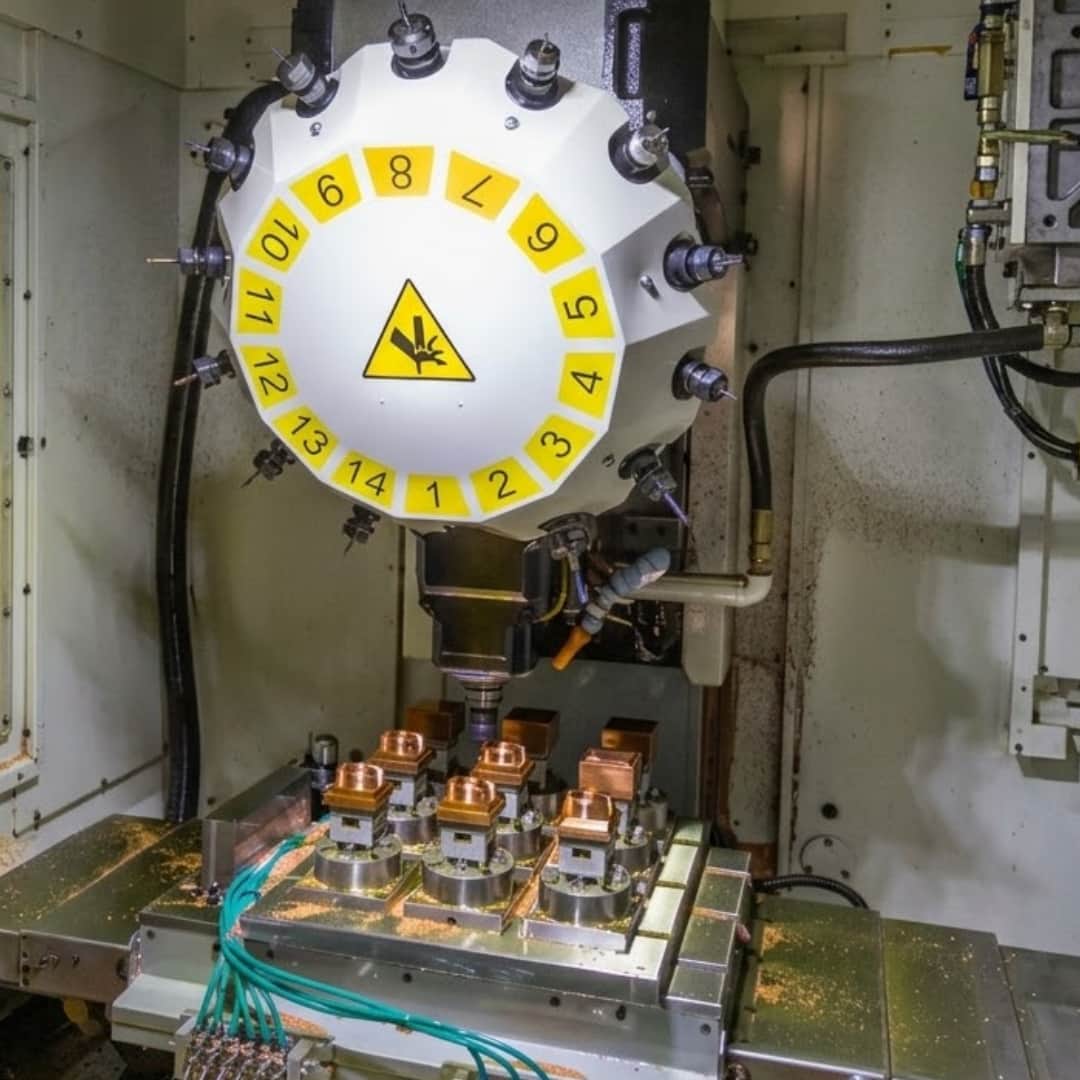
GoodTech supports this path with rapid prototyping (CNC, RIM, molding, casting) feeding directly into plastic injection molding production. Engineering teams in Shenzhen and Chicago coordinate the transfer, and the Vietnam site can reduce tariff exposure on qualifying volumes. The point is not to sell one process—it is to keep the design decision reversible until it should be locked.
Common Selection Mistakes to Avoid
- Cutting the steel mold too early. If the design changes after tooling, every revision costs mold rework. Print first.
- Forcing low volume injection molding through production tooling. Under a few hundred parts, you pay full tooling cost for almost no volume benefit.
- Ignoring material certification. Medical or food-contact parts need grades 3D printing often cannot supply—confirm before committing.
- Underestimating mold lead time. The 3–8 week tooling window affects launch dates; plan it into the schedule, not around it.
Questions Buyers Ask
How many parts before injection molding is cheaper than 3D printing?
Published benchmarks put the crossover between 500 and 5,000 parts, depending on part size, material, and mold type. Below that range, 3D printing’s lack of tooling keeps total cost lower. Above it, molded per-part cost falls far below printing.
Should I 3D print or injection mold my prototype?
Print the prototype. Prototypes exist to test form, fit, and function while the design is still moving. Reserve molding for locked designs at production volume.
Should 3D printing or injection molding be used for small-batch production?
For quantities of 500 units or fewer, 3D printing is usually more cost-effective as there are no mold costs; however, for volumes exceeding 1,000 units—once the design is finalized—the per-unit cost of injection molding drops significantly.
Can I use both processes for one product?
Yes. Print for validation, then transition to molding for production. This keeps the design reversible until volume justifies tooling.
Technical Sources
The cost and crossover figures in this article draw on publicly published industry benchmarks:
- SOMI Custom Parts — injection molding vs 3D printing cost comparison (2025)
- mfgcalcs — process comparison and break-even volume
- PlasticXperts — per-part cost and material comparison guides (2026)
Process descriptions reflect standard manufacturing practice for thermoplastic injection molding and additive manufacturing.
Conclusion
Choosing between injection molding vs 3d printing is mostly a volume decision. Print below ~100 parts, mold above ~1,000 with a locked design, and use both in between through a prototype-to-production path. Let material certification and tolerance requirements break ties when volume alone does not.