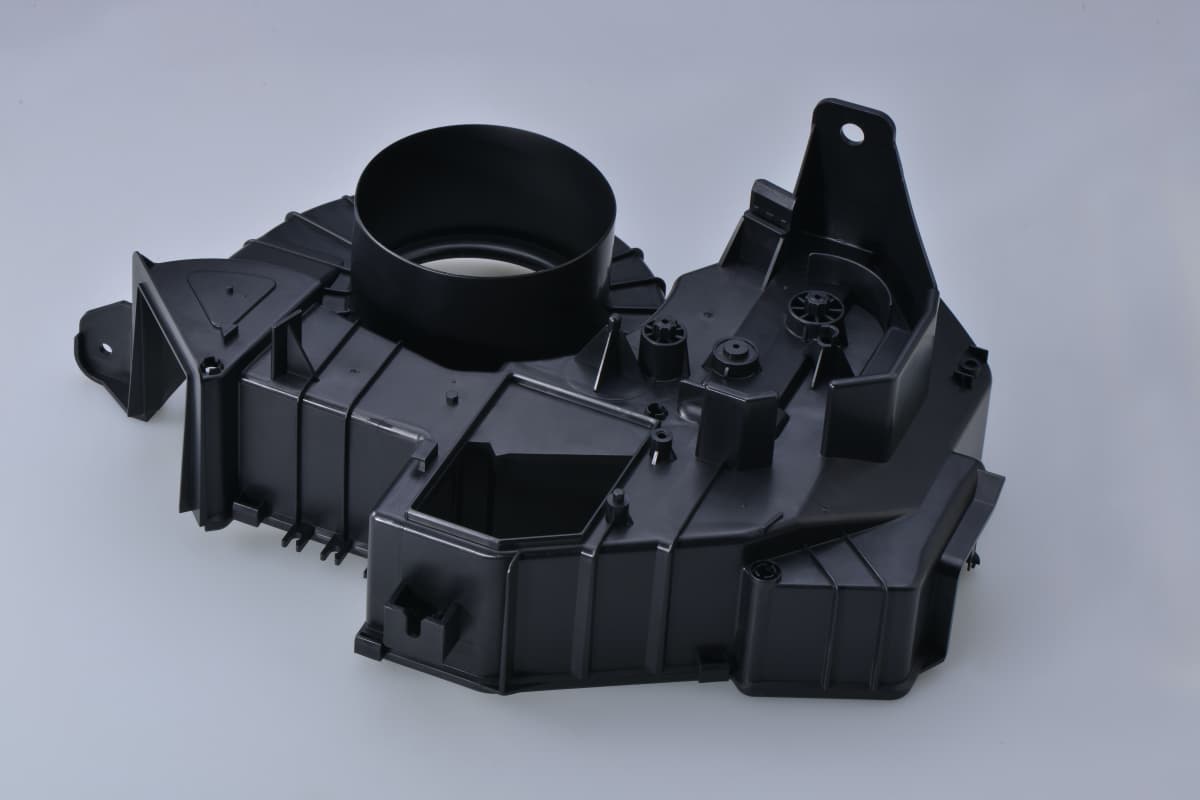

Surface finish is the part of an injection molding project that gets decided last and costs the most to change. If you specify a texture after the tool is cut, you are not choosing a finish — you are paying to rework a tool.
The short answer: injection molded plastic parts are finished in two places — in the mold, where polish grade and texture define the as-molded surface, and after molding, where painting, printing, metallising and coatings add function or appearance. In-mold finish is decided before tooling release and is effectively permanent. Post-mold finish is flexible but adds cost, lead time, handling risk and a new set of failure modes. Specify the mold finish using the SPI grade system, and specify post-mold processes as a separate, costed operation.

The Core Rule: Finish Is Decided at the Mold, Not After
A mold cavity is a negative of your part, and every scratch, polish line and texture on that cavity is reproduced on every part you will ever make from it. Three consequences follow:
- Polish grade and texture are tooling decisions, made at DFM stage, and they set the as-molded cosmetic baseline.
- Tool steel must match the finish. A mirror finish demands a steel that can hold a mirror; a heavy texture demands a steel that resists wear at the texture peaks.
- Draft angle must match the finish. Smooth surfaces can release at 1° of draft. Textured surfaces need more — commonly 1.5° per 0.025 mm of texture depth, and 3° or more in practice — or the part will drag, scuff and show a polished streak on ejection.
If a supplier proposes a texture without asking about draft and steel, the proposal is incomplete.
The SPI Mold Finish Standard: The Language to Specify Finish In
The standard established by the Society of the Plastics Industry (now the Plastics Industry Association) is the industry’s shared vocabulary for mold polish and texture. GoodTech uses SPI grades to define the surface finish of molds, because it removes ambiguity between what a designer means by “matte” and what a toolmaker cuts.

Grades A through D
| Grade | Definition | Typical appearance | Typical application |
|---|---|---|---|
| A-1 | Mirror finish, diamond buffed | Optically clear, high gloss | Lenses, light guides, cosmetic clear parts |
| A-2 | High polish, Grade #6 diamond buff | Very high gloss | Gloss cosmetic housings, show surfaces |
| A-3 | Medium polish, Grade #15 diamond buff | Gloss | Gloss panels, visible appearance parts |
| B-1 | High polish, 600 grit | Semi-gloss | Consumer product housings |
| B-2 | Medium polish, 400 grit | Semi-gloss, slightly softer | General appearance parts |
| B-3 | Low polish, 320 grit | Low sheen | Functional covers, semi-visible parts |
| C-1 | Low polish, 600 stone | Matte | Parts where appearance is secondary |
| C-2 | Medium polish, 400 stone | Matte, visible tool marks | Internal and hidden parts |
| C-3 | Rough polish, 320 stone | Coarse matte | Non-cosmetic structural parts |
| D-1 | Grit blasted #24 | Fine uniform texture | Fingerprint-hiding surfaces |
| D-2 | Grit blasted #48 | Medium texture | Tool handles, grip surfaces |
| D-3 | Grit blasted #80 | Heavy texture | Grip and wear-resistant surfaces |
Our SPI plastic mold finishing standard reference covers how GoodTech applies these grades in practice.
Choosing a grade without overspending
| Situation | Practical choice | Why |
|---|---|---|
| Clear or light-transmitting part | A-1 / A-2 | Anything coarser scatters light and kills clarity |
| Glossy visible housing | A-2 / B-1 | A-2 is achievable in PC/ABS; A-1 is often unnecessary |
| Fingerprint resistance on a gloss part | A-2 mold finish + post-mold anti-fingerprint coating | Texture cannot hide prints on a gloss surface |
| Hiding sink marks and flow lines | D-1 / D-2 texture | Texture scatters light and masks surface defects |
| Internal, non-visible part | C-2 / C-3 | Cosmetics are irrelevant; save the polishing cost |
| Grip or tactile function | D-2 / D-3 | Texture provides friction and hand feel directly |
Two warnings. First, higher gloss makes every defect visible — sink marks, flow lines, weld lines, gate blush and dust inclusion all show on a mirror surface and disappear on a matte one. Second, texture hides defects but not geometry: a warped part with a beautiful texture is still a warped part.
In-Mold Finishes

High polish and optical surfaces
Mirror polishing is a manual, skilled operation with real risk of over-polishing — which changes cavity dimensions and can round the shut-offs that hold your tolerances. Very high gloss also needs uniform cooling; any thermal gradient on a gloss surface shows as a visible shear-mark or gloss band. Ordering A-1 should be a considered decision, not a default.
EDM and stone finishes
Electric discharge machining leaves a characteristic recast layer and a fine, uniform matte — useful directly as a finish (roughly the B/C territory) or as the preparation before polishing. Note that an EDM finish on the mould becomes a reverse texture on the part: the spark-eroded matte on the cavity produces a part surface that is slightly glossier and directional. Specify texture on the part, not the cavity.
Chemical and laser texture (MT finishes)
Photochemical etching and laser texturing apply a controlled, repeatable texture to the cavity with a designated MT (Mold-Tech) code. Compared with grit blasting, the advantages are important:
| Attribute | Grit blast (D-grade) | Chemical / laser texture (MT grade) |
|---|---|---|
| Repeatability | Operator-dependent | Highly repeatable, code-defined |
| Detail | Uniform but random | Logos, patterns, leather, geometric |
| Repair / touch-up | Hard to match after wear | Touch-up possible with comparable tooling |
| Multi-cavity consistency | Difficult | Documented and consistent across cavities |
| Cost | Lower | Higher at first cut, lower over tool life |
If cosmetic consistency across cavities matters — as it does on any appearance part — specify an MT texture rather than a grit blast. Request a physical texture plaque or a textured T1 sample for approval rather than approving from a photograph.
In-mold decoration (IMD/IML/IMF)
In-mold decoration places a printed film into the mold so the graphic is encapsulated in the part rather than applied to it. In-mold labelling (IML) with a film insert gives scratch-resistant graphics, deeper colour and a durable decorated surface on thin-wall packaging and appliance panels. The trade-offs are tooling complexity, film handling, higher scrap during ramp-up and a longer cycle time. Use IMD when the decoration must survive abrasion or chemicals that would destroy a printed surface.
Post-Mold Finishing Options
Post-mold operations give you flexibility after tooling release — at a cost in handling, cycle time and yield.
Painting and soft-touch coatings
- Primer + topcoat: the standard way to achieve a colour or gloss level the resin cannot deliver. Requires masking, fixturing, a clean environment and a controlled cure. Adhesion depends on resin type, so the paint system must be validated for the specific material.
- UV-cure coatings: fast cure, high gloss and good abrasion resistance; requires uniform film thickness or curing becomes uneven.
- Soft-touch and elastomeric coatings: a rubberised feel for handles and device surfaces. Durable but susceptible to wear, harsh solvents and marking from packaging.
- Anti-fingerprint / anti-glare coatings: functional rather than decorative; commonly applied over gloss or glass-like surfaces.
Printing: pad, screen, laser, hot stamping
| Method | Best for | Limitation |
|---|---|---|
| Pad printing | Curved surfaces, small graphics, multi-colour | Ink wear over time; silicone pad distortion |
| Screen printing | Flat or gently curved large areas, heavy ink deposit | Poor on complex curvature; registration is difficult near edges |
| Laser marking | Serial numbers, logos, permanent traces, data-matrix codes | Monochrome (usually); contrast depends on resin |
| Hot stamping | Metallic and high-contrast decorative marks | Tooling per design; sensitive to surface flatness |
| In-mold labelling | Graphics that must not wear | Higher tooling and film cost |
For traceability and serialisation, laser marking is generally the most robust because the mark is in the material rather than on it. Confirm contrast on the specific resin colour, and check that laser marking does not compromise a medical or food-contact surface.
Metallising and electroplating
- Vacuum metallising deposits a thin aluminium layer for a chrome-like appearance at low weight. It needs a very smooth substrate — it will faithfully reproduce any surface defect, so it is normally applied over an A-grade molded surface plus a basecoat.
- Electroplating on plated-grade ABS gives true metallic appearance, hardness and EMI shielding for electronics housings. It is resin-specific: only plating-grade ABS and a few other grades plate reliably, and the process carries environmental and wastewater obligations.
- Sputtering produces durable metallic films but with higher equipment cost and longer cycle time.
Assembly-level finishes
Laser welding, ultrasonic welding and adhesive bonding are not cosmetic finishes, but they are frequently what a “finished” assembly requires. Each imposes its own surface requirement: ultrasonic welding needs controlled energy directors, laser welding needs an optically suitable transmission layer, and bonding needs a defined surface energy. Specify them alongside the cosmetic finish, not after.
Matching Finish to Material and Function

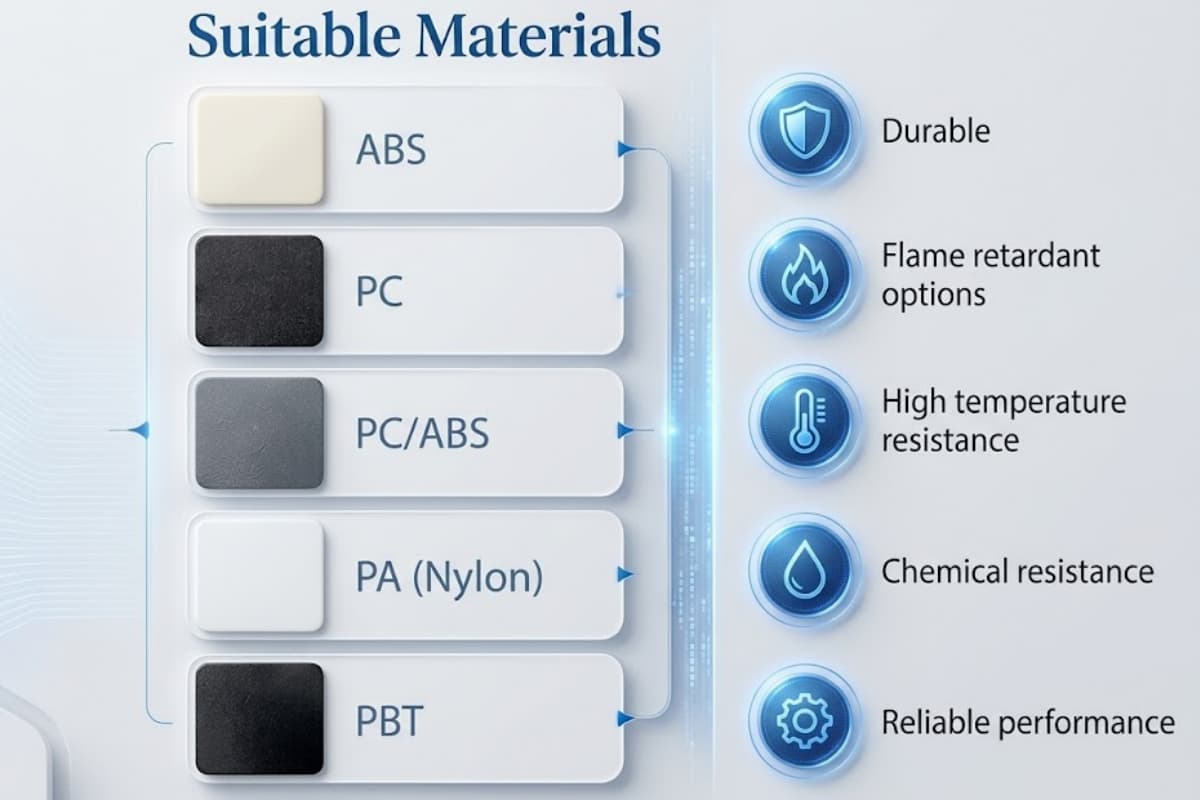
| Resin family | Easy finishes | Problem finishes | Note |
|---|---|---|---|
| ABS | Painting, plating, pad print, texture | High-gloss without A-grade tool | The most forgiving appearance resin; plating-grade grades exist |
| PC, PC/ABS | High polish, painting, laser | Solvent-heavy paints without testing | High gloss and clarity; stress-cracking risk with aggressive solvents |
| PP | Texture, laser, IML | Painting and plating without special treatment | Very low surface energy — adhesion is the limiting factor |
| PA, PBT | Texture, laser | Gloss cosmetic | Hygroscopic; dimensional and surface change with moisture |
| POM | Texture, laser | Painting, bonding | Excellent release and low surface energy make adhesion difficult |
| PMMA | A-grade polish, laser | Textured appearance parts | Optical clarity, but brittle at sharp corners |
| PC/PMMA blends, ASA | Gloss, painting, texture | — | Used for weatherable appearance parts |
| PEEK, PSU, PPSU | High temperature coatings, laser | Many decorative processes | Sterilisation and temperature cycles rule out most coatings |
The practical rule: if a finish is applied to the surface, surface energy decides whether it works. For low-energy resins like PP and POM, budget for a surface pre-treatment — flame, plasma or primer — or choose an in-mold or mechanical finish instead.
Cost and Lead-Time Impact
| Finish | Relative tooling cost | Relative part cost | Typical added lead time |
|---|---|---|---|
| C-grade stone polish | Baseline | Baseline | Baseline |
| B-grade polish | +5% – 15% | +0% – 3% | +0 – 3 days |
| A-grade mirror polish | +20% – 60% | +3% – 8% | +5 – 10 days |
| MT chemical texture | +15% – 40% (first cut) | +0% – 2% | +5 – 15 days |
| Grit blast texture | +5% – 10% | +0% | +1 – 2 days |
| Painting / coating | 0 (post-mold) | +10% – 40% | +3 – 10 days |
| Pad / screen printing | 0 (post-mold) | +3% – 15% | +2 – 7 days |
| Laser marking | 0 (post-mold) | +2% – 8% | In-line possible |
| Vacuum metallising | 0 (post-mold) | +20% – 60% | +7 – 14 days |
| Electroplating | 0 (post-mold) | +30% – 100%+ | +10 – 20 days |
| IMD / IML | Higher tooling cost | +15% – 50% | +10 – 20 days |
Two commercial points worth designing around. First, mold finish cost is paid once; post-mold finish cost is paid on every part — which means a slightly more expensive tool finish may be the cheaper long-run answer, and the reverse is true for low volumes. Second, post-mold finishing introduces a second yield loss point and a handling risk on a part you have already paid to mold. Cost it as an operation with its own scrap rate, not as a line item of a few cents.
For how tooling decisions propagate into unit cost, see our injection molding cost breakdown and reducing tooling cost guides.
Common Finishing Defects and How to Prevent Them
| Defect | Root cause | Prevention |
|---|---|---|
| Gloss band or shear mark | Uneven cooling, flow hesitation at a gloss surface | Balance cooling; adjust gate and fill pattern |
| Drag marks / scuffing on a textured part | Insufficient draft for the texture depth | Add draft — commonly 1.5° per 0.025 mm texture depth, 3° minimum |
| Texture inconsistency between cavities | Grit-blast variation or partial polishing | Specify MT texture; verify with physical plaque |
| Sink marks visible only on gloss | Thick rib or boss under a high-gloss surface | Reduce rib thickness to 40–60% of wall; texture the area |
| Paint adhesion failure | Low surface energy or mold release contamination | Specify release-free molding; pre-treat PP/POM; validate paint on the resin |
| Paint fish-eye / orange peel | Surface contamination, moisture in the air line, film too thick | Cleanroom discipline, dry air, controlled film build |
| Silver streaks / splay on a transparent gloss part | Moisture in the resin, shear, gas entrapment | Dry resin to specification; adjust back pressure and injection profile |
| Pad-print ink wear | Insufficient ink cure or no protective coat | Validate cure; add clear coat for wear-critical marking |
| Metallising shows every defect | Substrate roughness transfers through a thin film | Use an A-grade molded surface plus basecoat |
| Electroplating blister | Non-plating resin or contaminated substrate | Use plating-grade ABS; control the pre-treatment line |
Several of these overlap with classic molding defects. Our common injection molding defects guide maps them to process corrections, and our DFM design guide covers the geometry decisions that prevent them.
How to Specify a Finish on a Drawing

A finish callout is only useful if it can be inspected. Four practical rules:
- State the SPI grade or MT code on the drawing, plus which surfaces it applies to. “Glossy” and “matte” are not specifications.
- Separate as-molded finish from post-mold finish. List them as distinct requirements with distinct acceptance criteria.
- Approve a physical boundary sample. Approved-plaque or T1-sample sign-off — with the sample retained by both parties — removes almost all cosmetic disputes later.
- State the inspection condition. Cosmetic inspection depends on lighting and viewing distance; write down the illuminance and the viewing position rather than leaving it to opinion.
A practical callout set looks like this:
- Visible A-surface: SPI B-1, or MT-11010 texture on approved plaque
- Hidden surfaces: SPI C-2
- Grip areas: MT texture as per approved plaque
- Draft: 3° minimum on all textured surfaces, 1° minimum on polished surfaces
- Post-mold: UV topcoat, 20–25 µm dry film, gloss 90 ± 5 units at 60°
- Marking: laser-etched data matrix, contrast per approved sample
- Inspection: evaluated under D65 lighting at 500–1,000 lux from 500 mm
Where a project depends on the appearance of the final part rather than just the molded component, it is worth reviewing the full manufacturing chain — molding, secondary operations and assembly — as one process. Our services overview covers in-house painting, printing, coating and assembly, which matters because a finished appearance part that travels between three vendors accumulates three sets of handling risk.
FAQ
What is the SPI mold finish standard? It is the industry’s shared grading system for mold polish and texture, ranging from A-1 (mirror, diamond buffed) through A-2 and A-3, B-1 to B-3 (polished), C-1 to C-3 (stone finishes) to D-1 to D-3 (grit-blasted texture). Specifying the SPI grade removes the ambiguity of words like “glossy” or “matte”.
Should I use an in-mold texture or a post-mold coating? Use an in-mold texture when the requirement is appearance, tactile feel, or hiding surface defects — it costs once, in the tool, and never wears off. Use a post-mold coating when the requirement is colour, gloss level, chemical or abrasion resistance, or conductivity that the resin itself cannot provide. Many production parts use both.
Can I add texture to a mold that is already built? Generally yes, by etching or laser texturing, but the part will change dimensions slightly and drafts may become insufficient. It is far cheaper to specify texture before the tool is cut, and to confirm that the tool steel and draft angle suit the texture you want.
How much draft does a textured part need? As a working rule, allow roughly 1.5° of draft per 0.025 mm of texture depth, with a minimum of 3° on textured surfaces. Heavy textures on deep-drawn walls often need more. Insufficient draft shows up as scuffing, drag marks and gloss streaks on ejection.
Why do defects show more on glossy parts? A gloss surface acts like a mirror and reflects light coherently, so sink marks, flow lines, weld lines and dust scatter light visibly. A matte or textured surface scatters light at the surface and masks exactly the same defects. This is why appearance parts are so often specified with texture.
Which finishing process works on PP or POM? Both have very low surface energy, so painting, bonding and plating generally require pre-treatment (flame, plasma or primer) or should be avoided. Texture, laser marking and in-mold labelling are the reliable options.
Is laser marking permanent? It is a mark in the material rather than on it, so it resists wear far better than pad or screen printing. Contrast depends on the resin and colour, and very light colours produce low-contrast marks — validate on a sample before committing to laser marking for traceability.
Do post-mold finishes affect dimensional tolerance? Yes. Paint and coating add film thickness; curing can induce stress and slight distortion; metallising and plating change the substrate requirements. If a coated surface is also a functional or mating surface, account for film build in the tolerance stack-up — see our guide to achievable injection molding tolerances for how those limits are set.
Key Takeaways
- Finish is a tooling decision. Polish grade and texture are cut into the mold and reproduced on every part, so specify them before tooling release.
- Use the SPI grade system (A-1 to D-3) or an MT texture code as the shared language; never approve a finish from a photograph alone.
- Match draft and steel to the finish — roughly 1.5° of draft per 0.025 mm of texture depth, 3° minimum on textured surfaces.
- Choose in-mold texture to hide defects and add tactile function; choose post-mold coating, printing or metallising to add properties the resin cannot provide.
- Remember that gloss shows everything and texture hides it — this single fact drives most appearance-part specifications.
- Surface energy governs adhesion. PP and POM need pre-treatment or an in-mold solution.
- Always request a physical boundary sample and state the inspection lighting and distance.
Designing an appearance part? GoodTech handles mold polish and texture, plus in-house painting, printing, coating and assembly — so the finish you approve at T1 is the finish you receive in production, with texture plaques and boundary samples signed off by both sides.