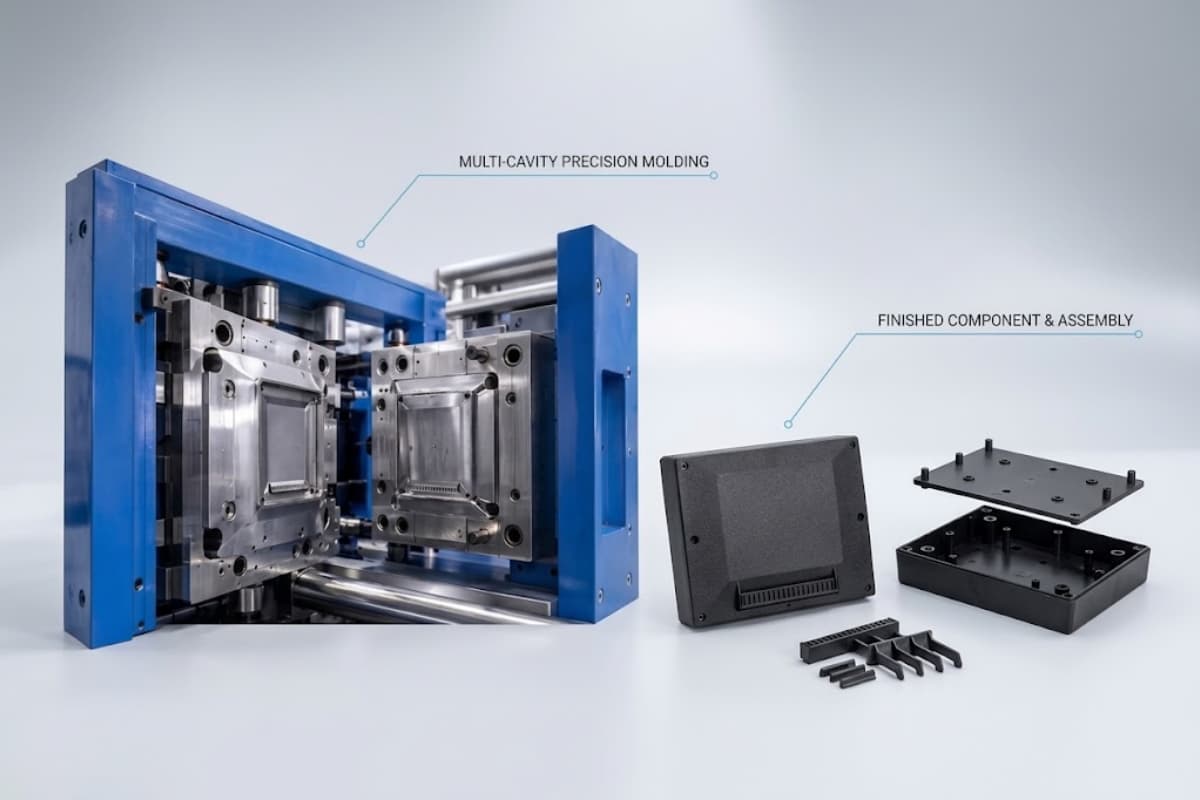

When you search for a rapid prototyping service, you are really asking a more specific question: which process should make my part, and when? CNC machining, 3D printing, and vacuum casting are the three workhorses of industrial prototyping — and each one wins in a different situation.
Pick the wrong one and you burn a development cycle: a 3D-printed part that fails functional testing, or a CNC prototype that costs more than your first production run. This guide compares the three processes across the dimensions that actually drive the decision — speed, quantity, material fidelity, and cost structure — and maps each to your project stage, from first concept to low-volume production.
What a rapid prototyping service actually delivers
A rapid prototyping service turns your CAD model into physical parts for design verification, fit checks, functional testing, and stakeholder buy-in — without the cost and lead time of production tooling. At GoodTech, once we have a CAD model, physical samples reach your engineers within 2–7 days.
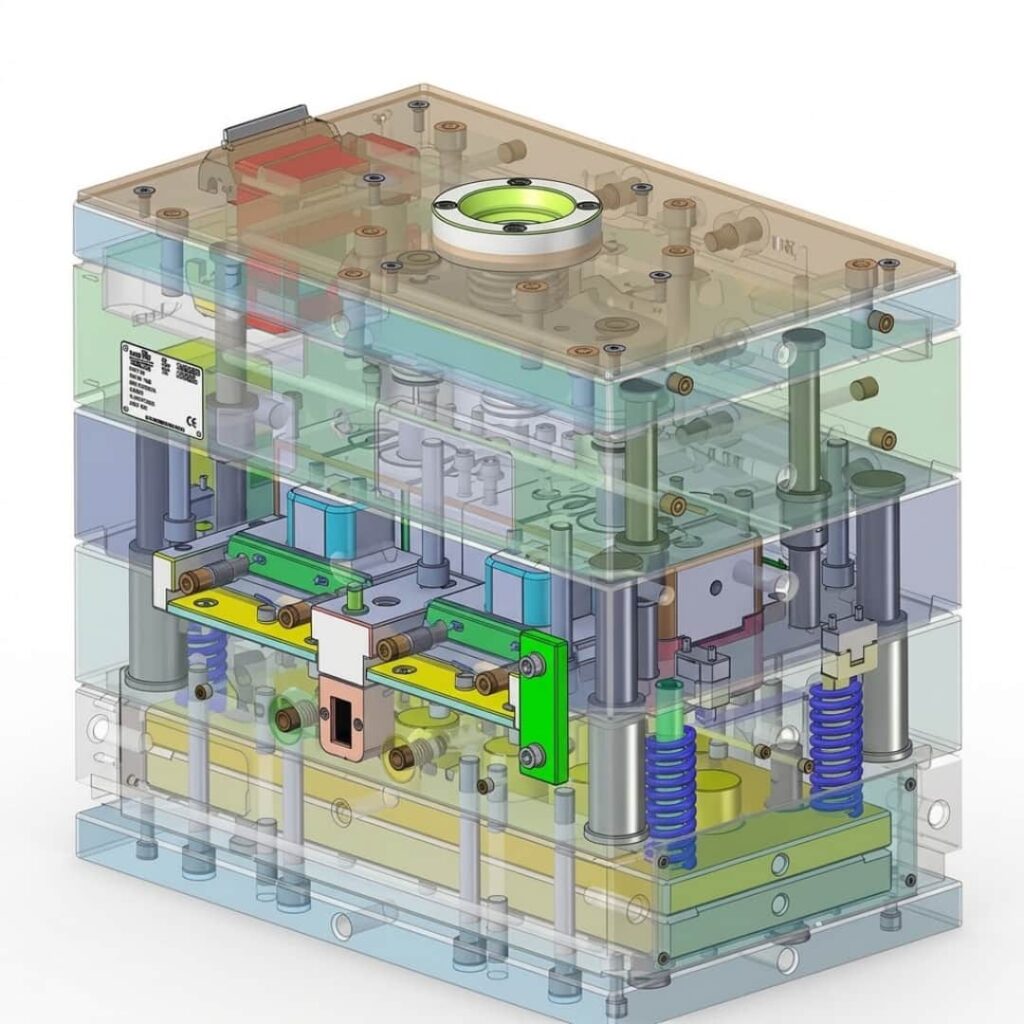
Prototypes do three jobs in product development:
- Prove the design — does the geometry work as intended?
- Prove the fit and function — does it assemble, seal, move, survive loads?
- Prove the business case — samples for investors, trade shows, and early customer feedback.
The fastest way to cover the full process landscape behind these methods is our rapid prototyping overview; the rest of this article focuses on the decision between the top three.
CNC, 3D printing & vacuum casting at a glance
| Dimension | CNC machining | 3D printing (SLA/SLS/MJF/DLP) | Vacuum casting |
|---|---|---|---|
| Best for | Tight tolerances, real materials, metal parts | Complex or impossible geometry, fastest iteration | Small batches of production-like plastic parts |
| Lead time | Days | Often fastest for complex parts | ~1–2 weeks (master + silicone mold) |
| Quantity sweet spot | 1–10 parts | 1–50 parts | ~10–50 parts per mold |
| Material fidelity | Production-grade stock (metal or plastic) | Broad resins/nylons; not always production-grade | Polyurethane mimics production plastics |
| Cost profile | Higher per-part, no tooling | Low setup, per-part rises little with complexity | Master + mold amortized over the batch |
| Project stage | Functional testing, jigs, metal prototypes | Concept models, design iteration | Pre-production, marketing, field trials |
(Lead times are qualitative guidance; GoodTech’s standard sample turnaround is 2–7 days once a CAD model exists.)
CNC machining — when tolerance and real materials matter
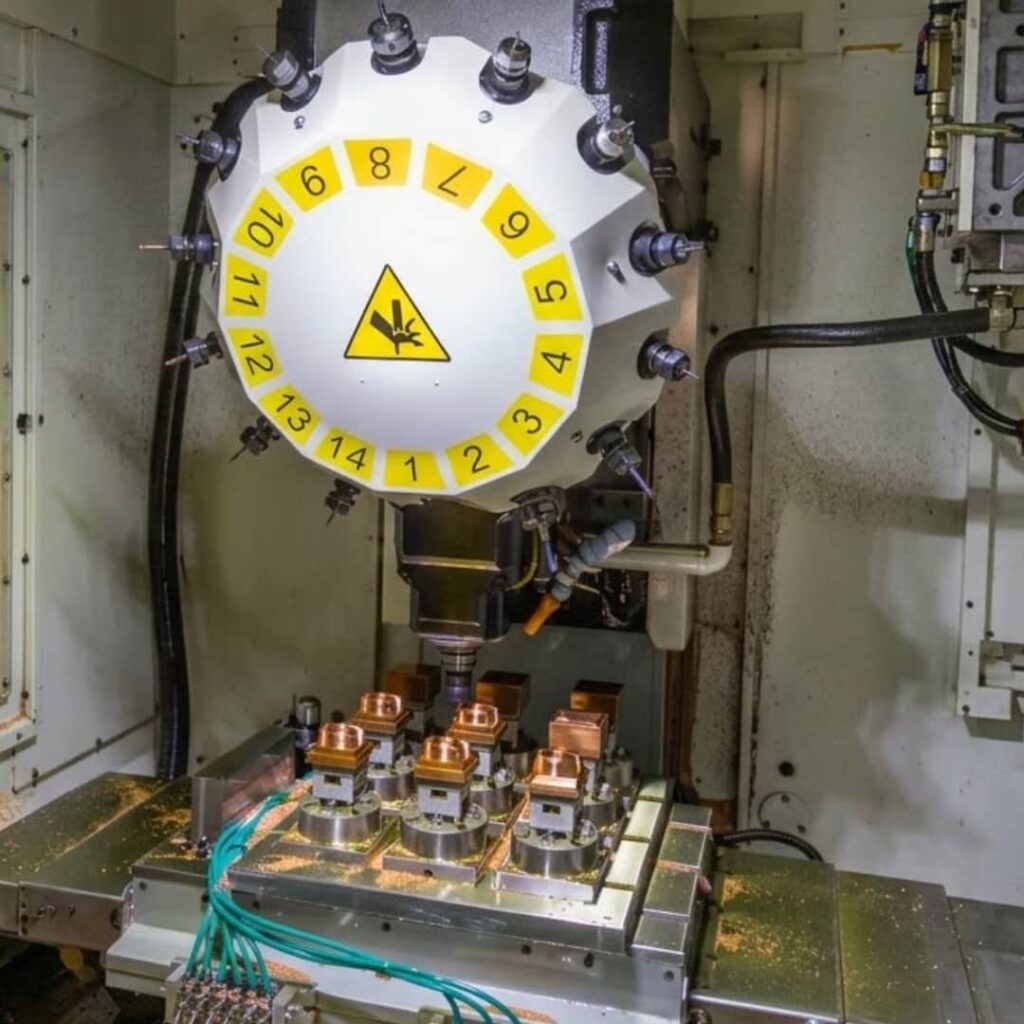
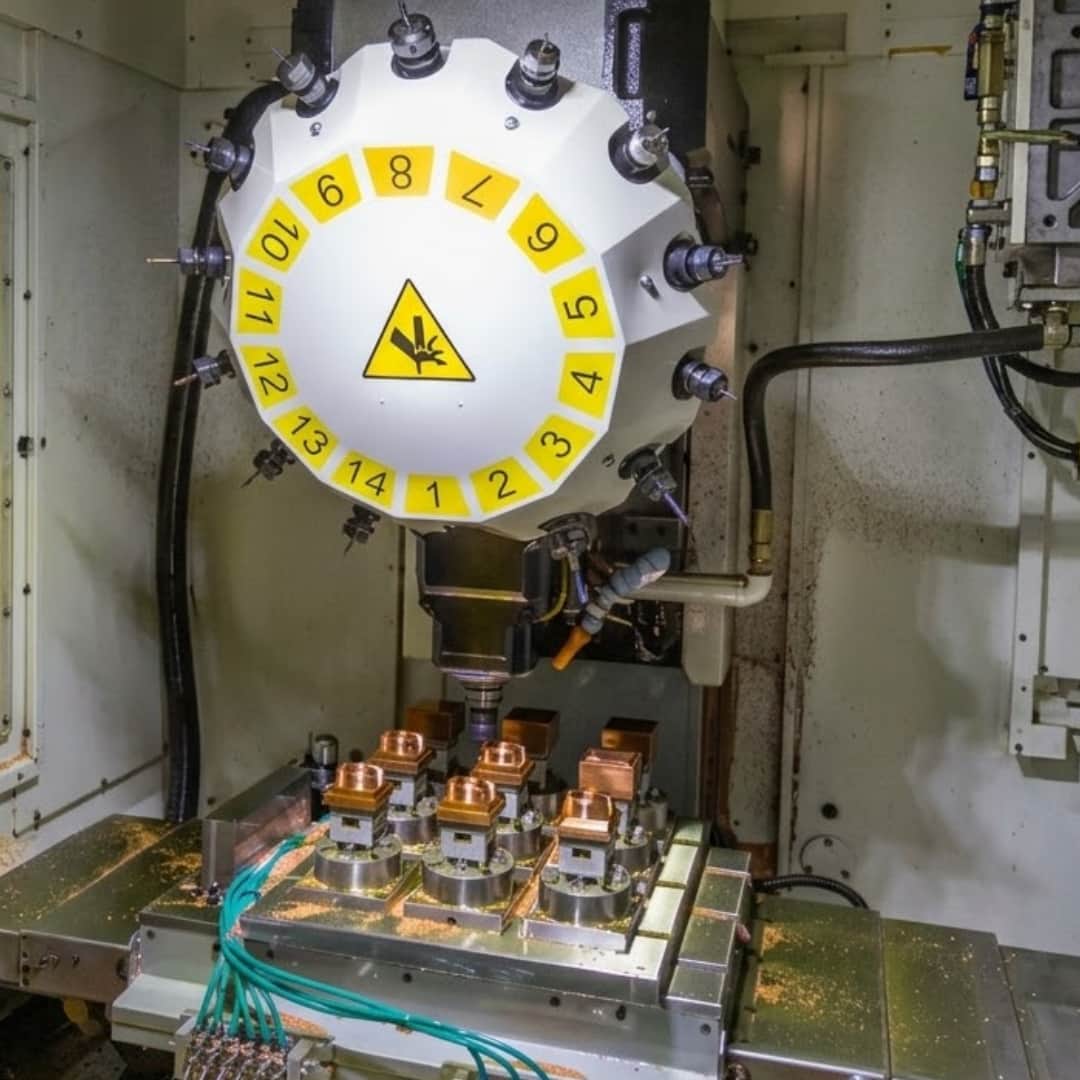
Choose CNC when your prototype must behave like the production part. Machined parts are cut from real stock material — steel, aluminum, copper, or engineering plastics such as ABS, POM, PC, and PA — so their mechanical properties match parts made later by injection molding, die casting, or stamping. That makes CNC the default choice for functional and load testing.
With 4-axis and 5-axis machines, complex features are still machinable, and finishes like bead blasting, anodizing, plating, painting, and laser marking can be applied. If your prototype needs to be metal, CNC is essentially the only option among the three.
Best stage: design freeze verification, functional testing, jigs and fixtures.
3D printing — when geometry can’t wait
Additive manufacturing builds parts layer by layer, so undercuts, internal channels, and lattices that would defeat a mill cutter are no obstacle at all. With SLA, SLS, MJF, and DLP technologies, 3D printing for prototyping is usually the fastest route from file to part when the geometry is complex — there is no tooling and no fixturing to prepare.
Material fidelity is the trade-off: printed parts cover a wide range of resins and nylons, but properties vary by technology and may not match your production plastic. Use 3D printing to explore form, iterate quickly, and validate geometry before committing to tighter validation methods.
Best stage: concept models, early design iteration, complex-geometry checks.
Vacuum casting — production-like parts in small batches
Vacuum casting copies a master model (usually 3D-printed or CNC-machined) into a silicone mold, then casts polyurethane parts that look and feel remarkably close to production plastics. When you need tens of parts — pre-production samples, trade-show units, marketing photography, or a small field trial — vacuum casting delivers a production-like result without steel tooling.
The silicone mold has a limited life (commonly cited in the range of roughly 15–50 castings depending on geometry and material), which is exactly why the economics favor small batches rather than volume production.
Best stage: pre-production validation, customer demos, low-volume pilot builds.
Matching the method to your project stage
Industrial prototyping works best when the process changes with the question you are asking:
- Concept validation — Does the idea look and feel right? → 3D printing: fastest iteration, lowest commitment.
- Design iteration — Which variant do we choose? → 3D printing for geometry; add CNC when a decision depends on real material behavior.
- Functional / assembly testing — Does it work in the real world? → CNC machining with production-grade material.
- Pre-production / pilot — Does it convince customers and stakeholders? → Vacuum casting for production-look parts in small batches.
Most programs use two or three of these in sequence — which is why it pays to work with a rapid prototyping company that offers all three under one roof, so parts move between processes without re-qualifying a new supplier.
From prototype to production: the injection molding handoff
Prototyping ends when the design freezes and volumes rise. The typical handoff looks like this:
Validated prototype → bridge or prototype tooling → low-volume injection molding → full production.
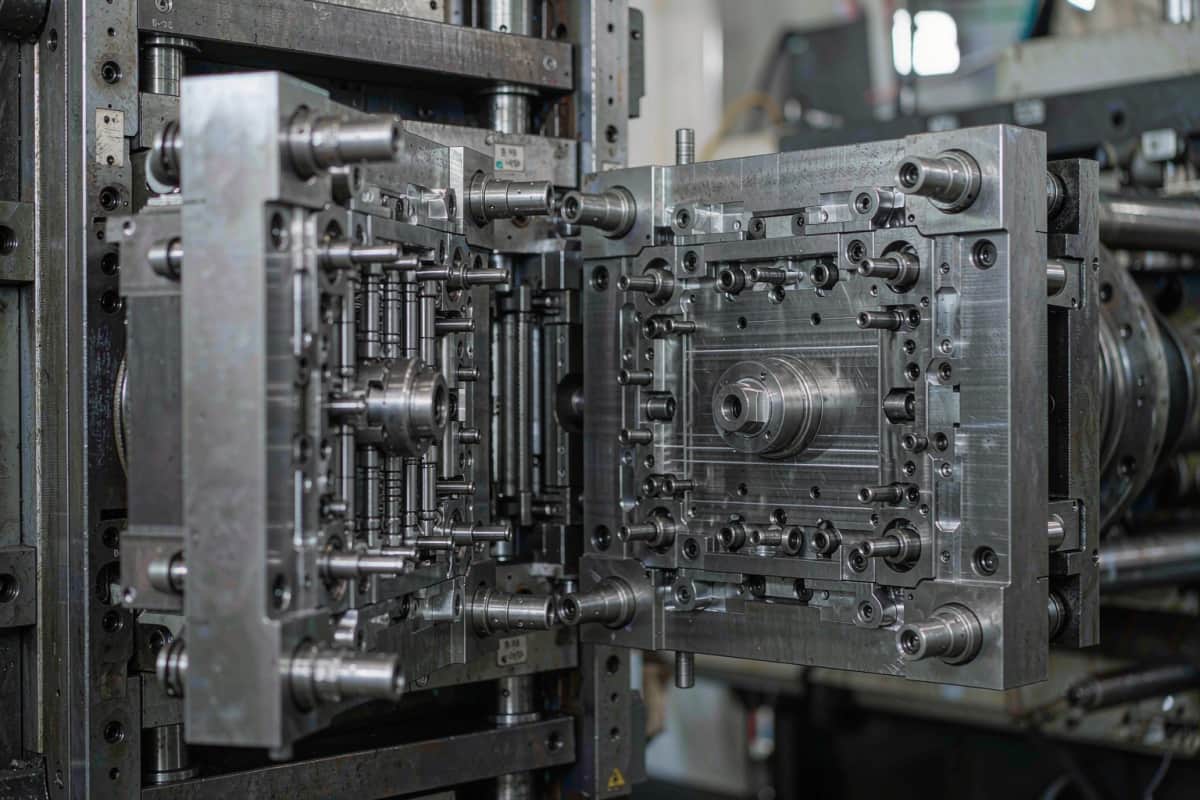
Signals that it is time to move: quantities climbing beyond what casting or CNC can economically supply, material certification requirements, or repeat orders of the same part. At that point, an injection mold — sized honestly for your real volume — becomes the economical route. Our custom plastic injection molding guide covers the scale-up decision and supplier qualification, and plastic mold fabrication explains how the tooling itself is built and maintained.
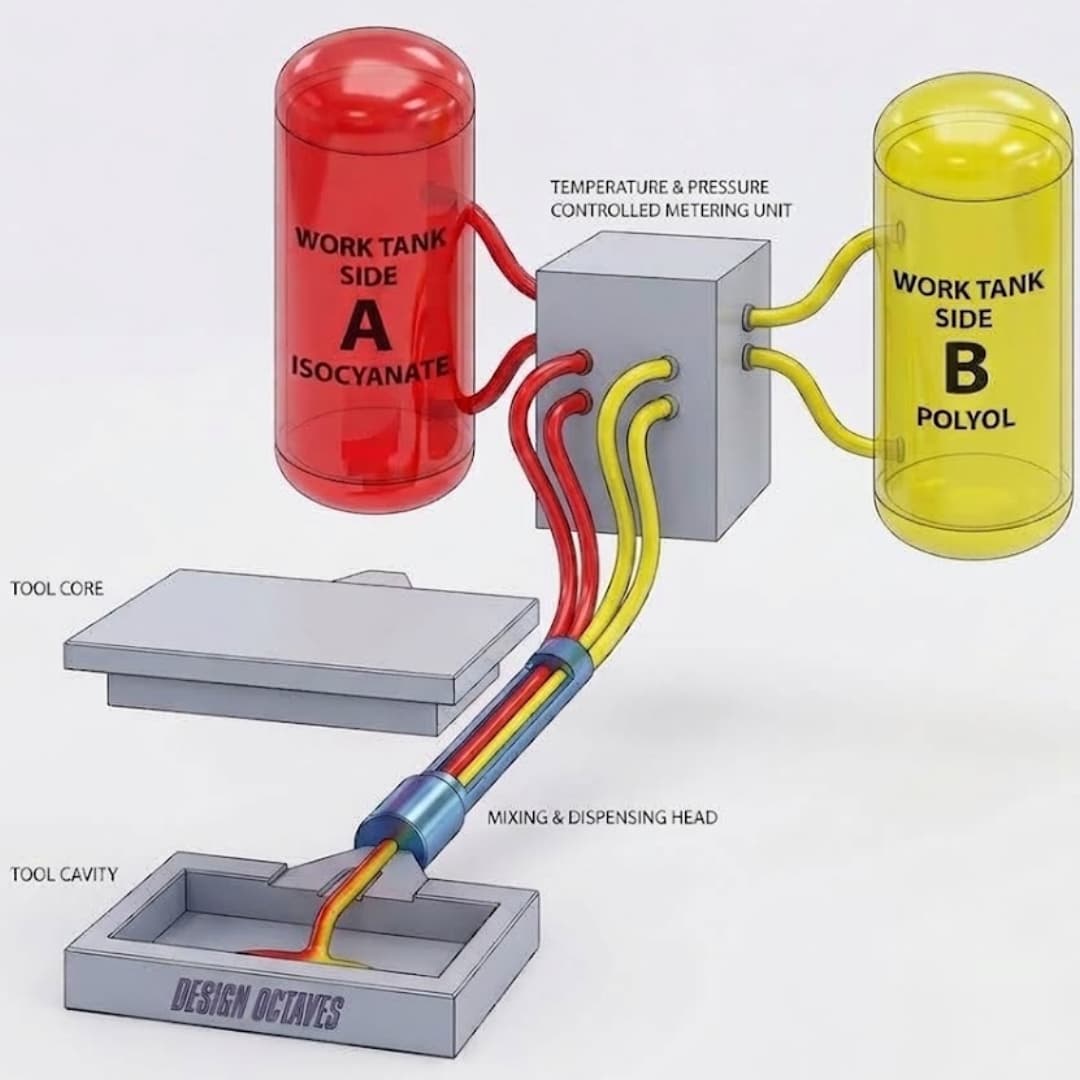
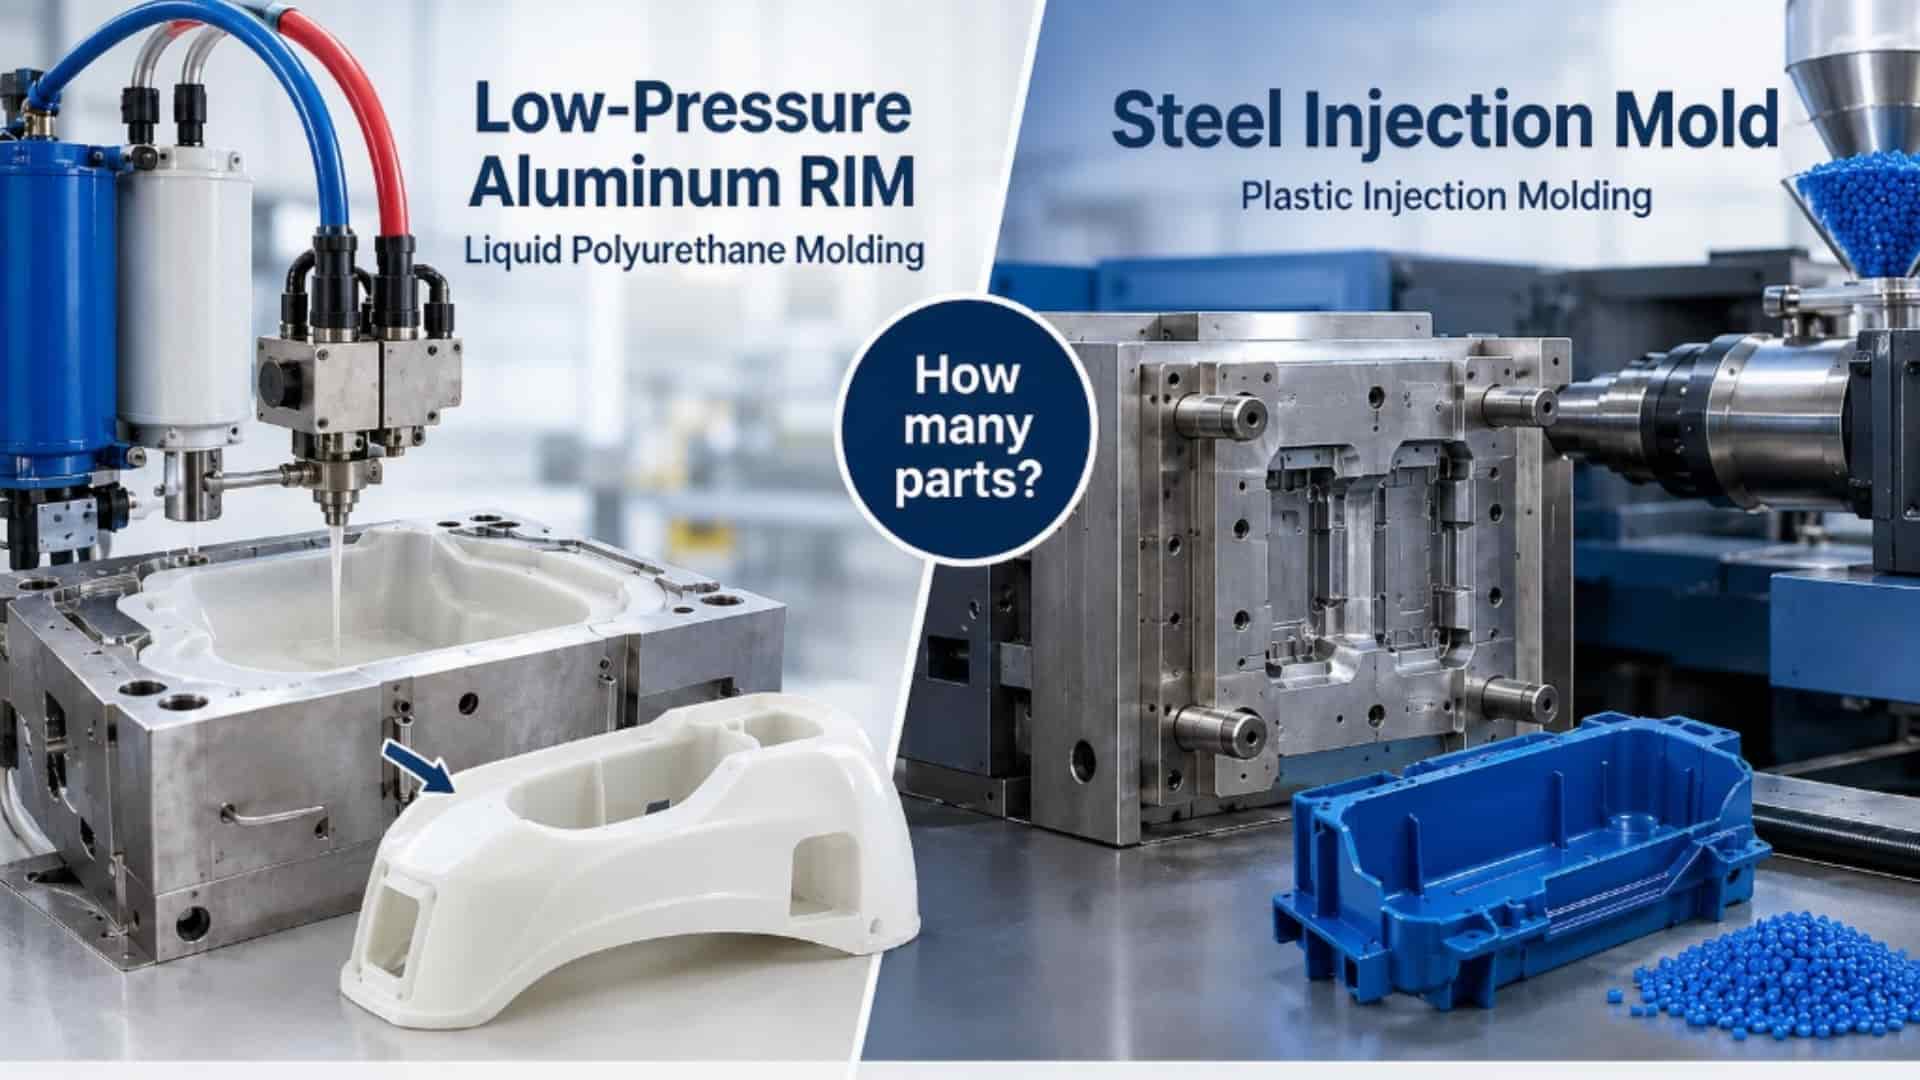
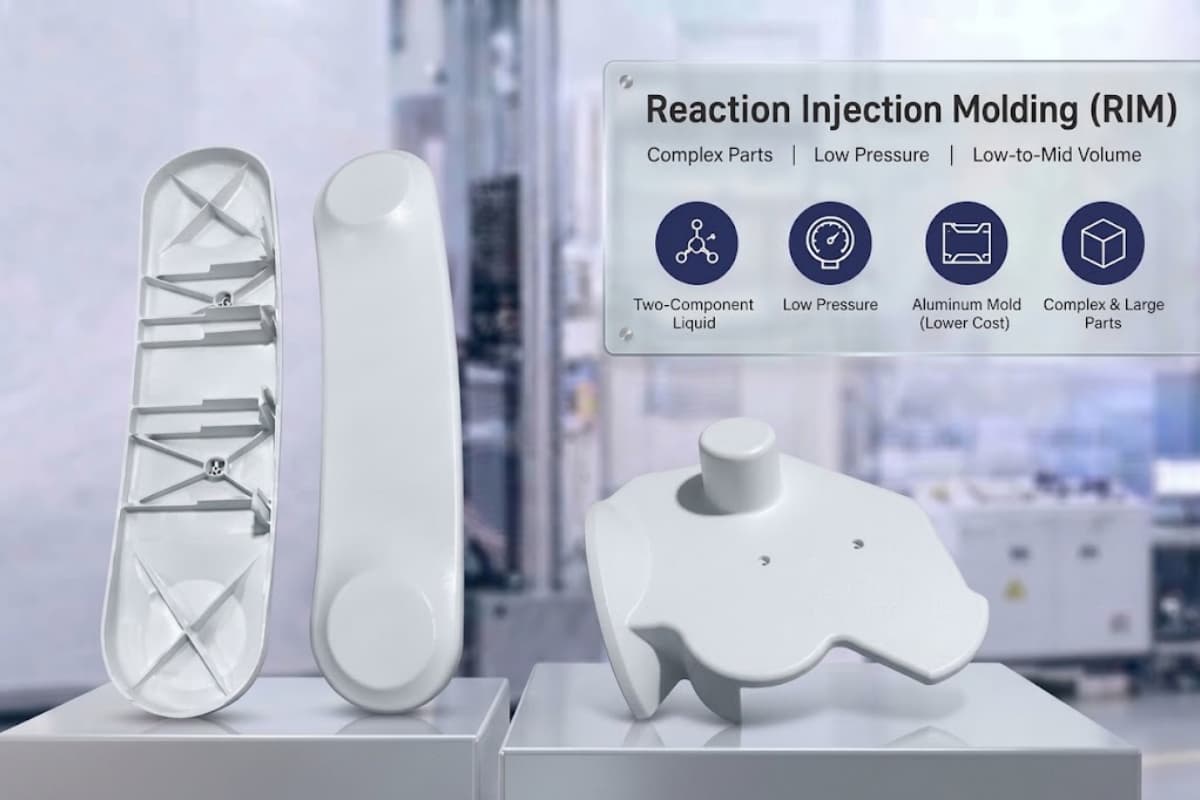
(If your part is large, thin-walled, or flexible and volumes sit in the hundreds, reaction injection molding can also be a fit — see our RIM guide.)
Choosing a rapid prototyping company
Process comparison is half the decision; the other half is who runs the processes. Five checkpoints worth scoring before you send an RFQ:
- Process coverage — CNC, 3D printing, and vacuum casting under one roof, so the method follows your stage instead of your supplier’s equipment list.
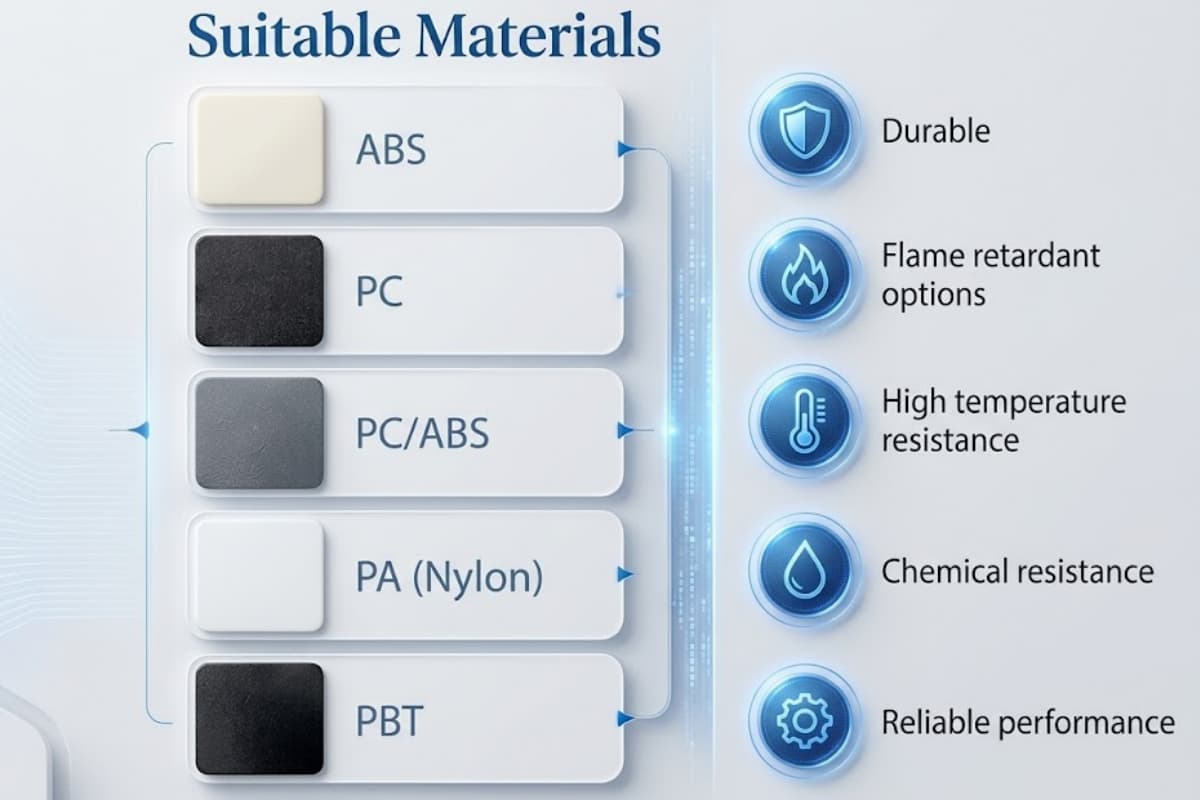
- Material library — engineering plastics (POM, PA, PC, PPS, PBT, PEEK, PSU) and metals, not just generic resins.
- Engineering support — DFM feedback on the prototype, not just file-to-part execution.
- Quality system — ISO 9001 as a baseline; IATF 16949 and ISO 13485 if your parts head to automotive or medical programs.
- Prototype-to-production path — the same team that prototypes your part should be able to mold it in volume, so nothing is lost in the handoff.
GoodTech checks all five: 2–7 day samples from CAD, 4/5-axis CNC, SLA/SLS/MJF/DLP, vacuum casting, RIM, and ISO 9001 / IATF 16949 / ISO 13485 / ISO 14001 certification with UL 746D material compliance. See the full capability list on our rapid prototyping page.
FAQ
What does a rapid prototyping service do? It converts your CAD model into physical parts — via CNC machining, 3D printing, or vacuum casting — for design verification, functional testing, and pre-production samples, typically in days rather than the weeks production tooling requires.
Which is better for prototypes: CNC, 3D printing, or vacuum casting? It depends on the question the prototype must answer. 3D printing is fastest for complex geometry iteration; CNC uses real production materials for meaningful functional testing; vacuum casting supplies tens of production-like parts for pre-production and demos.
How many parts can vacuum casting produce? A single silicone mold typically yields a limited run — commonly in the range of roughly 15–50 castings depending on geometry and material. Beyond that, RIM or bridge injection molding is more economical.
When should I switch from prototyping to injection molding? When the design is frozen and volumes exceed what prototyping processes supply economically — typically dozens to hundreds of units and up — a bridge or production injection mold becomes the right step. Our custom molding guide walks through the qualification checklist.
Conclusion
CNC, 3D printing, and vacuum casting are not competitors — they are answers to different questions. Match the process to your project stage, and use a provider that can carry the part from first print to molded production.
Contact Us:Ready to turn your CAD model into parts? Contact our engineering team for a DFM review and a prototyping plan for your stage.