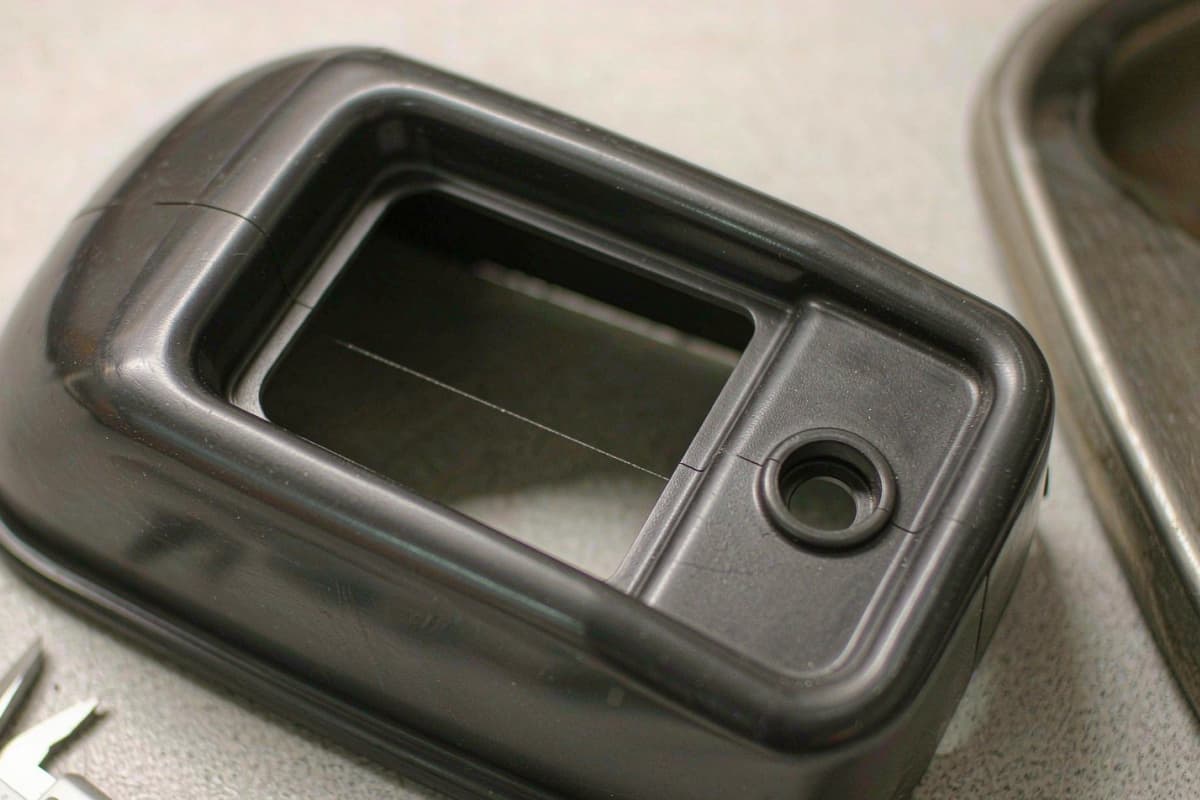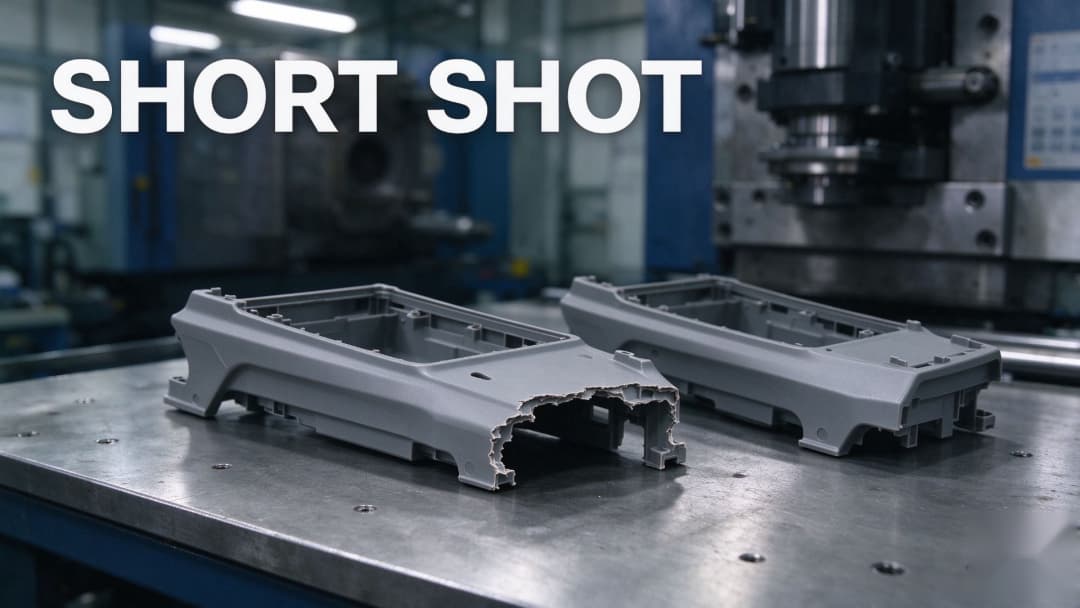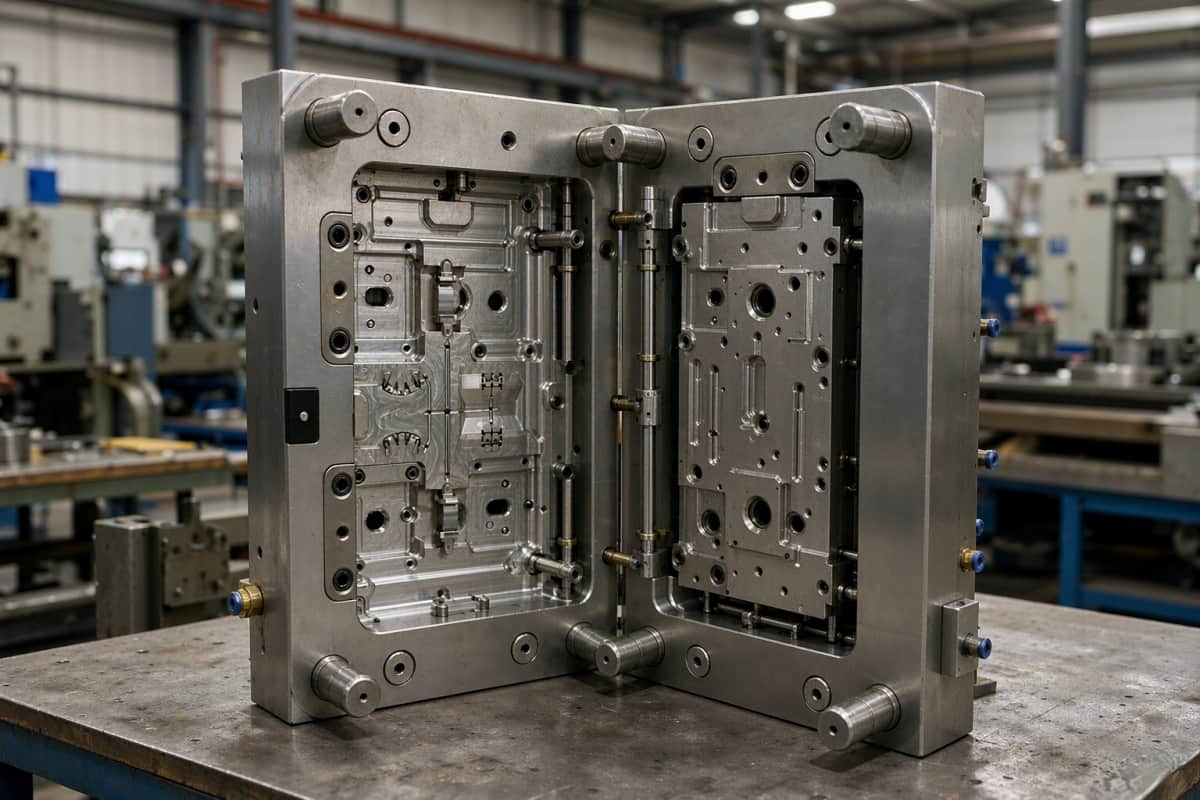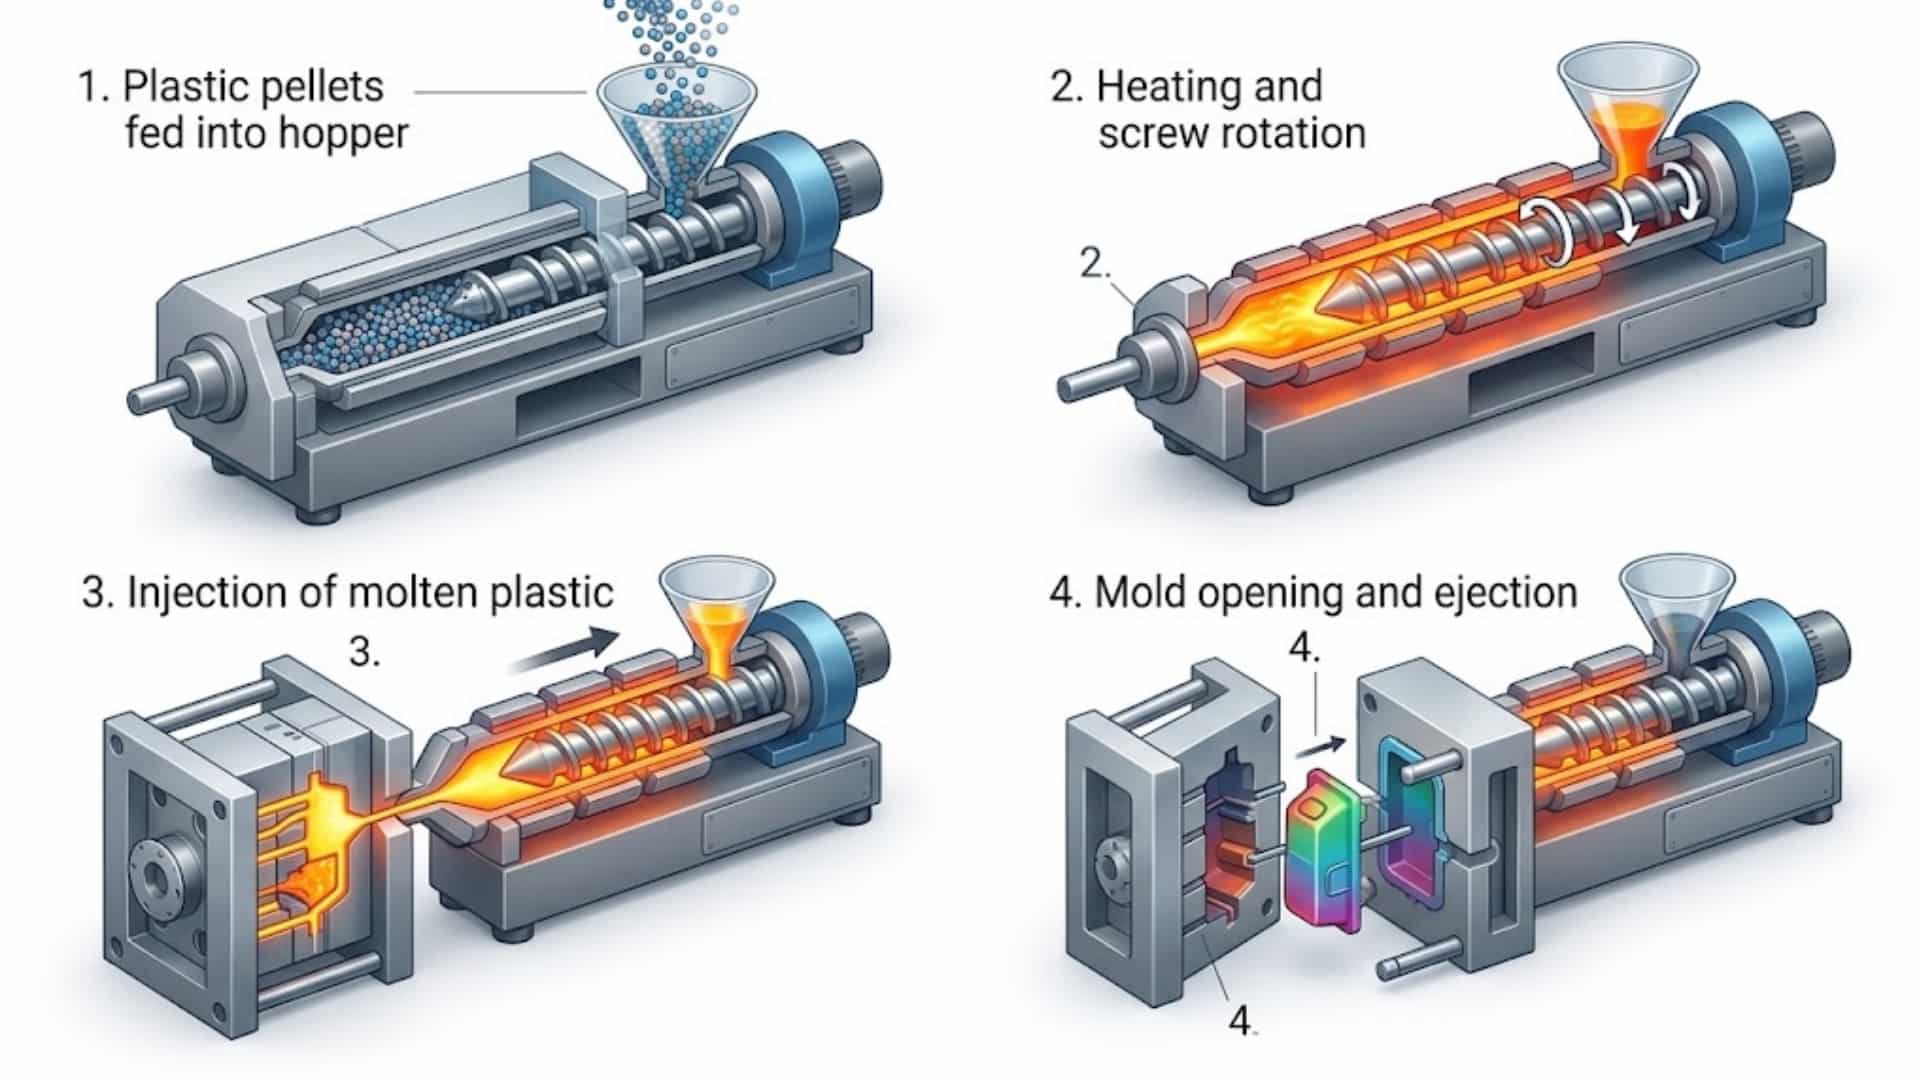

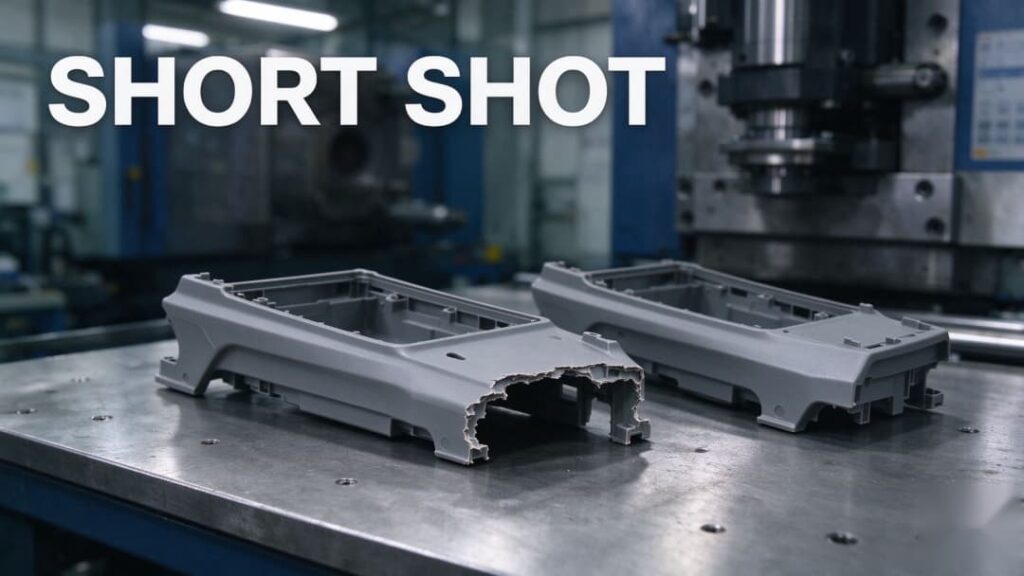
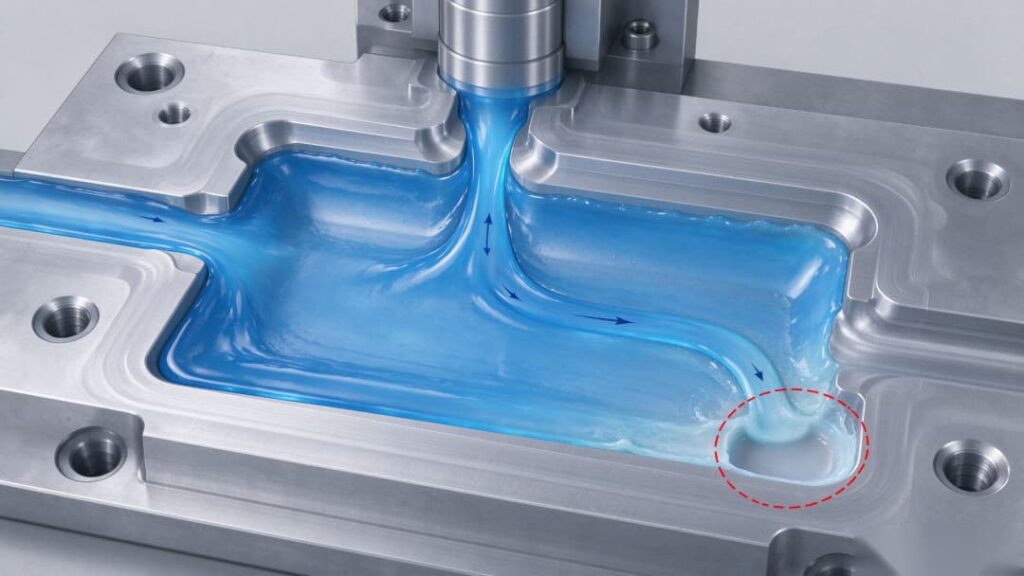
A short shot means an unfinished part: the plastic freezes or gets blocked before the cavity fills, so you end up with missing sections at the end of flow, or thin ribs that never fill at all. In plain terms, something stops the plastic before it reaches the last corner of the cavity. For the full list of molding defects, see our defects prevention guide.
1. The 7 Root Causes
| # | Cause | What happens | First check |
|---|---|---|---|
| 1 | Melt temperature too low | Cold plastic is thick and slow, so it freezes before the part is full | Measure the real melt temp — don’t trust the barrel setting |
| 2 | Injection speed too slow | The plastic slows down in thin walls and freezes there | Speed up in small steps |
| 3 | Injection pressure limit too low | The machine runs out of pressure before the part is full | Check the pressure curve at the end of fill |
| 4 | Blocked or missing vents | Trapped air pushes back and stops the plastic | Clean and check the vents (often shows up with burn marks) |
| 5 | Gate or runner too small | The gate is too small, or freezes shut before filling ends | Enlarge the gate; balance the runner |
| 6 | Wall too thin / flow path too long | The plastic has to travel too far for its wall thickness | Review the flow-length-to-wall ratio |
| 7 | Worn check-ring valve | Shot size drifts from shot to shot; shorts come and go at random | Watch the cushion over 20–30 shots |
Causes 1–3 are process problems you can fix for free, 4–6 are tool and design problems, and 7 is a machine problem. If the short shots started right after a process or material change, look at the first three first. If they come and go at random, check vents, wear, and material.
2. Quick Diagnosis: Symptom → Likely Cause
| Symptom | Likely cause | Fix first |
|---|---|---|
| Missing only at the very end of flow | Pressure or temperature limit | Raise melt temp 5–10 °C, then the pressure limit |
| Thin ribs and far edges only | Plastic freezing too early | Raise mold temp before melt temp |
| Random, inconsistent shorts | Clogged vents or material variation | Clean vents; check regrind ratio and drying |
| Only one cavity of a multi-cavity tool | Runner or gate imbalance | Check that cavity’s gates and vents |
| Shorts started suddenly on a stable job | Check-ring valve wear or a material change | Measure the cushion; check the material lot |
3. Temperature Starting Points by Resin
Plastic that cools too fast is the main culprit, so short-shot risk depends a lot on the material. These are typical starting ranges — always check the supplier’s datasheet for your grade:
| Resin | Melt temp | Mold temp | Note |
|---|---|---|---|
| PP / PE | 200–250 °C | 20–40 °C | Easy-flowing; shorts usually mean pressure or vent problems |
| ABS | 220–260 °C | 40–70 °C | Watch thin-wall sections |
| PC / PC-ABS | 280–320 °C | 80–120 °C | Thick and slow when melted — the most temperature-sensitive common resin |
| PA (nylon) | 260–290 °C | 60–90 °C | Flows easily when dry |
4. The Fix Order (Process First, Steel Last)
Process changes are free and reversible; opening a mold is not. Change one thing at a time, in this order:
- Check the material. Wrong lot, too much regrind, or wet plastic changes the flow more than any setting will.
- Measure the real melt temperature with an air shot and a probe — barrel settings are often off by 10–20 °C.
- Run a fill-only study. Shoot part-filled parts and watch where the plastic stops — hesitation zones and air traps show up clearly.
- Speed up in small steps so the plastic doesn’t freeze in thin walls.
- Check the switch-over point from speed to pressure, and watch the cushion over 20–30 shots — a moving cushion means the check-ring valve is worn.
- Only then open the mold: clean the vents, check the gates for wear or freeze-off, and look at runner balance.
One thing not to do: don’t raise pack pressure to “push more plastic in”. Filling happens during injection, before pack pressure even starts. Extra pack pressure only squeezes plastic into the gaps and causes flash. Short shots and flash are two ends of the same pressure window — fix the fill phase, not the pack phase.
5. Preventing Short Shots at the DFM Stage
- Keep flow length within about 100–150× the wall thickness for free-flowing plastics, and much less for PC and filled grades — otherwise add a second gate. Our DFM design guide lists the limits for each material.
- Keep walls even, and size gates for the flow path, not just the part size — see our gate design guide.
- Add vents where the flow ends, not just on the parting line — deep ribs and last-to-fill corners need their own vents.
FAQ
What is the main cause of short shots?
The plastic freezes before it fills the cavity. The usual reasons: melt temperature set too low, injection speed too slow, or a flow path that’s too hard — small gates, thin walls, or long distances.
Will increasing packing pressure fix a short shot?
No. The part fills during injection, before pack pressure does anything. Extra pack pressure just causes flash. Fix the fill side instead — temperature, speed, vents, or gate size.
Can part design prevent short shots?
Mostly, yes. Even walls, a reasonable flow length for the wall thickness, well-sized gates, and good venting remove most short-shot risk before the mold is even made.
Related Reading
- Common Injection Molding Defects: Prevention Guide
- Injection Molding Flash: Causes, Prevention, and How to Fix It
- Injection Molding Gate Types: 8 Designs Compared
Short shots get solved fastest when material, process, and tool are checked together. Our engineers review flow length, gate size, and venting on every custom injection molding project before the steel is cut. If your parts keep coming out short, send us the drawing, the resin grade, and your process settings — a focused engineering review is faster than a new tool.