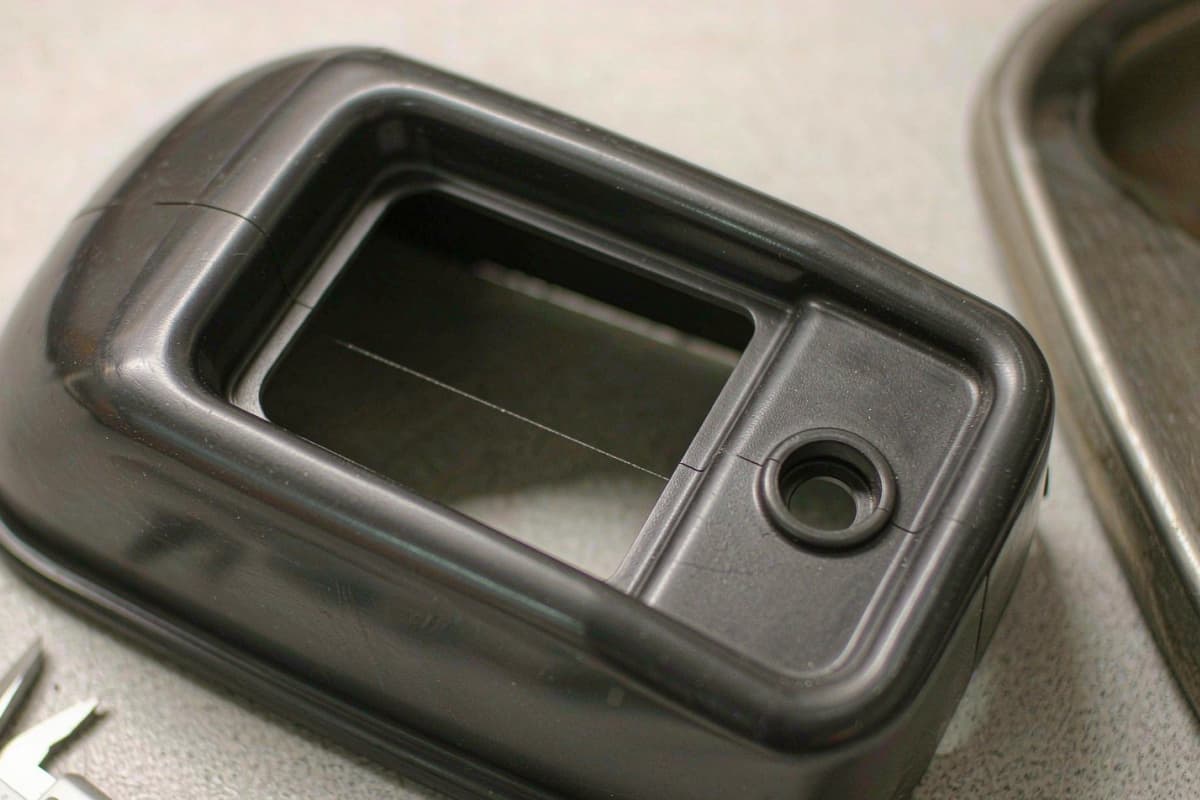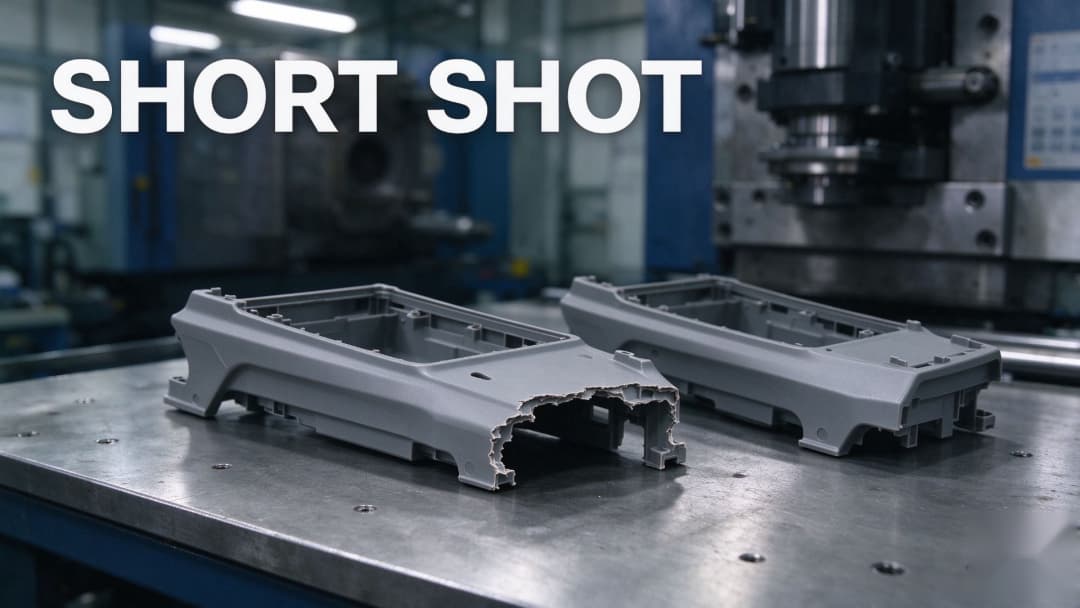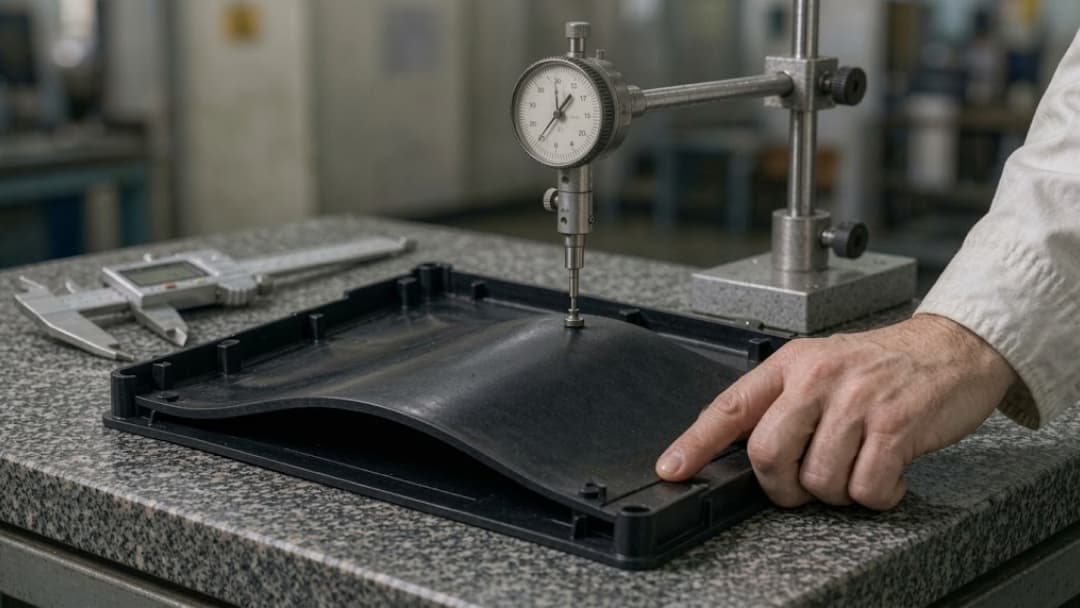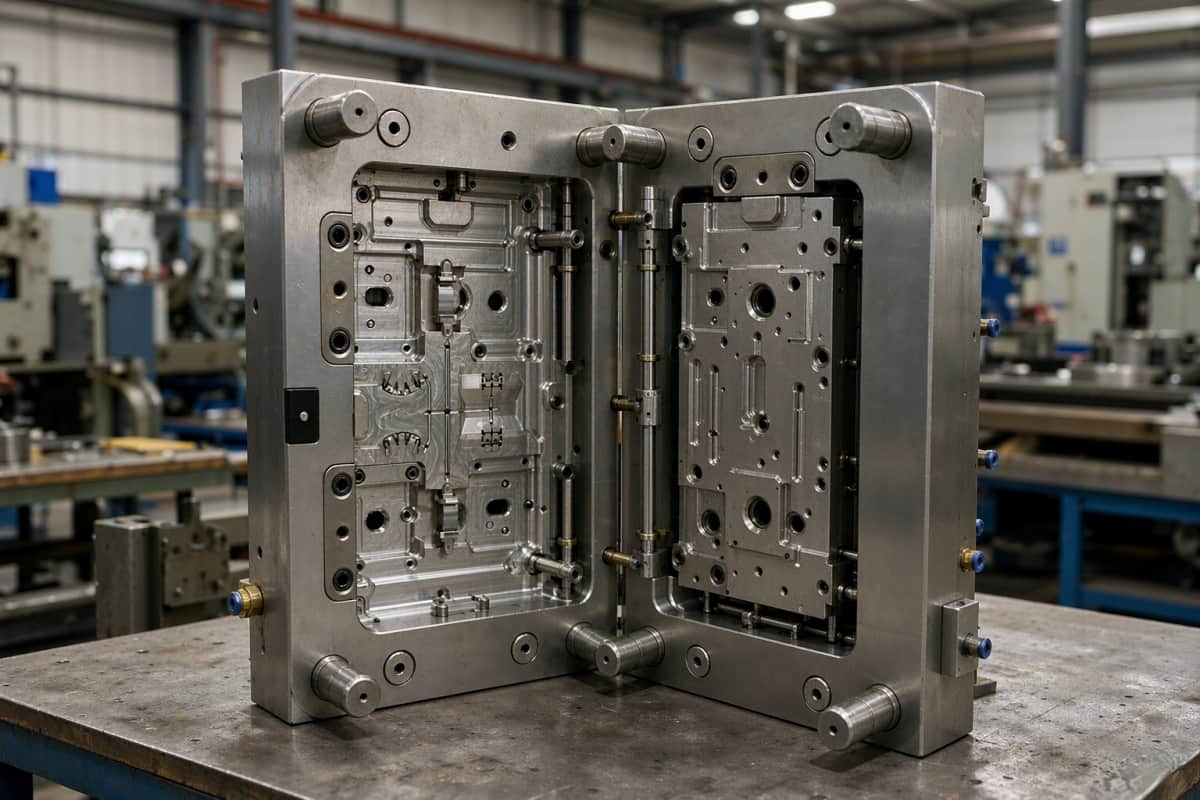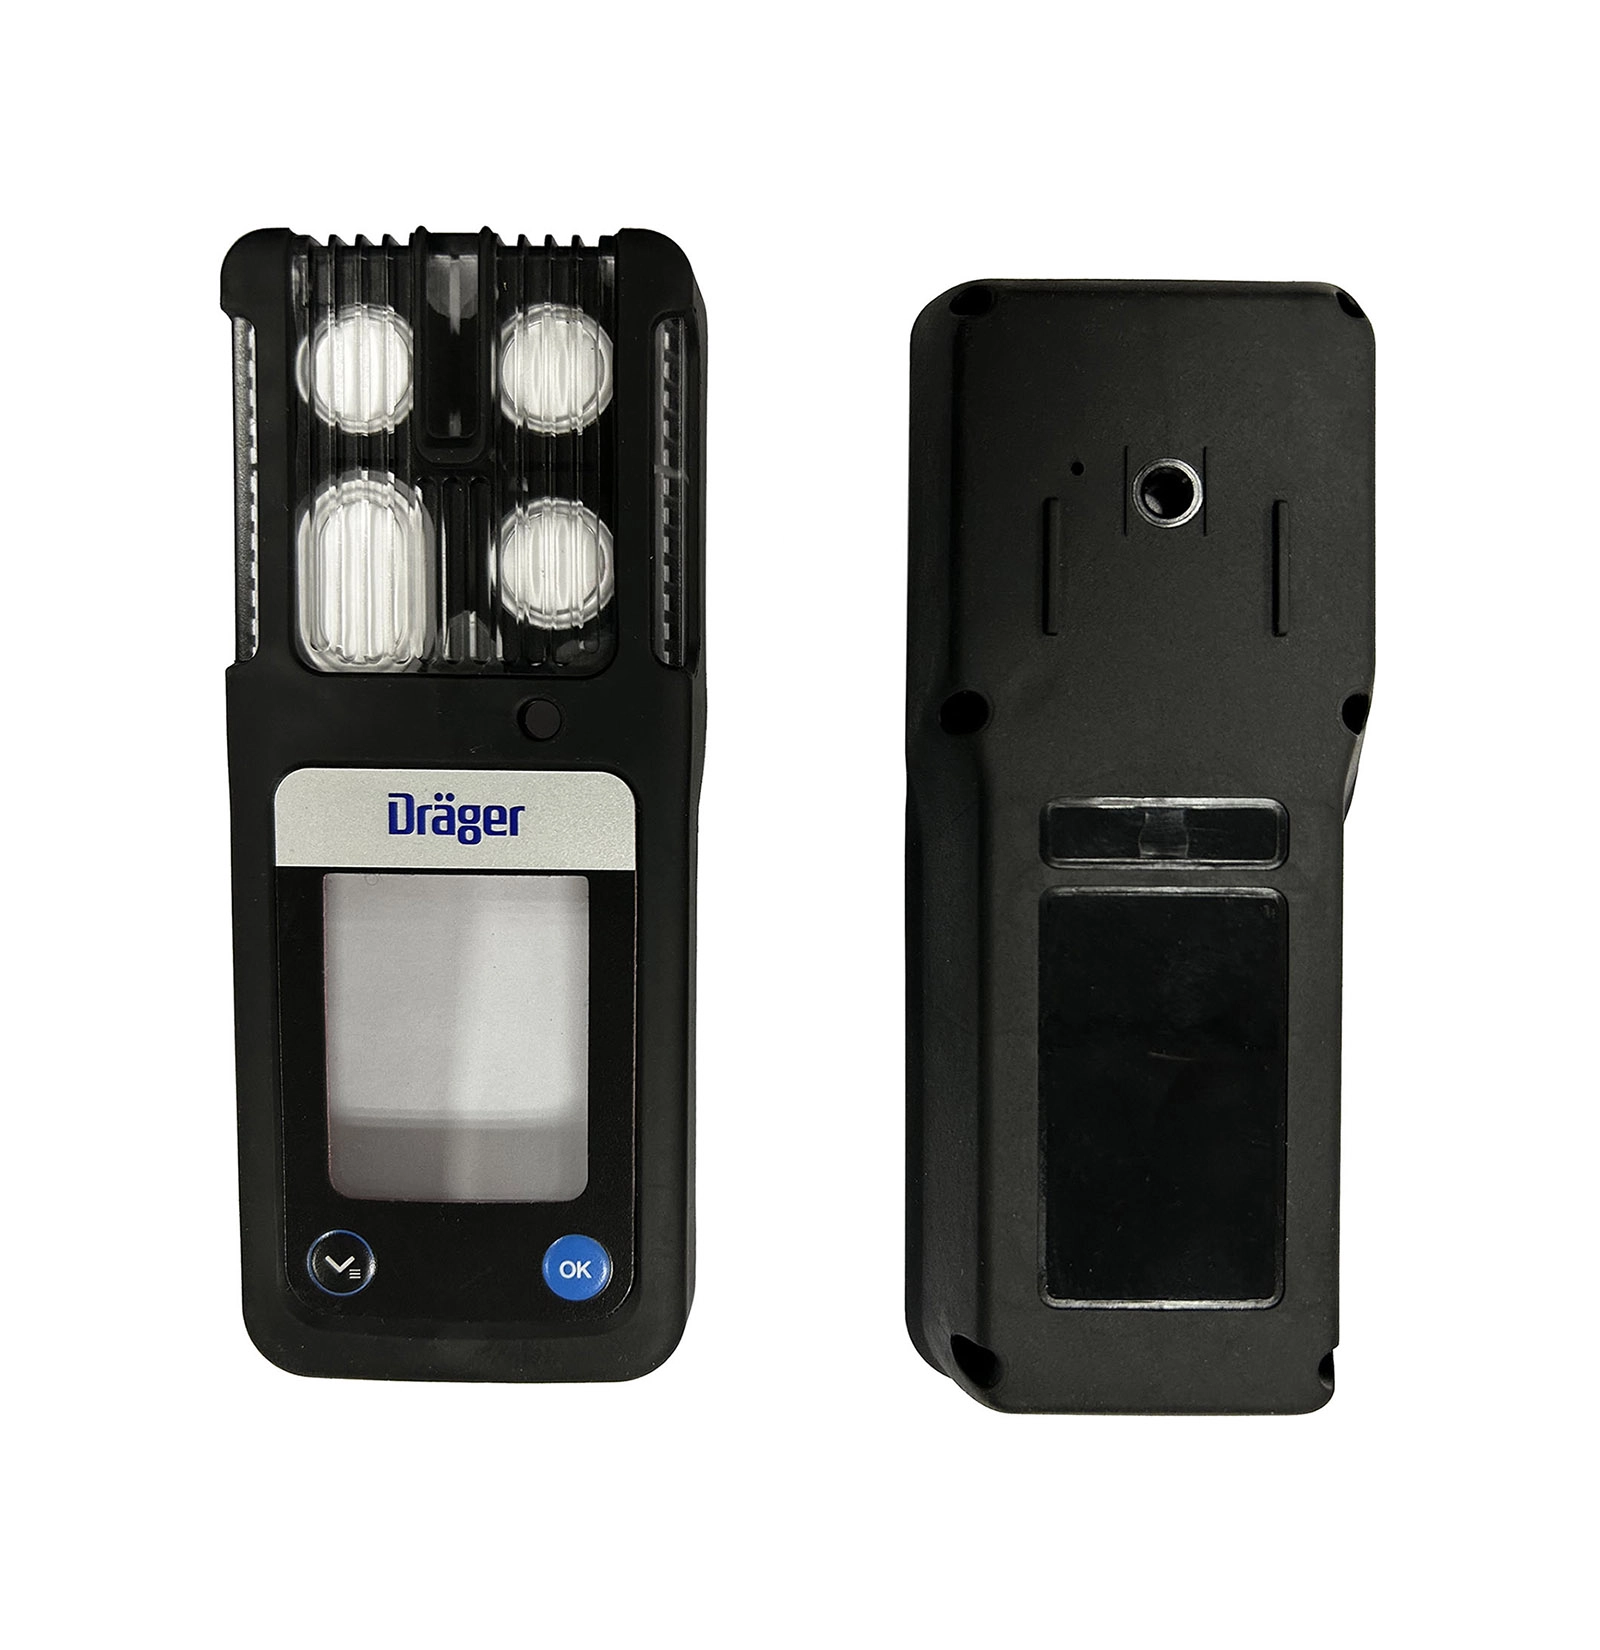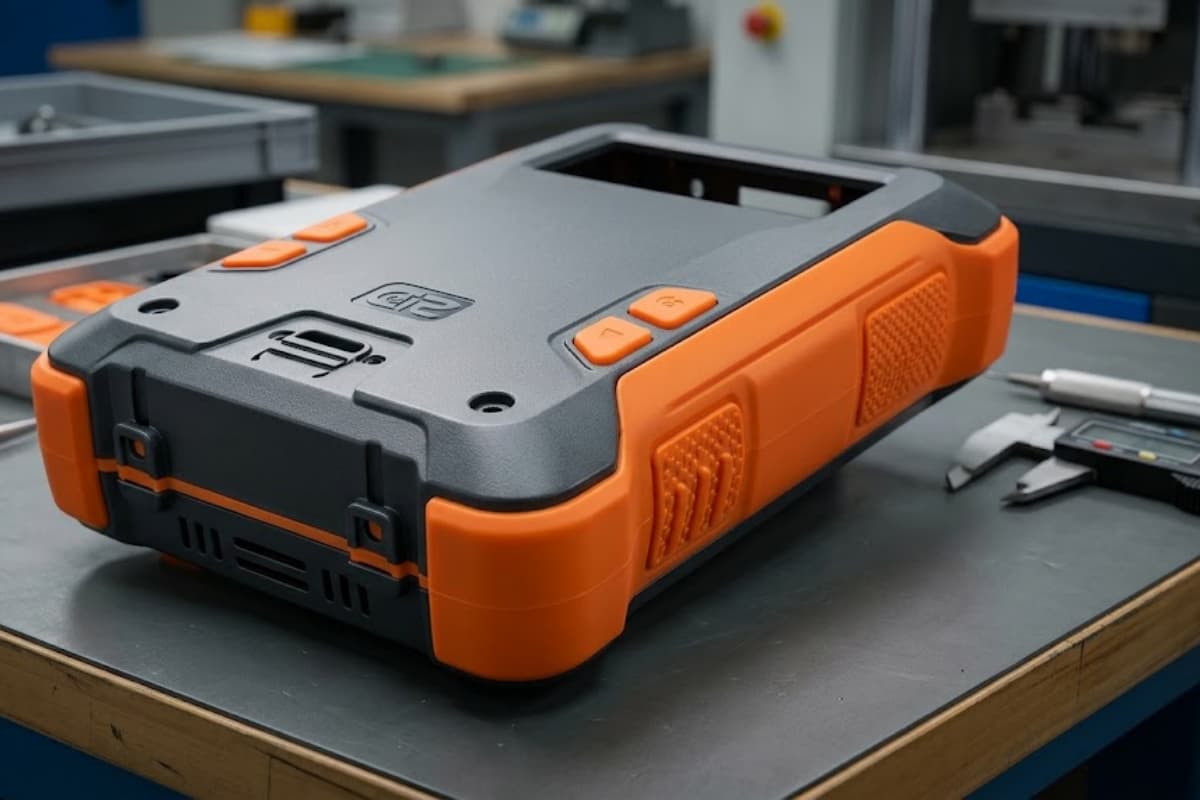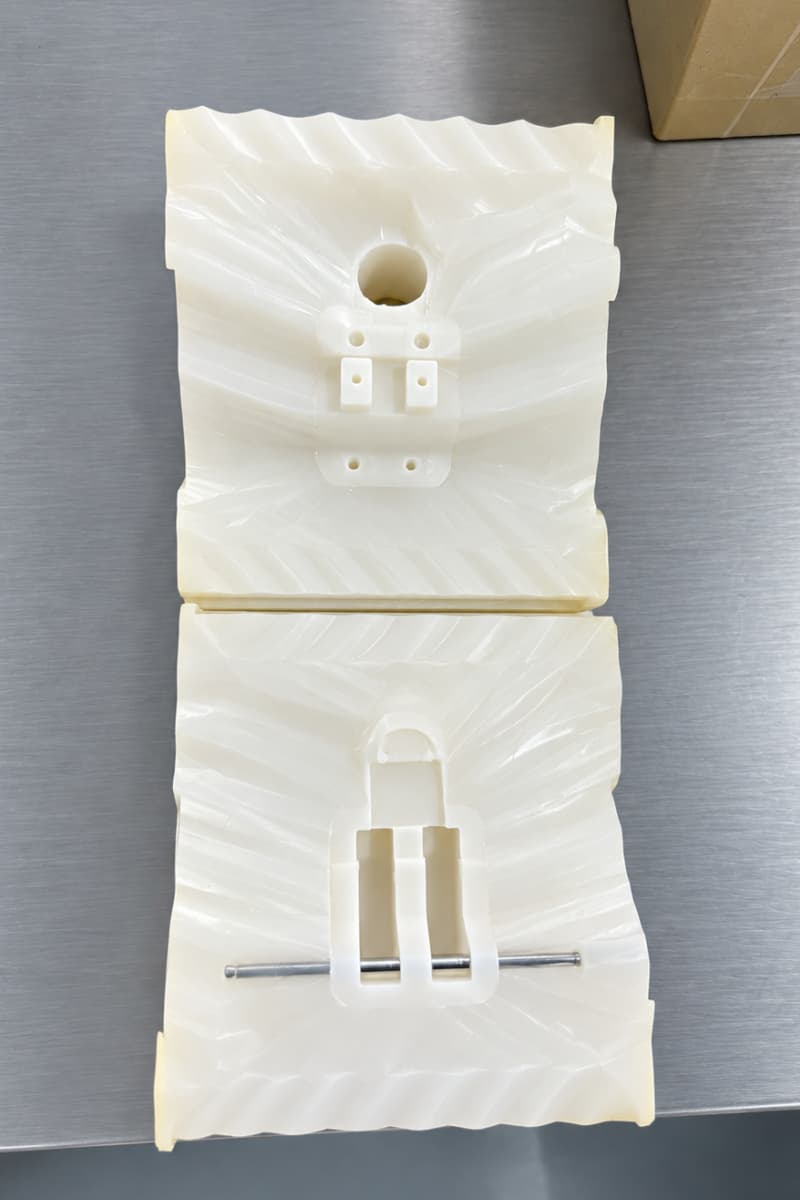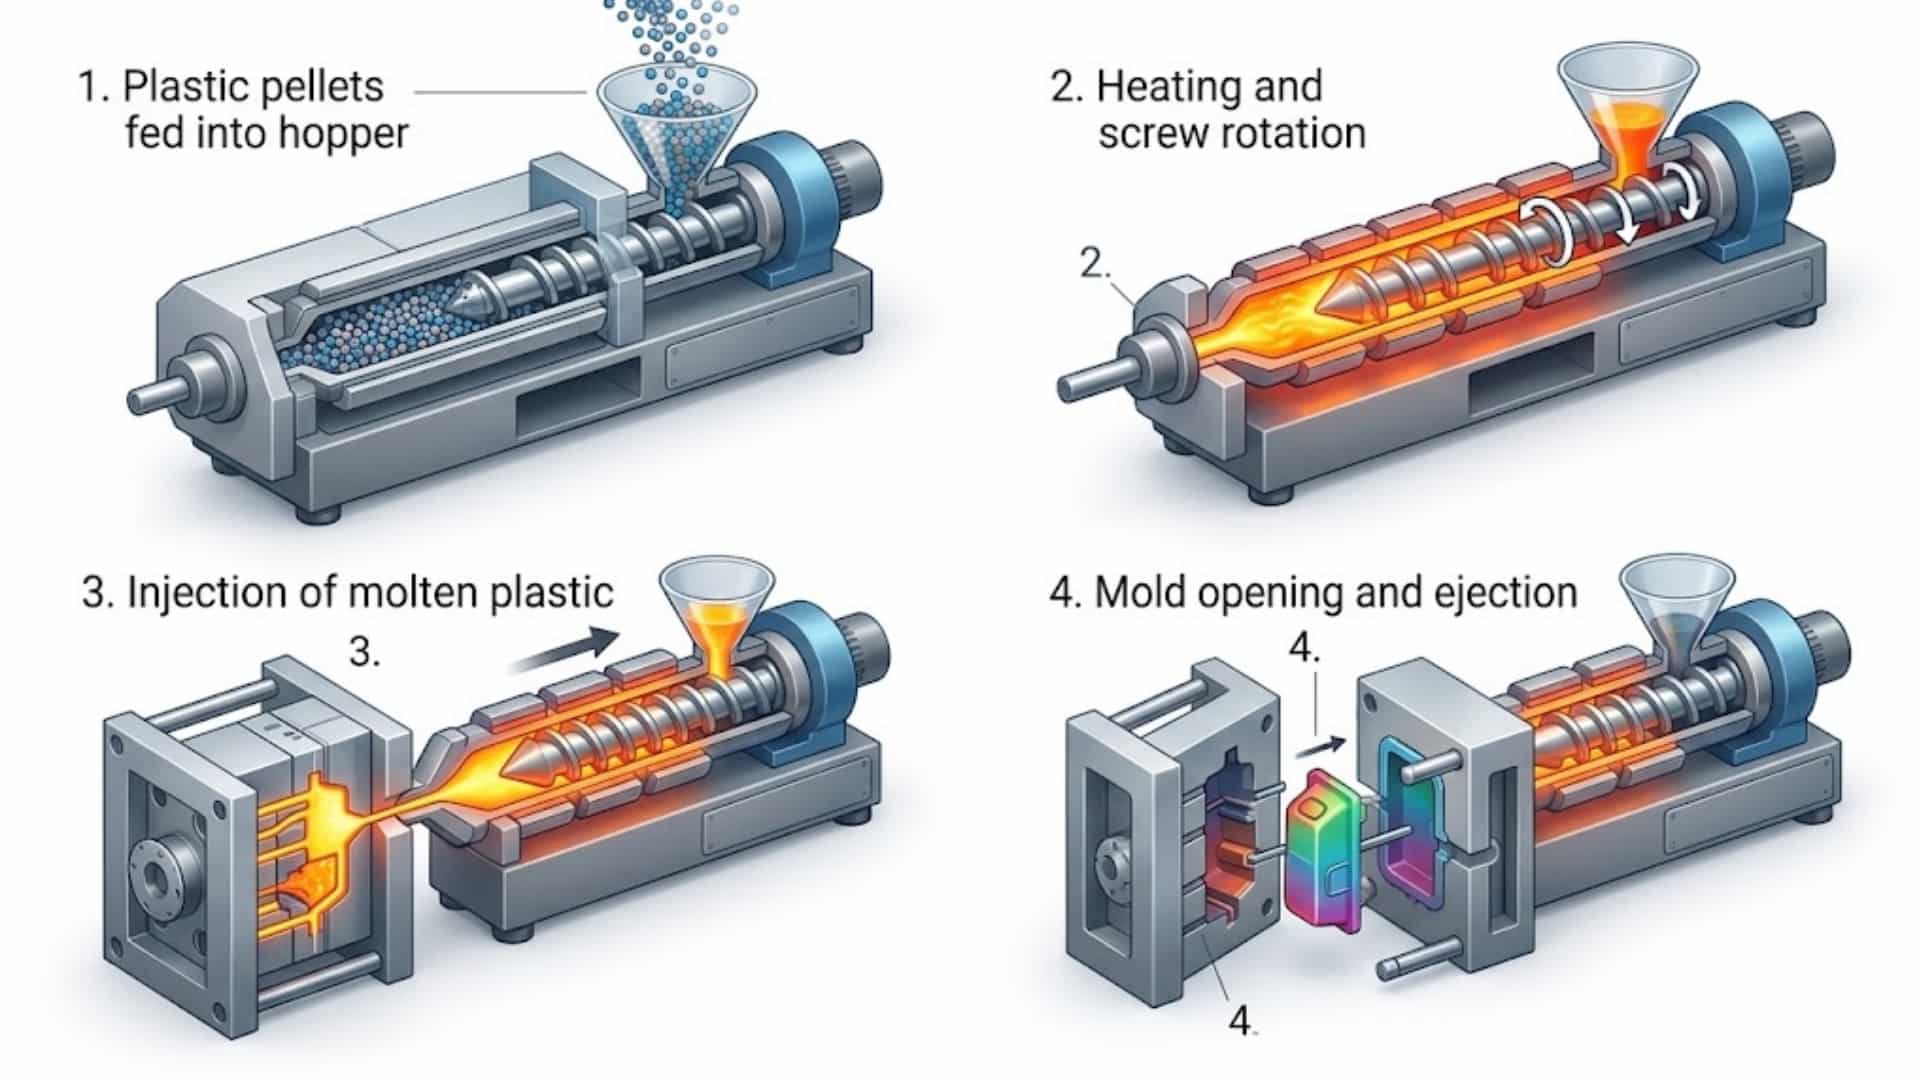

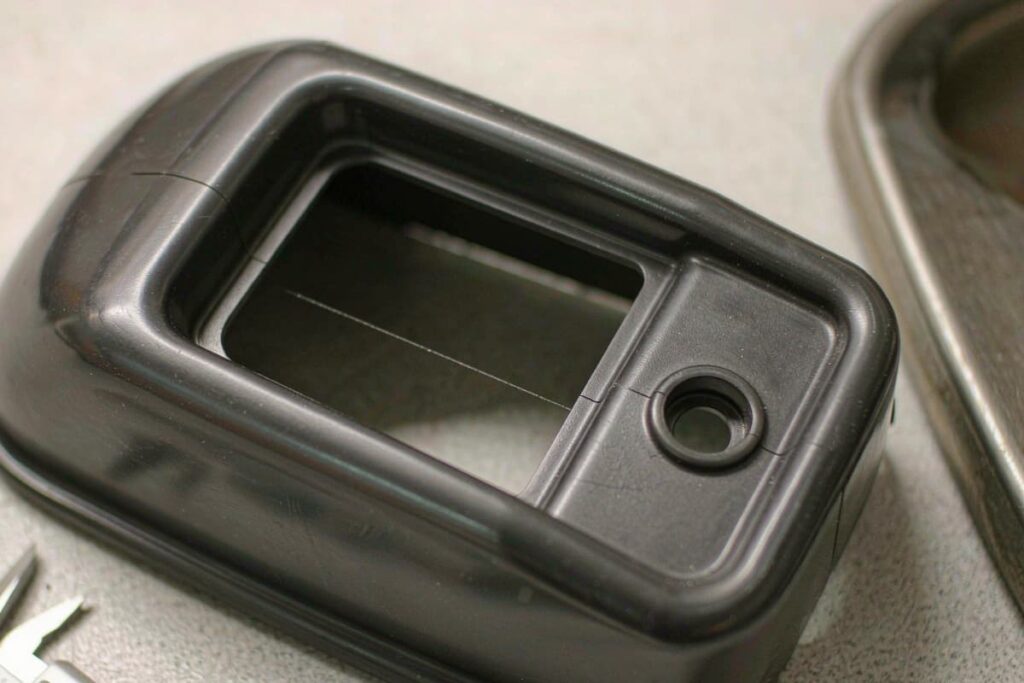
A weld line (also called a knit line) is the mark left where two flows of molten plastic meet inside the cavity. The plastic flows around a hole, a boss, or comes in from two gates — then the two fronts run into each other. If they’re still hot, they bond well and the line is barely visible. If they’ve cooled on the way, they only partly bond, and you get a visible line and a weak spot in the part. For the full list of molding defects, see our defects prevention guide.
1. Where Weld Lines Show Up
Weld lines appear wherever one flow of plastic splits into two and meets again:
- Around holes and slots — the flow splits to pass the hole and joins behind it
- Behind bosses and ribs — same split-and-join pattern
- Around inserts — metal inserts split the flow the same way
- Between multiple gates — fronts from different gates meet somewhere in the middle
The meeting point is predictable, which is good news: it means you can plan where the weld line lands before the mold is even made.
2. The 7 Root Causes of Weak or Visible Weld Lines
| # | Cause | What happens | First check |
|---|---|---|---|
| 1 | Melt temperature too low | The fronts are too cold to bond when they meet | Measure the real melt temp, not the barrel setting |
| 2 | Mold temperature too low | The surface freezes the fronts before they fuse | Raise mold temp toward the datasheet’s upper range |
| 3 | Injection speed too slow | The fronts lose heat on the way and meet cold | Speed up in small steps |
| 4 | Gate in the wrong place | Fronts meet at a bad spot — on a face you see, or a load-bearing area | Review gate location (Section 5) |
| 5 | No vent at the meeting point | Trapped air blocks and cools the fronts; the weld turns out weak or burns | Add a vent where the fronts join |
| 6 | Thick-to-thin wall changes | Uneven cooling makes the fronts meet at different temperatures | Even out the walls |
| 7 | Fillers and additives | Glass fiber or heavy pigment keeps the fronts from bonding cleanly | Check the grade; consider a better-flowing version |
Causes 1–3 are process settings you can change for free, 4–6 are tool and design decisions, and 7 is material. Weld lines that look bad on a stable job are almost always temperature or speed; weak parts that fail testing are usually venting, gate location, or material.
3. How Much Strength Does a Weld Line Cost?
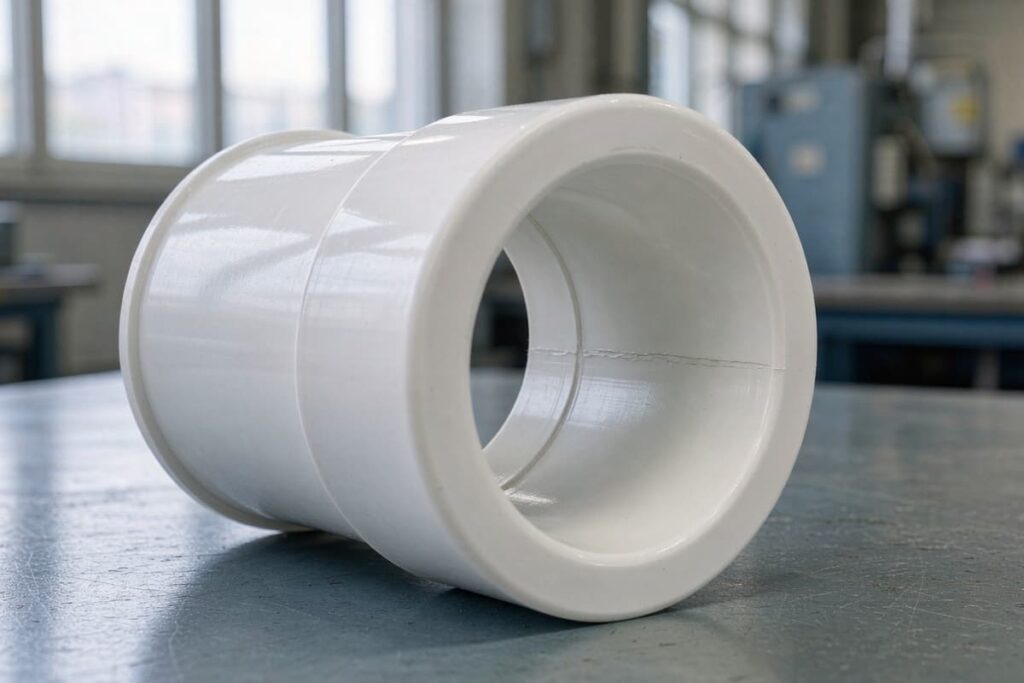
This is the number most articles skip, and the one engineers actually need:
| Condition at the meeting point | Typical strength recovery vs. base resin | What you’ll see |
|---|---|---|
| Hot fronts, good bonding | 85–95% | Faint line, cosmetic concern only |
| Warm fronts, fair bonding | 60–80% | Visible line; acceptable for non-structural parts |
| Cold fronts, poor bonding | 30–50% | Strong line; cracks under load, fails drop tests |
Two rules follow from this. First, never put a weld line on a load-bearing feature — a snap-fit arm, a screw boss, a hinge. Second, if the part must be strong at the weld, spend your effort on temperature (melt and mold) and venting, because those decide which row of the table you land in. Glass-filled parts are the hardest case: the fibers don’t cross the weld, so even a good-looking line is a mechanical weak point.
4. The Fix Order (Process First, Steel Last)
Change one thing at a time, in this order:
- Raise the melt temperature in 5–10 °C steps — the cheapest way to make fronts bond.
- Raise the mold temperature. A hot cavity surface keeps the fronts soft until they fuse. For PC and other thick-flowing resins this matters more than melt temp.
- Speed up the injection so the fronts arrive at the meeting point before they cool.
- Clean and add vents at the meeting point. Trapped air both cools the fronts and burns the part — a vent where the fronts join fixes both.
- Check the packing profile. After the fronts join, hold pressure should push them firmly together while they freeze.
- Only then touch the tool: move or resize the gate, or add a flow leader to steer the meeting point.
If the line is only a cosmetic issue, another trick works well: bump the mold temperature high on purpose at the weld area (sequential or steam heating on high-end tools), or switch to a matte or textured surface there — textured surfaces hide weld lines almost completely.
5. Preventing Weld Lines at the DFM Stage
- Move the weld line to a spot that doesn’t matter. This is the highest-leverage decision. Shift the gate so the fronts meet on a hidden face, an edge, or a low-load area — our gate design guide shows how gate type changes the meeting point.
- Use one gate instead of two when you can. Fewer gates mean fewer meeting points — but watch the flow-length-to-wall limits in our DFM design guide.
- Keep walls even so the fronts meet at similar temperatures.
- Plan a vent at the expected meeting point — where Moldflow says the fronts will join, put a vent.
- Run Moldflow on multi-gate or hole-rich parts. Simulation draws the exact weld line location before steel is cut, when moving it is free.
FAQ
Are weld lines always a defect?
No. Nearly every part with a hole or more than one gate has a weld line somewhere. It becomes a defect when it lands on a visible face on a cosmetic part, or on a feature that carries load. If it’s hidden and the part passes strength testing, it’s just a fact of molding.
How much strength does a weld line lose?
It depends on how hot the fronts are when they meet: well-bonded hot welds recover 85–95% of the base strength, while cold, poorly bonded welds can drop to 30–50%. Glass-filled resins lose more, because the fibers don’t cross the weld.
Can weld lines be removed from cosmetic surfaces?
Often, yes — by moving the gate so the meeting point shifts off the visible face, raising melt and mold temperatures to make the line fainter, or texturing the surface to hide it. Moving the gate is the most reliable of the three.
Related Reading
- Common Injection Molding Defects: Prevention Guide
- Injection Molding Flash: Causes, Prevention, and How to Fix It
- Short Shots in Injection Molding: Causes & Fixes
- Injection Molding Gate Types: 8 Designs Compared
Weld lines can’t always be removed — but they can almost always be moved, or made strong enough to stop mattering. Our engineers review gate location, venting, and weld-line risk on every custom injection molding project before the steel is cut. If a weld line is failing your parts, send us the drawing and the resin grade — a focused engineering review is faster than a new tool.