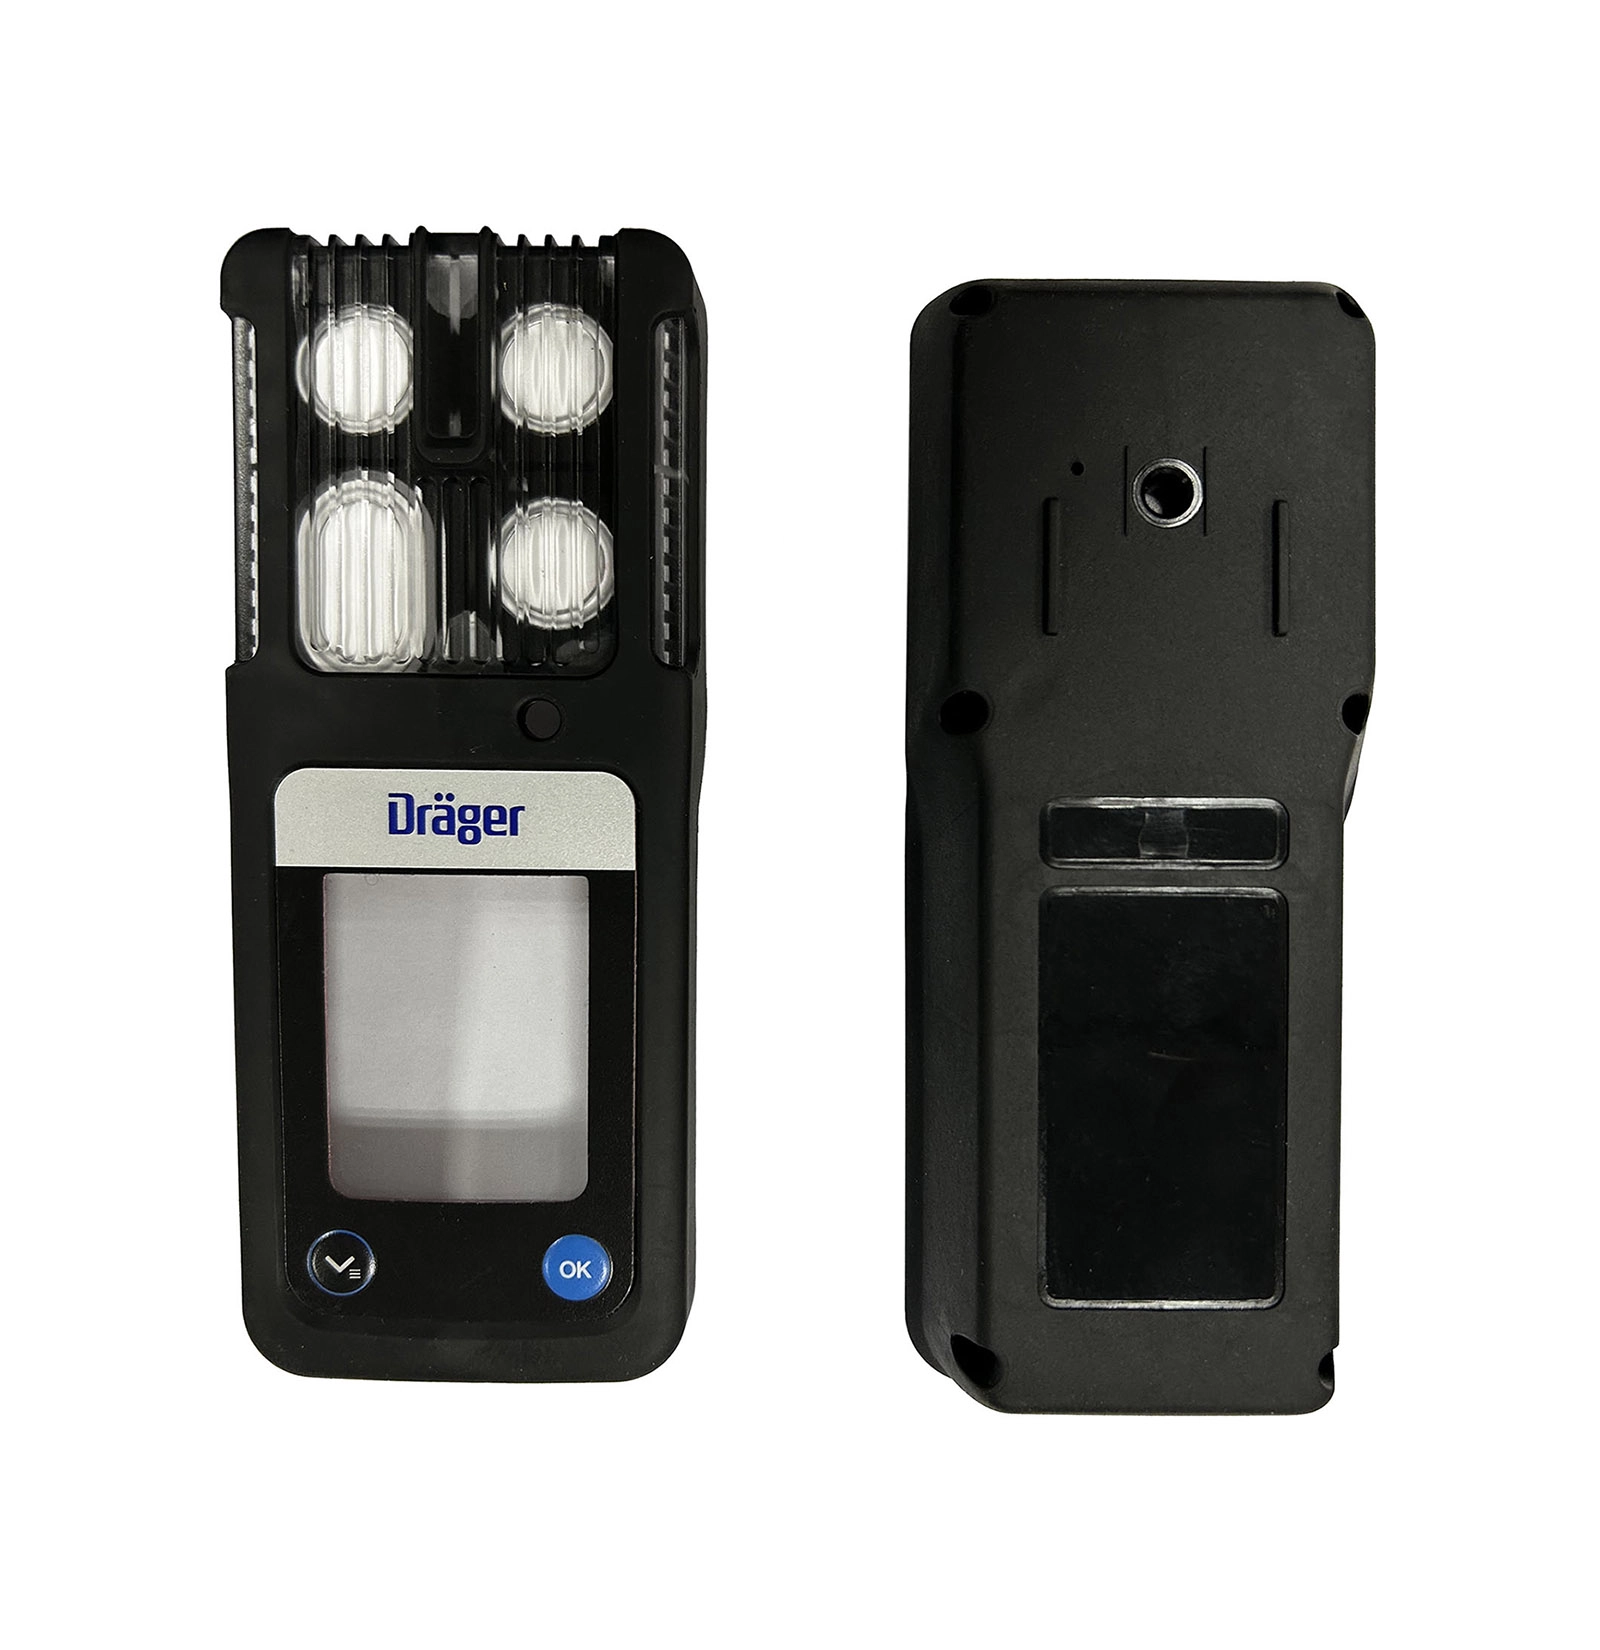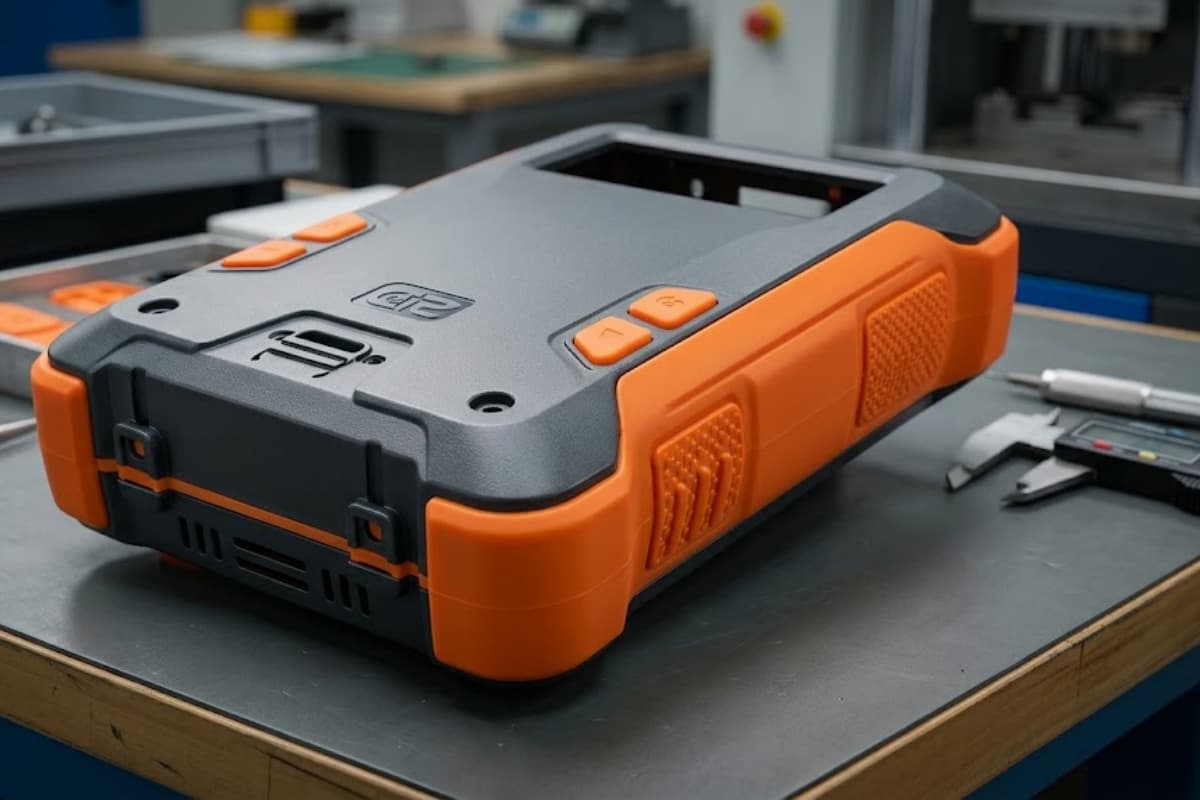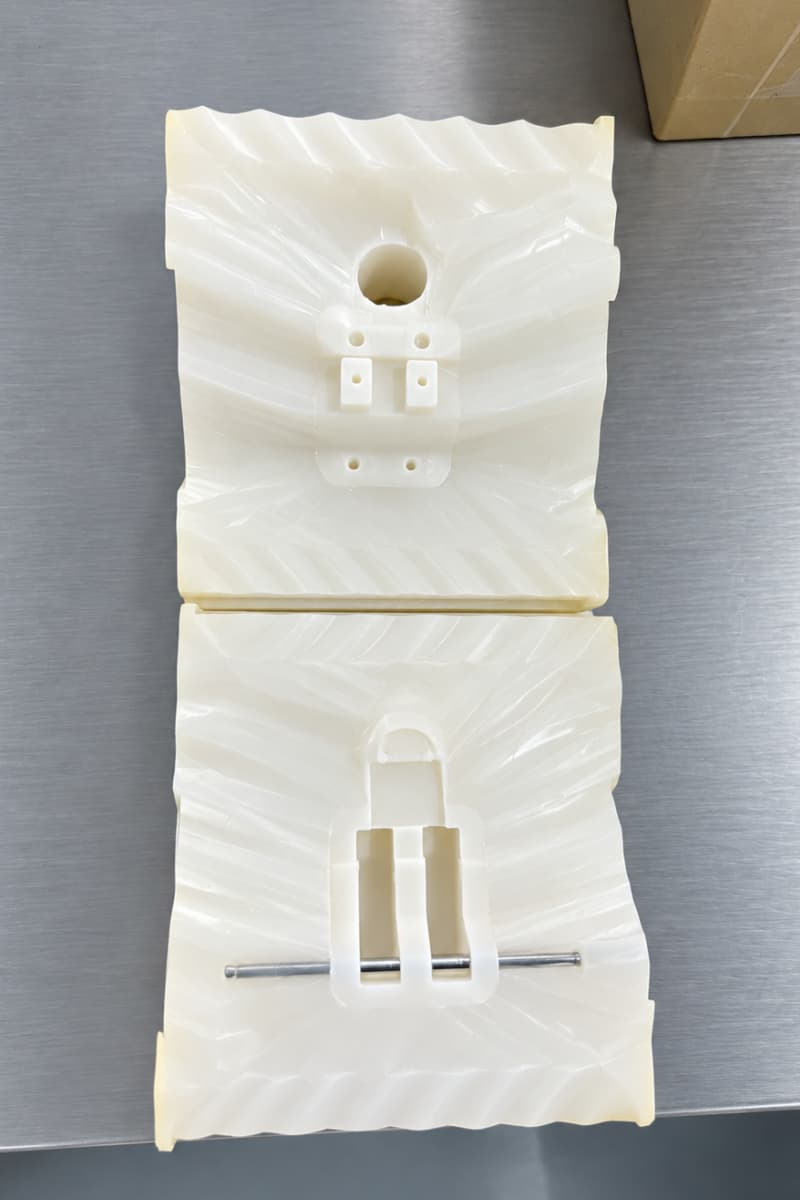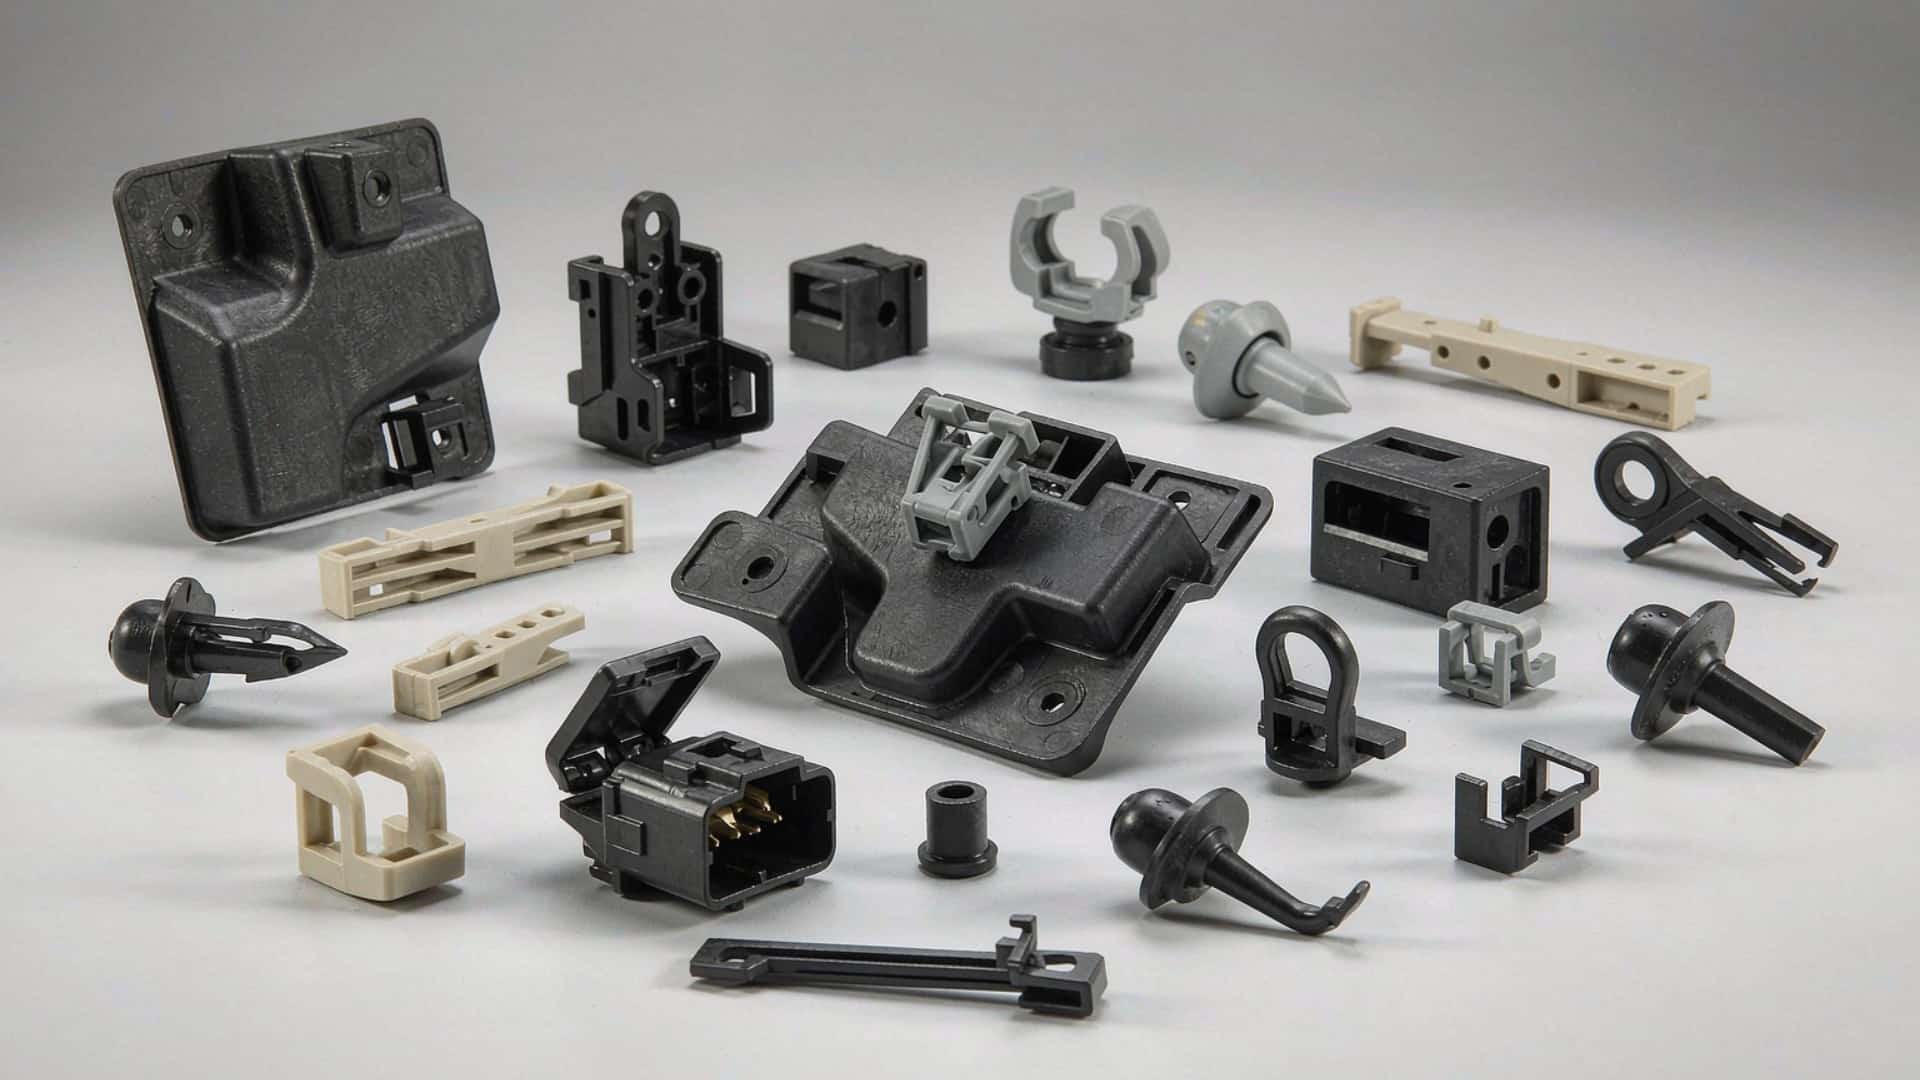

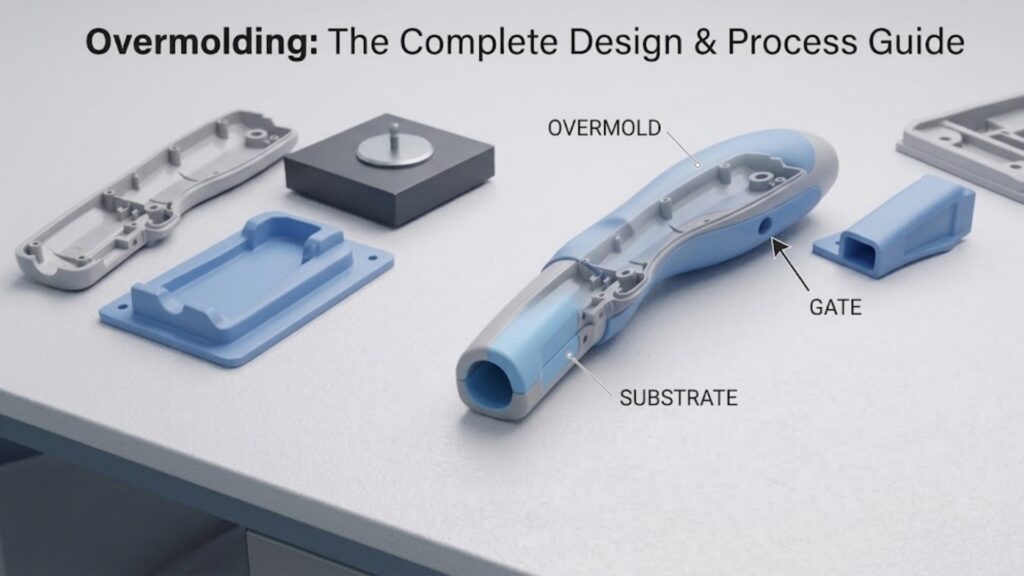
Overmolding is a manufacturing process that molds a second material — usually a thermoplastic elastomer (TPE), thermoplastic polyurethane (TPU), or silicone — over a pre-formed rigid substrate to add grip, sealing, cushioning, or electrical insulation in a single integrated part. Whether the process pays off depends on three factors: material compatibility between the two layers, the bond mechanism (chemical, mechanical, or both), and the production volume that determines whether a two-shot or pick-and-place method makes sense. This guide explains how overmolding works, how it compares with insert molding and two-shot molding, which material pairs actually bond, the design rules that prevent delamination, and what to send your molder before requesting a quote.
How Overmolding Works (Process Steps)
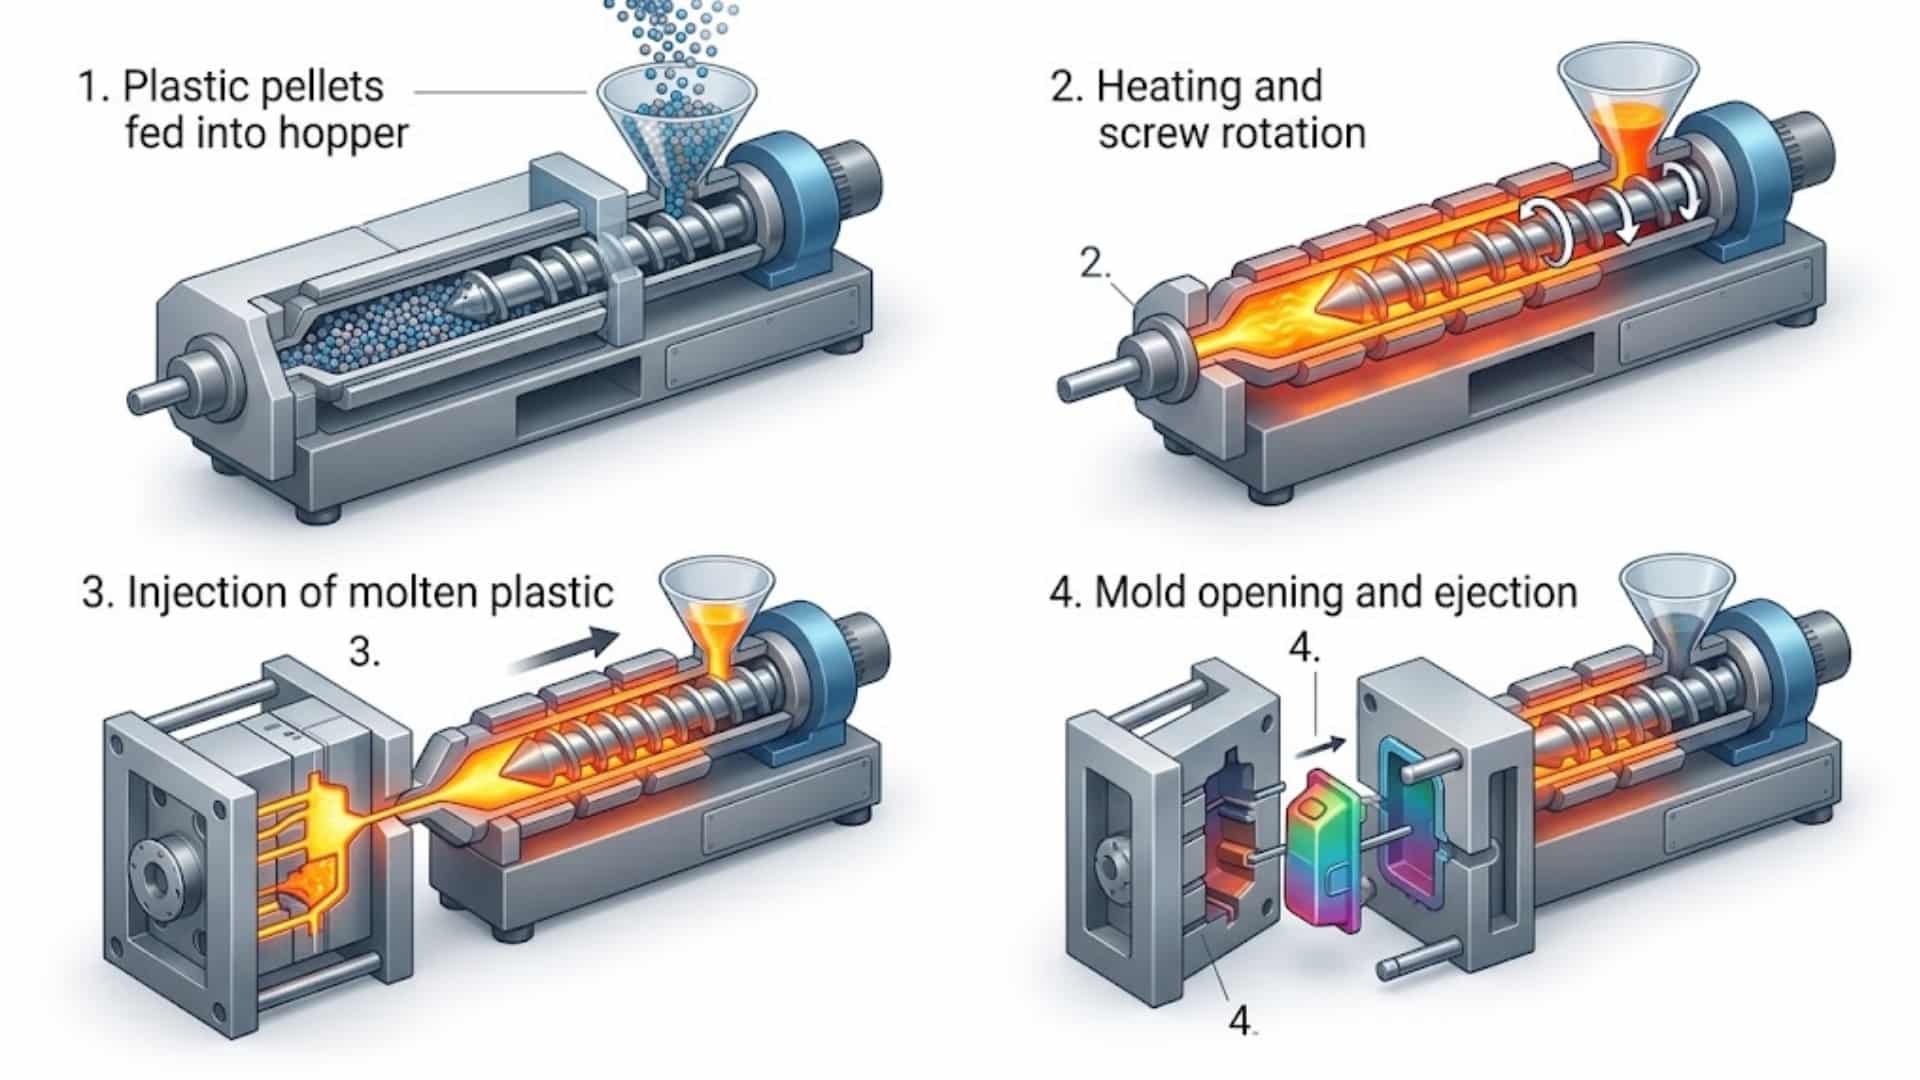
Overmolding joins two materials in two distinct molding operations rather than assembling them afterward. The method removes secondary gluing, fitting, or press operations and produces one sealed component.
- Mold the substrate. The rigid base part (often ABS, PC, PA, or PP) is injection molded in its own cavity. It must be designed from the start to receive the second layer: it needs bond areas, draft, and often texture or undercuts.
- Transfer the substrate. In pick-and-place (transfer) overmolding, the cooled substrate is loaded into a second mold. In two-shot (2K) molding, the same machine rotates or shifts the substrate into the second cavity while it is still warm.
- Inject the overmold. The soft material is injected over the defined bond areas. Because the substrate is warm in two-shot molding, the two layers fuse at a molecular level where chemistry allows; in transfer molding the substrate is cold, so bond strength depends more on surface preparation and mechanical interlocks.
- Cool, eject, and inspect. The part is demolded as one unit. Bond validation (typically a 90-degree peel test on prototype parts) confirms the interface will hold in service.
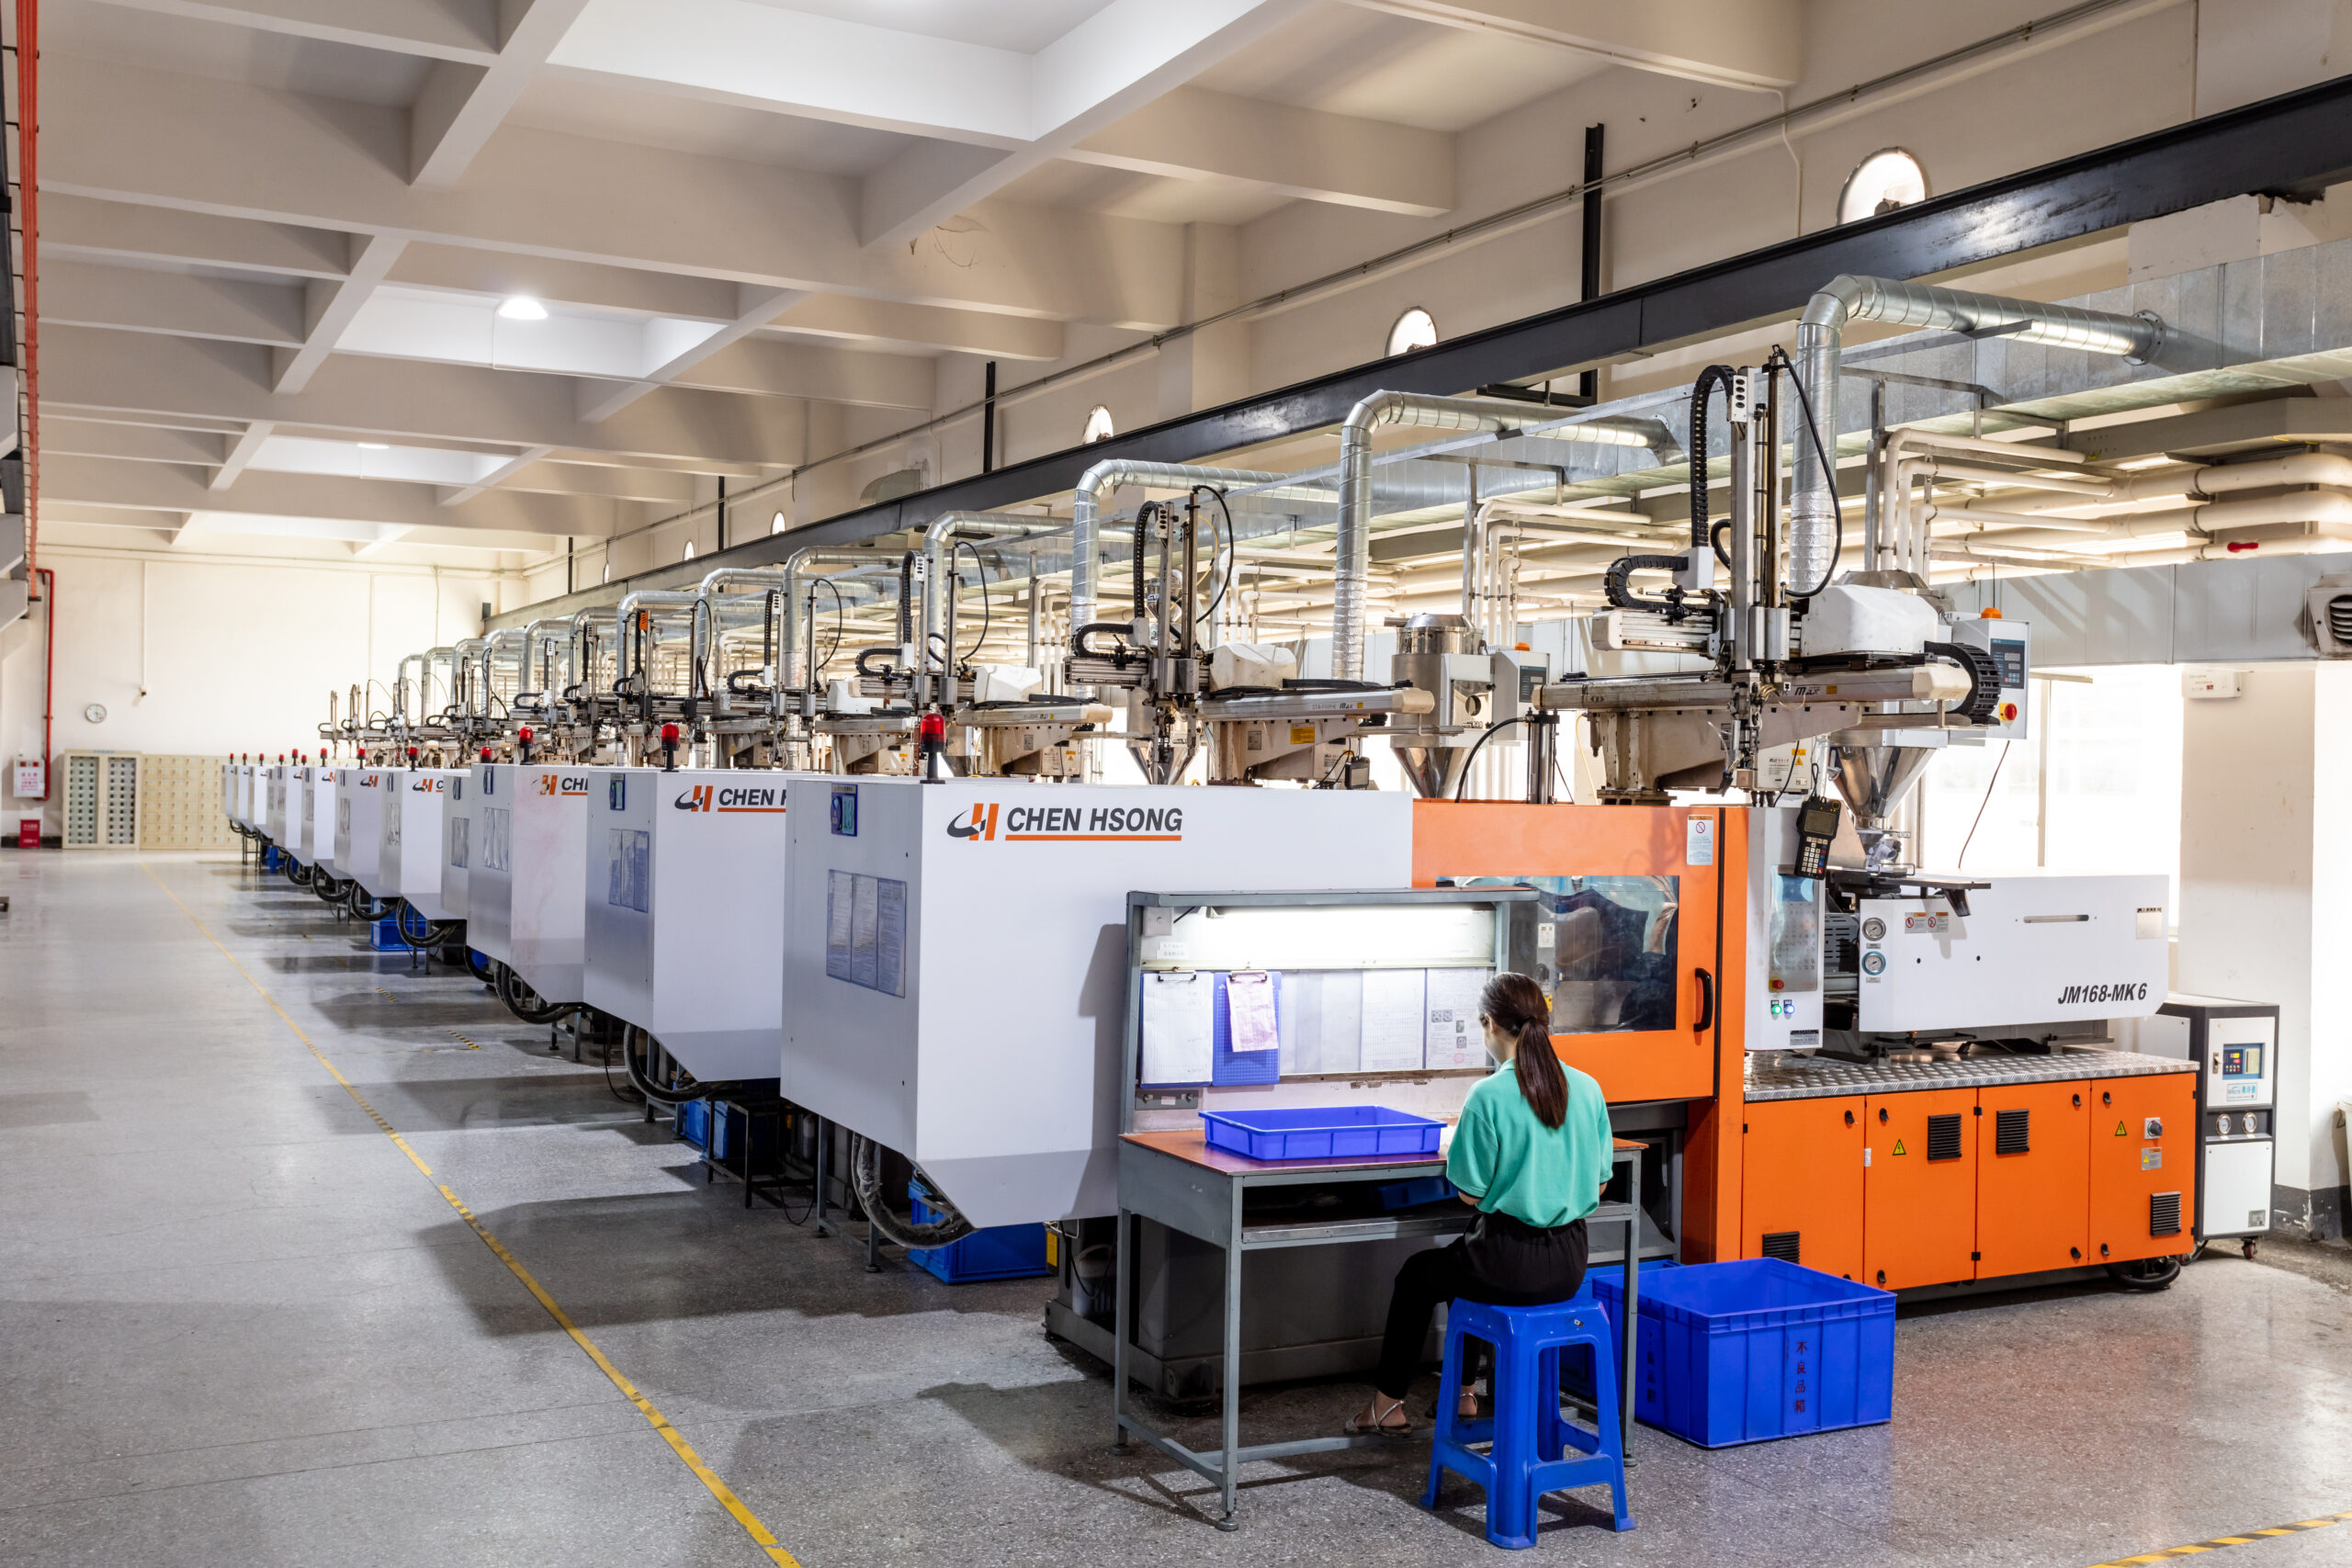
For lower-volume programs, transfer overmolding keeps tooling simple and runs on standard presses. GoodTech’s plastic injection molding operation runs over-molding, true 2-color molding, and insert molding on 45 machines rated from 60 to 1000 tons, covering parts from 0.2 g to 4500 g.
Overmolding vs Insert Molding vs Two-Shot Molding
These three terms are often confused, but they solve different problems and carry different tooling and bonding requirements.
| Criterion | Overmolding | Insert Molding | Two-Shot (2K) Molding |
|---|---|---|---|
| Starting component | First-shot molded plastic substrate | Pre-placed insert, usually metal | First-shot molded plastic substrate |
| Encapsulated material | TPE, TPU, or silicone | Rigid plastic around metal/ceramic/PCB | TPE, TPU, or silicone |
| Bond mechanism | Chemical weld + mechanical interlock | Mechanical lock (knurls, undercuts) | Chemical weld (hot substrate) + mechanical |
| Tooling | Two molds, or one 2K mold | One mold + purchased inserts | One complex rotary/shuttle mold + press |
| Best for | Soft grips, seals, dampening | Threaded bosses, terminals, encapsulation | High-volume soft-touch, two-color |
| Material constraint | Substrate and overmold must be compatible | Nearly any resin can encapsulate | Substrate and overmold must be compatible |
The decision is function-led. If the part needs metal inside plastic — a threaded boss, an electrical terminal, a shaft — insert molding is the default. If the added layer does real work (grip, seal, impact protection), overmolding is the right call. Two-shot molding becomes economical once annual volume is high enough to justify the complex tool and dedicated press; below that, transfer overmolding on standard equipment is usually cheaper per program even if slower per part.
Material Systems & Bonding (What Bonds, What Doesn’t)
Bond failure — delamination where the soft layer peels from the substrate — is the most common overmolding defect, and it almost always traces back to an unverified material pair. There are two ways the layers hold together:
- Chemical bonding: the two resins are thermodynamically compatible and fuse at the interface. This only happens with specific pairs.
- Mechanical interlocking: the overmold flows through holes, undercuts, or textured grooves in the substrate and locks physically. This is mandatory when chemistry alone is weak.
General compatibility guidance (verify against your TPE supplier’s bond chart):
| Substrate | TPE (styrenic) | TPU | LSR (silicone) |
|---|---|---|---|
| PP | Excellent | Poor (use PP-based TPE) | Excellent |
| ABS / PC / PC-ABS | Excellent | Excellent | Requires primer |
| PA (Nylon) | Good (special grades) | Good | No bond |
| POM (Acetal) | Poor — mechanical lock only | Poor — mechanical lock only | Poor |
Styrenic TPEs bond well to polyolefins such as PP and PE. TPU pairs with polar engineering resins like ABS, PC, and PA. Liquid silicone rubber (LSR) needs self-bonding grades and a substrate that survives its heated cure, and is frequently chosen where medical- or food-grade softness is required — an area where GoodTech’s medical injection molding materials capability and ISO 13485 certification apply. Relying on chemical bonding alone is risky; always design mechanical interlocks where the bond is marginal.
Overmolding Design Guidelines (DFM)
Most overmolding failures are designed in long before the mold is cut. The following rules, drawn from standard DFM practice, prevent the majority of delamination, flash, and warpage problems.
- Wall thickness: keep the overmold layer in a consistent 1.5–3.0 mm range. Below about 1.0 mm the melt can freeze before filling; above 3.0 mm cooling time and sink marks rise sharply. Keep the substrate at least roughly twice as thick as the overmold to limit warpage.
- Draft angles: apply a minimum of 1–3° on the substrate and 3–5° on overmolded surfaces; increase to 5–7° on textured grip areas so the soft layer does not tear on ejection.
- Bond area and shut-off: design a positive shut-off (a small groove or interference edge) where the overmold stops, never a feathered zero-thickness edge that peels. Add through-holes, slots, or undercuts in the substrate for mechanical capture.
- Surface preparation: a lightly textured substrate (Ra roughly 1.6–6.3 μm) gives the overmold micro-mechanical anchoring. Highly polished surfaces bond poorly. Keep substrates clean — release agents and oils ruin adhesion.
- Gate location: gate the overmold at the thickest section and direct flow along the longest bond dimension; keep the flow-length-to-thickness ratio within the resin’s published limit to avoid weld lines at bond-critical zones.
- Substrate temperature: in transfer overmolding, pre-heating the substrate (commonly cited around 60–80°C) improves bond strength versus a room-temperature part.
A DFM review before tooling catches insufficient draft, thin overmold sections, and weak shut-offs while they are still cheap to fix. GoodTech’s plastic mold fabrication team performs tooling design and mold-flow analysis as part of program startup.
Common Applications by Industry
| Industry | Typical overmolded parts | Why overmolding is used |
|---|---|---|
| Consumer electronics | Remote controls, cable strain reliefs, wearable bands | Soft-touch grip, waterproofing, aesthetics |
| Power tools & industrial | Bi-material handles (PP body + TPE grip) | Ergonomics, vibration damping, impact protection |
| Medical devices | Syringe grips, probe handles, sealed housings | Comfort, chemical resistance, ISO 13485 traceability |
| Automotive | Door handles, trim, sealed gaskets | Feel, sealing without separate gaskets |
| Food & beverage | Appliance handles, dispensing parts | FDA/NSF-grade soft layers |
For programs that start with a prototype before committing to production tooling, rapid prototyping lets you validate the bond and geometry on early samples.
What to Prepare Before Requesting a Quote
A precise quote depends on information the buyer controls. Gather these before contacting a molder:
- 3D models (STEP/IGES) of both the substrate and the intended overmold, including bond areas.
- Target materials for each layer, or the performance requirement (hardness, chemical resistance, food/medical grade) if the resin is open.
- Estimated annual volume and target part weight (GoodTech handles 0.2–4500 g parts).
- Critical dimensions and tolerances, especially on bond interfaces.
- Regulatory needs (RoHS, FDA/NSF, UL, IATF 16949, ISO 13485) so material and process validation are scoped correctly.
- Surface finish and texture specifications for grip zones.
GoodTech’s custom plastic injection molding team can run a DFM review and confirm material compatibility before any steel is cut — the point where a wrong assumption still costs nothing.
FAQ
Is overmolding the same as two-shot molding?
No. Two-shot (2K) molding is one automated way to perform overmolding inside a single machine and tool. Overmolding also runs as transfer (pick-and-place) molding using two separate molds on standard presses.
Can you overmold liquid silicone rubber (LSR)?
Yes, but LSR needs self-bonding grades and a substrate able to survive its heated cure. It is commonly chosen for medical and food-contact soft layers. Verify the specific bond pair with the molder.
What is the minimum overmold wall thickness?
Most design guides place the practical floor near 1.0–1.5 mm; below that the melt may not fill or bond reliably. The commonly recommended working range is 1.5–3.0 mm, varying with material and part size.
Why do overmolded parts peel or delaminate?
Peeling means the layers never bonded. Causes include chemically incompatible materials, a cold or contaminated substrate, or missing mechanical interlocks. Always confirm the bond mechanism and qualify it with a peel test on prototype parts.
Does overmolding require special machines?
Transfer overmolding runs on standard injection presses with a second mold. Two-shot molding requires a dedicated rotary or shuttle machine with two injection units. The choice follows your volume and tooling budget.
Conclusion
Overmolding earns its place when the second material does real work — grip, seal, dampening, or insulation — and when the substrate and overmold are chemically or mechanically compatible. Start with the substrate design, confirm the material pair against a bond chart, hold overmold wall thickness in the 1.5–3.0 mm range with adequate draft and shut-offs, and validate the bond on prototype parts before production tooling. For high-volume programs, two-shot molding pays back its higher tooling; for lower volumes, transfer overmolding on standard presses is the lower-risk entry.
Ready to validate your overmolded part? Send your 3D models and material requirements to request a free DFM review and a production quote: Contact GoodTech.