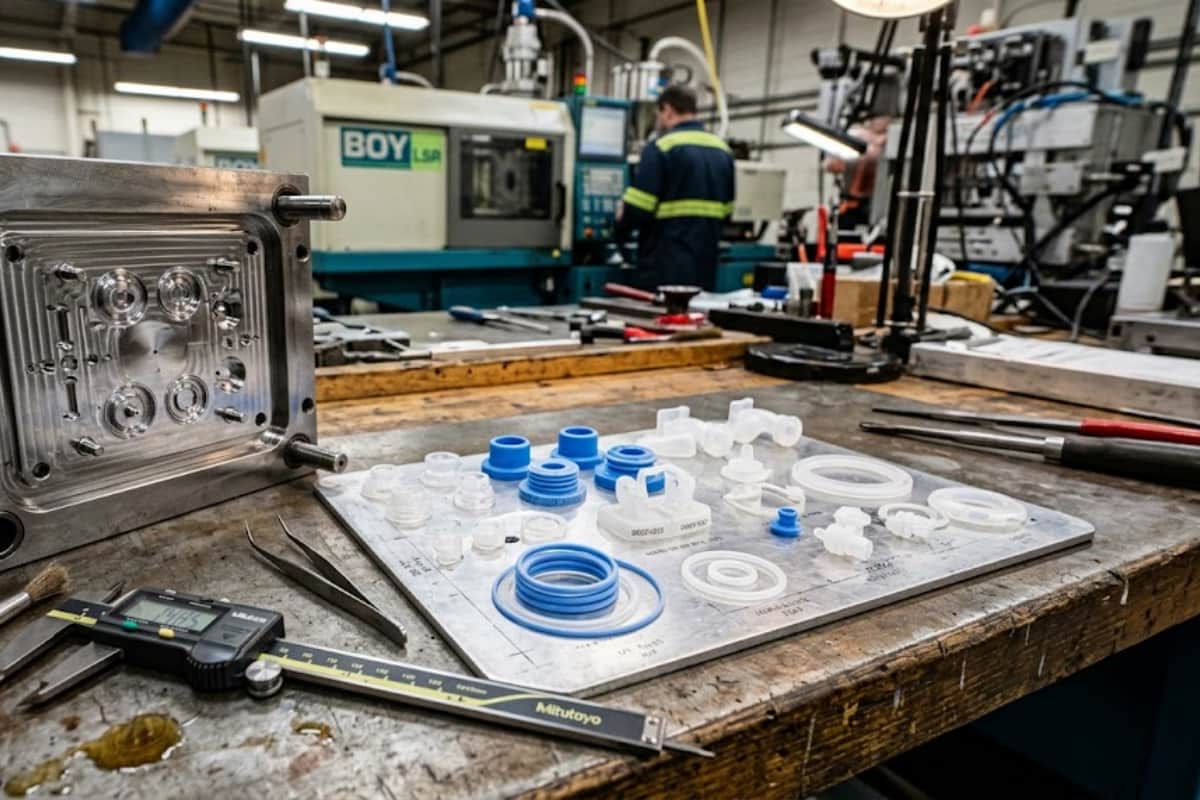

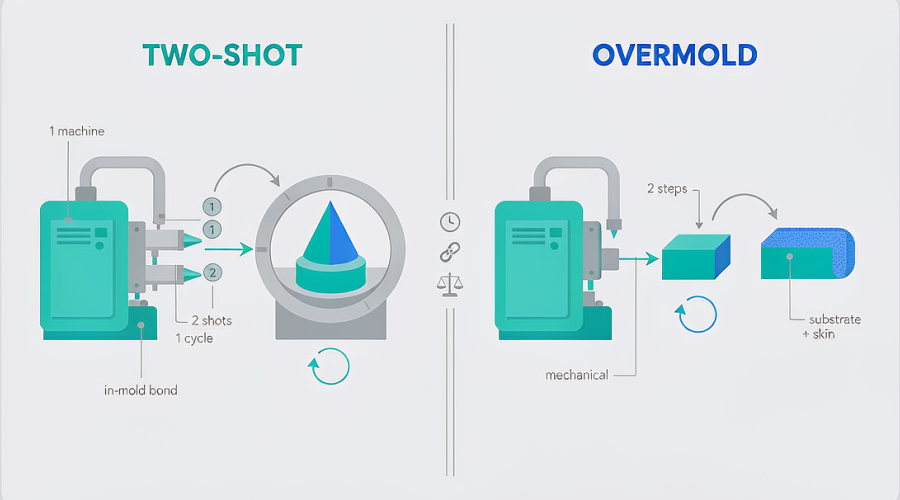
Choose two-shot molding when annual volume is high and stable enough to amortise one complex multi-shot tool, the two materials bond chemically, and the bond line has to hold a tight cosmetic or sealing requirement. Choose overmolding when the substrate is metal, the material pair will not bond chemically, the design is still changing, or the volume is too low to recover the tooling premium.
Three variables decide almost every case: how the tooling cost is amortised, what cycle time does to your unit cost, and whether your two materials actually bond to each other. This guide works through each one, then gives you a break-even calculation, a material compatibility map, and the questions to put to a supplier before you commit to either plastic injection molding route.
Choosing between 2K and transfer overmolding is a volume question sitting on top of a materials question. The broader overmolding guide covers both layers; this page goes deeper on the crossover math.
The short answer: which process wins, and when
Both processes produce a finished part from two materials. The difference is whether that happens inside one machine cycle or across two.
That single structural difference is why two-shot molding vs overmolding is usually a costing question rather than a capability question. Most parts can be produced either way; the right answer depends on what each route costs at your volume, and on whether your two materials will actually bond.
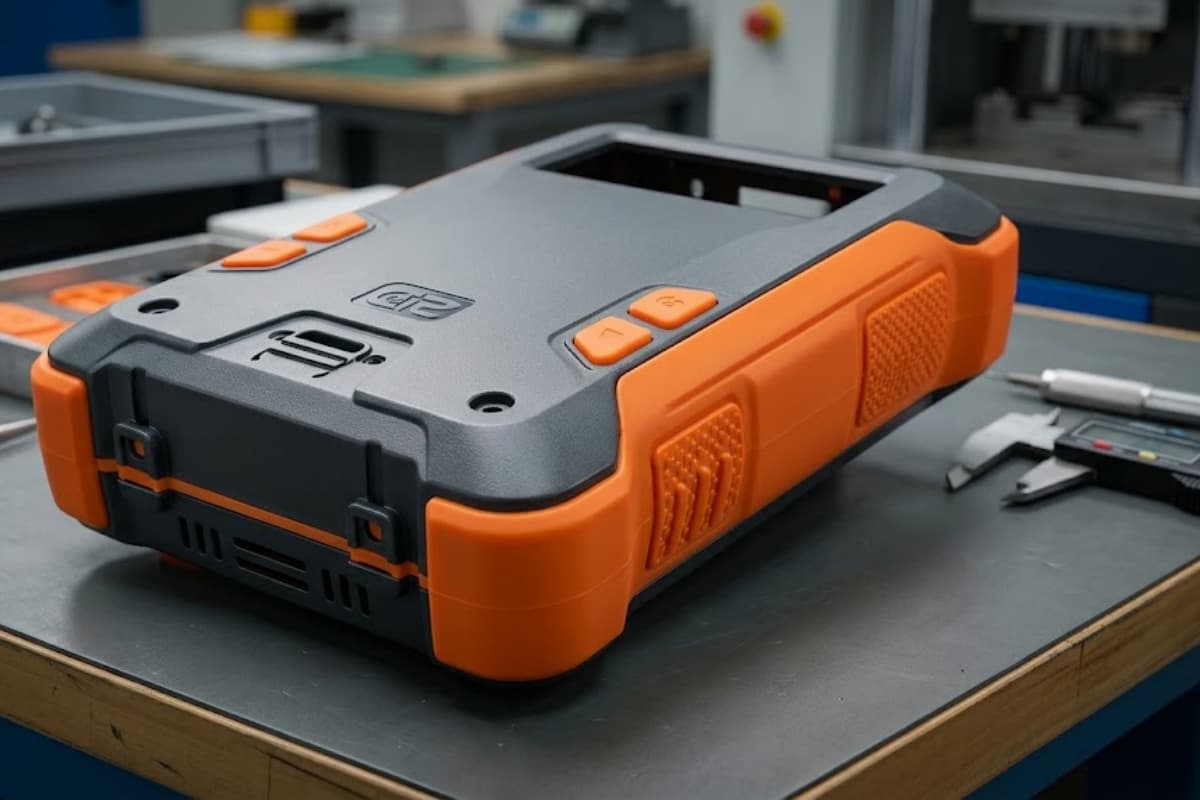
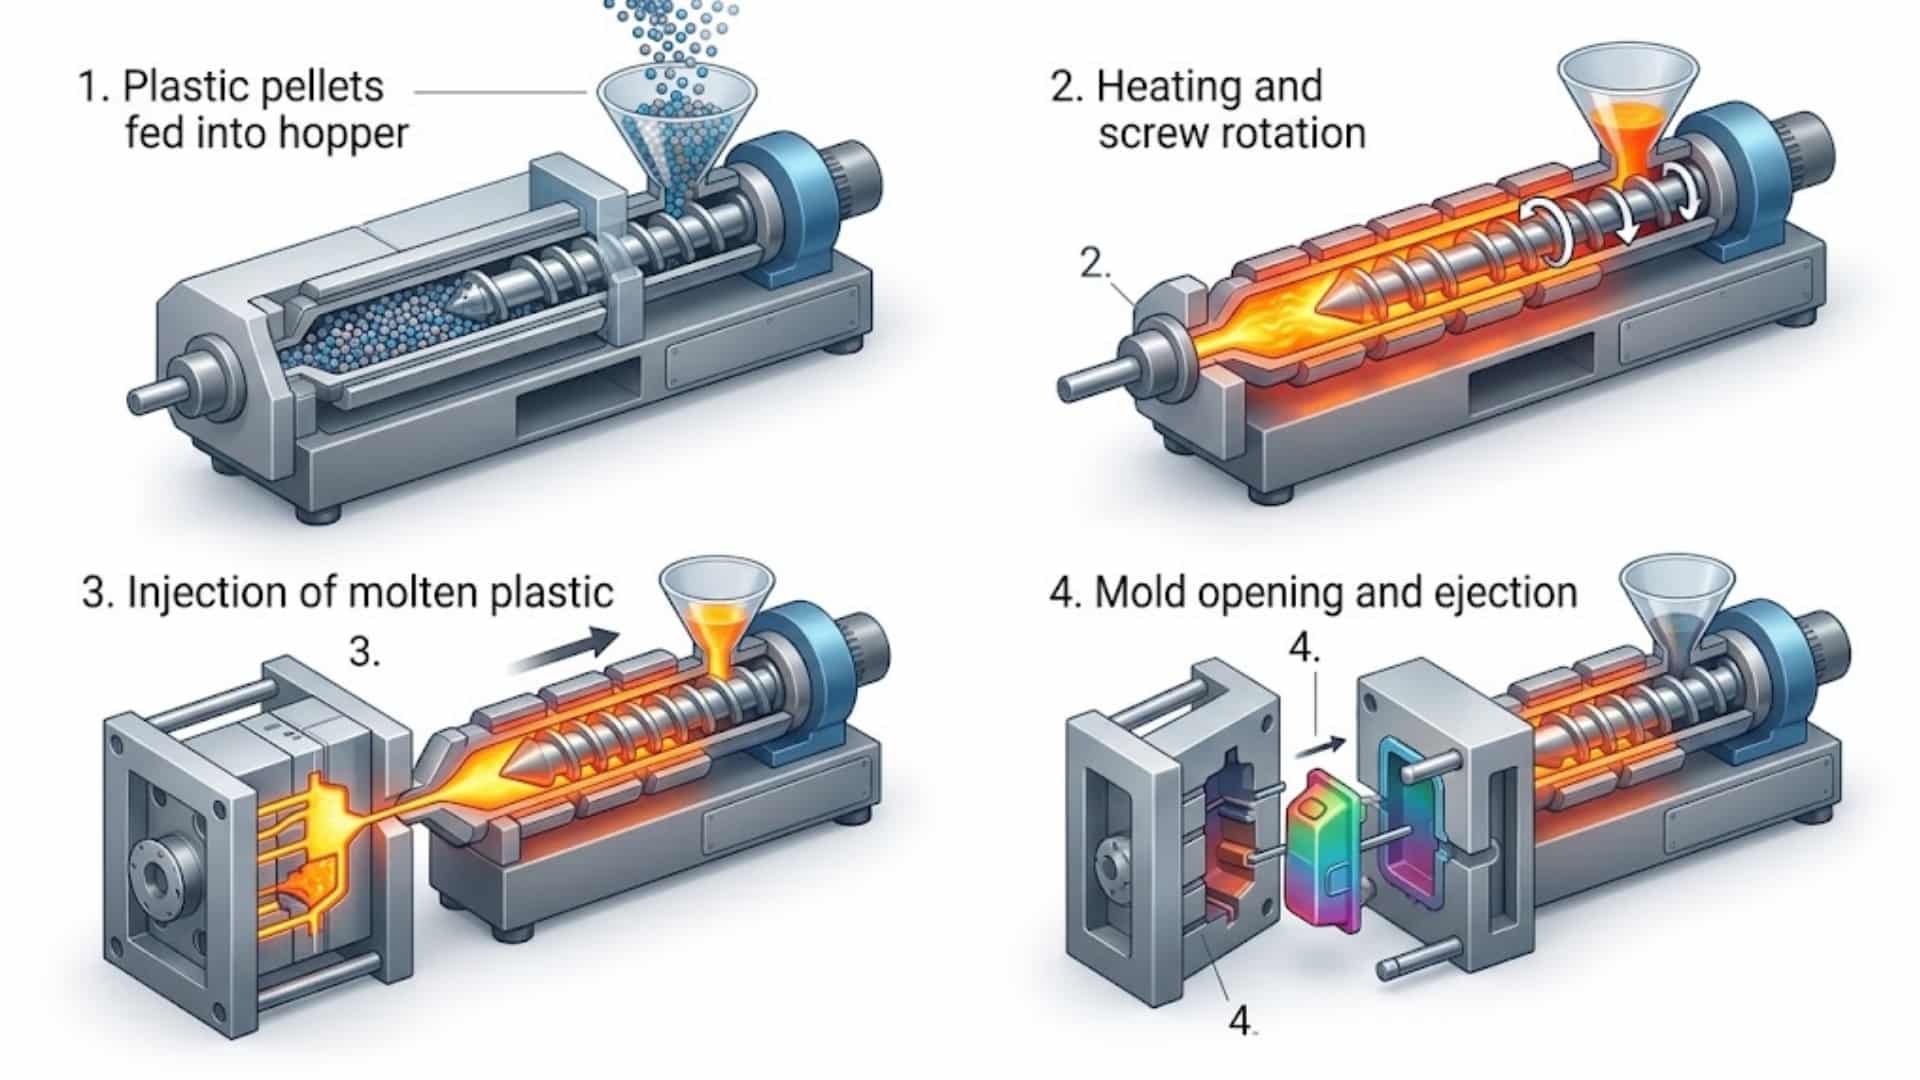
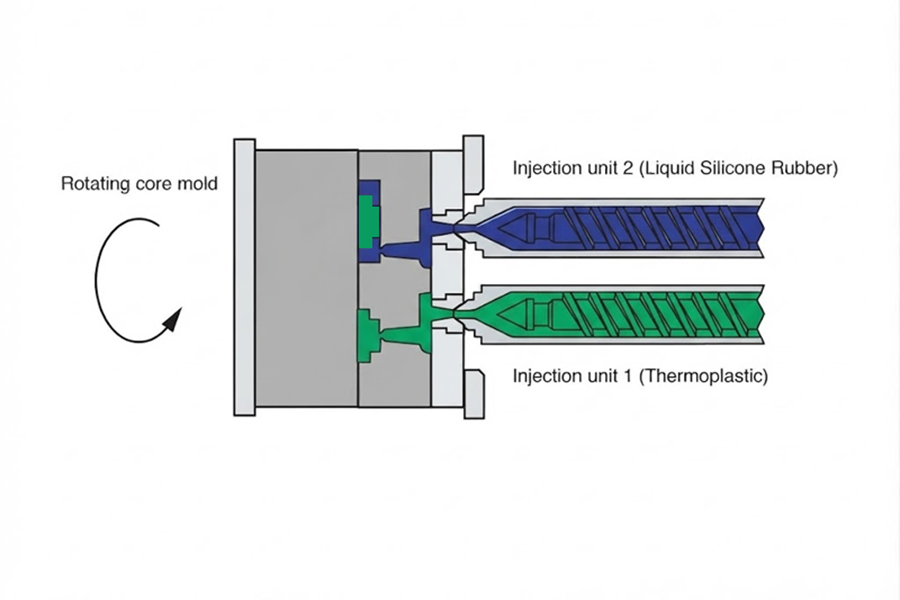
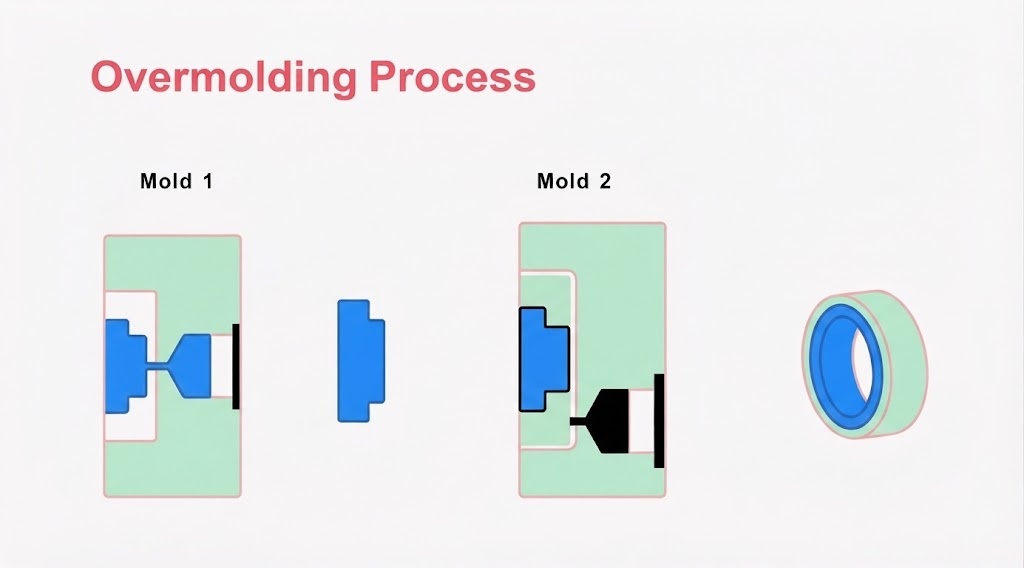
In two-shot molding (also called 2K, two-colour, dual-shot or multi-shot molding), the substrate is injected, the mould rotates or a core retracts, and the second material is injected while the substrate is still hot — all within a single clamp cycle on one dedicated machine. In overmolding, the substrate is moulded, cooled, ejected, and then transferred by hand or robot into a second mould where the second material is shot over it.
That single structural difference drives every downstream consequence.
| Decision factor | Two-shot molding | Overmolding |
|---|---|---|
| Tooling | One complex multi-shot mould (rotary platen or core-back) | Two simpler single-shot moulds |
| Equipment | Dedicated multi-barrel machine | Standard machines |
| Cycle | Both shots in one clamp cycle | Two cycles plus transfer and repositioning |
| Substrate state at second shot | Still hot | Cooled to ambient |
| Primary bond mechanism | Chemical (melt fusion at the interface) | Chemical where compatible, otherwise mechanical interlock |
| Material pairing freedom | Chemically compatible pairs only | More forgiving; metal substrates possible |
| Bond line / colour boundary | Set by the mould | Depends on how repeatably the substrate is placed |
| Responding to design changes | Expensive — both cavities are affected | Cheaper — one mould can be revised independently |
| Lowest total cost when | Higher, stable annual volume | Lower volume, or an evolving design |
Two-shot molding is not a premium version of overmolding. It is a different cost curve with a different set of constraints, and it is the wrong answer often enough that the choice deserves a calculation rather than a rule of thumb.
Where the cost actually diverges
Comparing tooling quotations alone is the most common way to get this decision wrong, because the tooling line is the one place where overmolding usually looks cheaper and the one place that matters least at volume.
Tooling investment
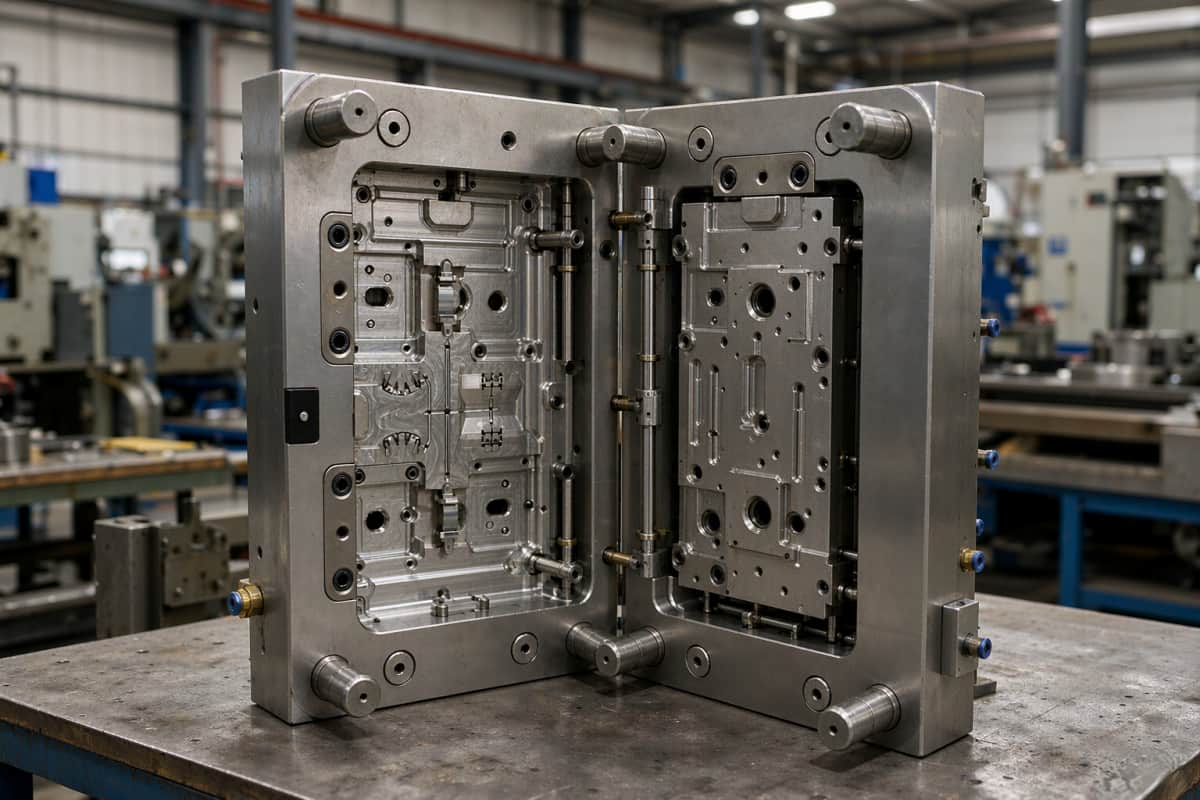
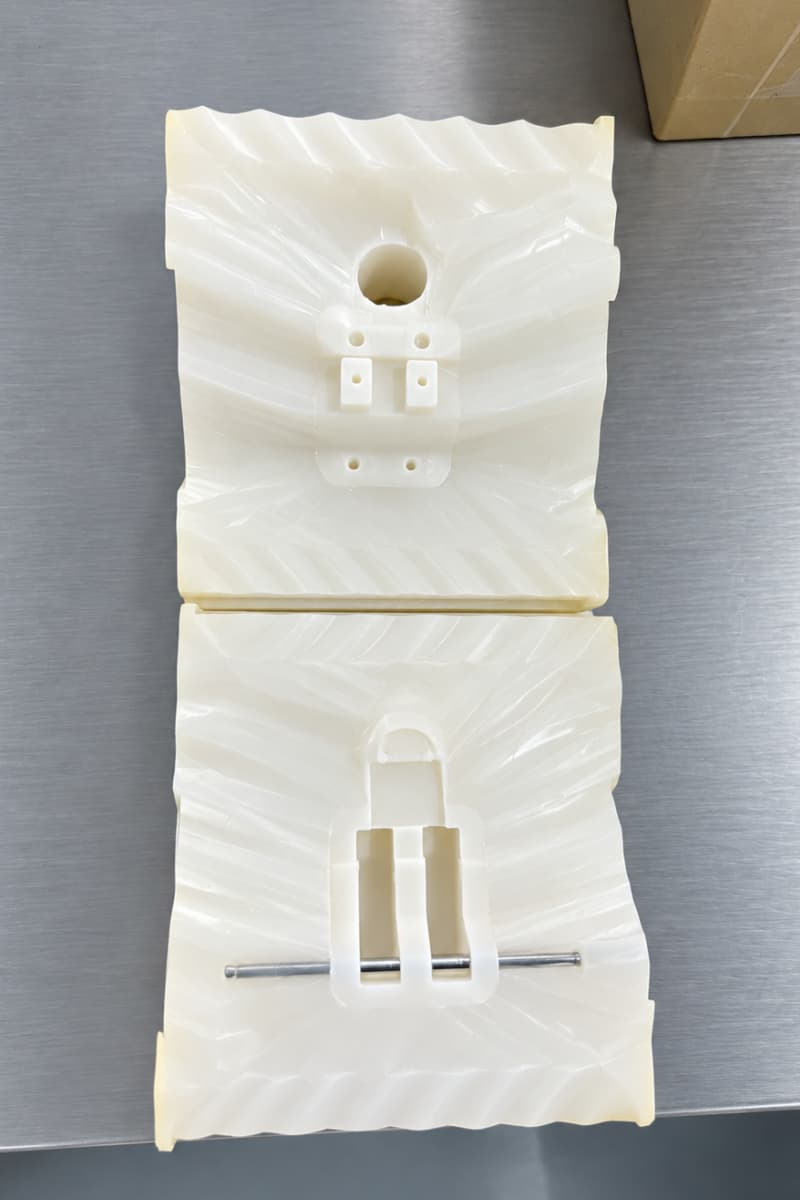
A two-shot mould has to do two jobs in one tool set: hold the substrate in perfect registration while the mould reconfigures, and seal against it for the second shot. That means a rotary mechanism or a core-back system, two independent runner systems, and shut-off surfaces machined to match across both cavities. The result is a tool that costs substantially more and takes longer to build than two separate single-shot moulds doing the same part.
Overmolding splits the work across two conventional moulds. Each is simpler, faster to machine, and cheaper to modify. If the design changes after T1, you revise one mould instead of reworking a matched pair.
Cycle time, machine-hour rate and labour
Two-shot molding removes an entire handling step. There is no ejection between shots, no intermediate storage, no second clamp cycle, and no operator or robot moving parts between stations. The part leaves the machine finished.
Overmolding pays for a second full cycle plus the transfer. Even with robotic handling, that adds elapsed time per part, and it adds a labour or automation cost that scales with volume rather than being absorbed once.
The trade-off is the machine-hour rate. A dedicated multi-shot press is a more expensive asset to run than a standard machine, so two-shot molding starts each part from a higher fixed cost and then wins it back through cycle time. Whether that trade is worth making depends entirely on how many parts you are spreading it over.
Handling, scrap and the costs that never appear on a quotation
This is where the two processes diverge most, and where most comparisons stay silent.
Every time a cooled substrate is picked up and placed into a second mould, you introduce a small positioning variation. Most of the time it is harmless. When the bond line is cosmetic or when the overmould has to seal, it shows up as flash, uneven wall thickness in the soft layer, or a visible wander in the colour boundary. Those parts get scrapped or reworked, and the cost lands in the production budget rather than in the tooling line that everyone scrutinised.
Two-shot molding also introduces its own failure modes — a mismatched shut-off produces the defect on every part rather than intermittently, and correcting it means reworking a far more expensive tool. The difference is that the failure appears at T1 and during process qualification, when it is still cheap to fix, instead of drifting through a production run.
For a fuller picture of how these line items behave at different volumes, see the injection molding cost breakdown and the guide to reducing injection molding tooling cost.
How to calculate your break-even volume
The break-even point is the quantity at which the total cost of both routes is equal. Below it, overmolding is cheaper. Above it, two-shot molding is.
Break-even quantity = (two-shot tooling cost − overmolding tooling cost) ÷ (overmolding unit cost − two-shot unit cost)
You need four numbers, and all four have to come from the same supplier quoting the same part:
- Two-shot tooling cost — one multi-shot mould, quoted against your final 3D data.
- Overmolding tooling cost — two moulds, substrate and overmould, quoted together.
- Two-shot unit cost — material, machine time, and any secondary operations.
- Overmolding unit cost — both cycles, plus handling and the scrap allowance your supplier has built in.
Worked example, using assumed figures purely to show the mechanics — these are not quotations and will not match any real project:
- Two-shot tooling: 70,000 (currency units)
- Overmolding tooling: 20,000
- Two-shot unit cost: 2.10
- Overmolding unit cost: 4.80
Break-even = (70,000 − 20,000) ÷ (4.80 − 2.10) = 50,000 ÷ 2.70 ≈ 18,500 parts
Below roughly 18,500 parts, overmolding wins. Above it, two-shot molding wins, and the gap widens with every additional unit. Run the same calculation with your own quotations before deciding — the tooling delta and the unit cost delta both move a long way with part complexity and material pair.
The same logic applies when you are deciding whether to scale up production at all. If you have not settled that question yet, start with low volume vs high volume injection moulding, then come back to this comparison with a firm annual volume in hand.
One caution: a break-even quantity is only as good as your volume forecast. If the forecast is soft, the flexibility of two simpler moulds has real option value that the arithmetic does not capture.
Material compatibility: chemical bonding or mechanical interlocking
This is the constraint that can override the economics entirely. If your two materials will not bond, no volume justifies two-shot molding.
The mechanism is straightforward. In two-shot molding, the second material hits a substrate that is still hot. Polymer chains at the interface intermingle and you get a chemical bond, often stronger than the softer material itself — a destructive pull test tears through the TPE rather than separating at the interface. In overmolding, the substrate has cooled to ambient, so bonding depends on surface energy compatibility and, where that is insufficient, on mechanical interlocks moulded into the substrate.
The table below reflects widely reported bonding behaviour for common pairs. It is a starting point for discussion, not a specification: bonding performance is grade-specific, and the only reliable confirmation is a mould trial with your actual materials.
| Substrate | Overmould material | Expected bonding behaviour |
|---|---|---|
| PP (polypropylene) | TPE | Usually bonds chemically — one of the most reliable pairs |
| ABS | TPE or TPU | Usually bonds chemically |
| PC / PC-ABS | TPE or TPU | Usually bonds chemically, grade dependent |
| PC (clear) | PC (opaque or coloured) | Bonds — same polymer family, used for lenses and display windows |
| PA (nylon) | TPE | Difficult — typically requires mechanical interlocks or a modified grade |
| POM (acetal) | TPE | Poor chemical adhesion — mechanical interlocks required |
| PBT | TPE | Grade dependent — confirm with trial |
| Metal insert | TPE or TPU | Mechanical only — metals do not chemically bond to thermoplastics |
Where chemical bonding is not available, the substrate has to be designed for mechanical retention: through-holes, undercuts, grooves, or knurled and textured surfaces that the overmould flows into and locks against. That is the same principle used in insert moulding vs overmoulding, where metal components are held by geometry rather than adhesion.
Ask your supplier which pairs they have actually run in production. Bonding behaviour is experience-driven, and a supplier who has run your specific combination before will reach a stable process far faster than one encountering it for the first time. When selecting resins, the engineering plastics material selection guide covers the substrate side of that decision.
Tolerance, shut-off design and bond-line control
Where the two materials meet is called the shut-off, and how that edge is controlled is one of the clearest technical differences between the processes.
In two-shot molding, the substrate never leaves the tool. The boundary between materials is defined by steel — the shut-off surface machined into the mould — so every part gets the same boundary, subject to normal process variation.
In overmolding, the boundary depends on how accurately the cooled substrate seats in the second mould. Each placement introduces a small variation, and the accumulated effect appears as a wandering bond line or an inconsistent width of the exposed soft layer. For a grip panel that nobody measures, this is invisible. For a two-colour cosmetic part or a sealing surface, it is the difference between a passing and a failing part.
Two design rules follow from this:
- Never taper the overmould to zero thickness. A feather edge has nothing to seal against and will lift. Terminate the soft material in a shut-off groove or a step in the substrate, so the edge is captured rather than feathered.
- Define the acceptable boundary variation before tooling starts. If the bond line is cosmetic, specify where it may and may not wander, and confirm with your supplier that the chosen process can hold it.
The achievable tolerance depends on part geometry, material pair, and process control rather than on the process label alone. For a realistic view of what to specify, see injection molding tolerances you can actually specify, and for the broader geometry question, the parting line and shut-off guide.
How bond strength is verified before and during production
Bonding is not verified by looking at the part. It has to be tested, and the test method should be agreed before tooling is released.
Common approaches include:
- Peel or pull testing — a 180-degree peel test or a pull test that loads the interface until something fails. The failure mode matters more than the force: if the soft material tears while the interface holds, the bond is stronger than the material. If the interface separates cleanly, the bond is the weak point.
- Cross-sectional analysis — cutting and inspecting the interface to confirm fusion and check for voids or incomplete fill.
- Environmental and mechanical cycling — thermal cycling, drop testing, or exposure to the fluids the product will see in service, which is where marginal bonds tend to fail.
- Functional testing — leak testing for sealed parts, retention testing for mechanically interlocked features.
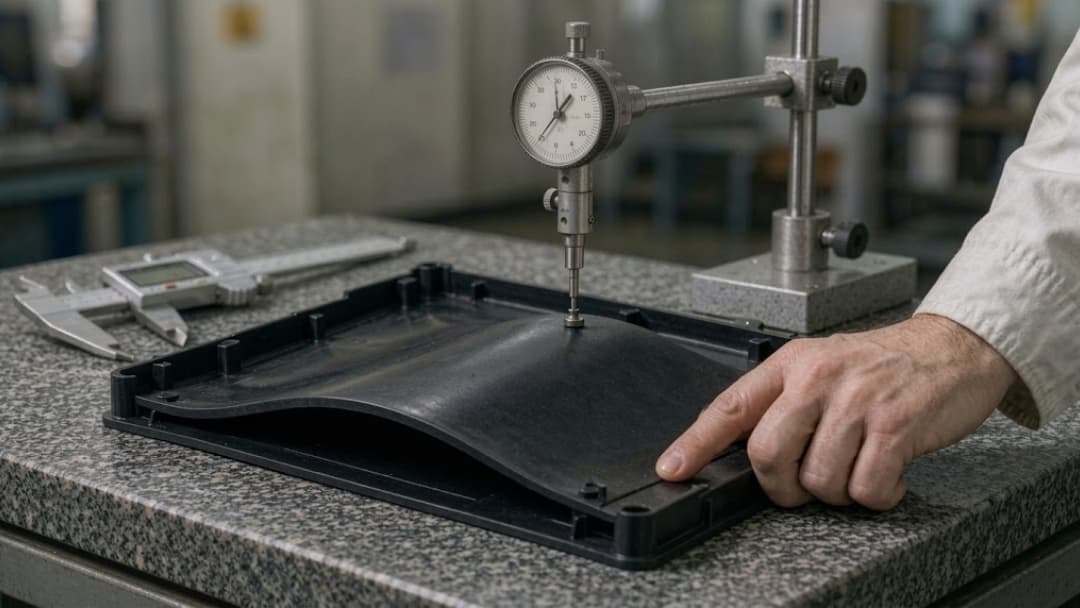
- Dimensional verification — CMM or optical inspection of the bond line and the overall part.
For regulated or safety-critical applications, bond validation is normally built into first article inspection and production part approval rather than run as a one-off. Production monitoring then relies on periodic sampling rather than 100% inspection, so the sampling frequency should be agreed up front.
The natural point to lock all of this down is the T1 sample evaluation, where first parts off the new tool are validated before the process is frozen.
Design rules that change with the process
The fundamentals of good design for manufacturability apply to both, but several rules shift depending on which process you are designing for.
Rules that matter more in overmolding
- Keep the overmould layer thinner than the substrate. A thick soft layer over a thin rigid core tends to warp as the two materials shrink at different rates.
- Design mechanical interlocks early, while the substrate geometry is still open to change.
- Give the substrate positive location features for the second mould, so placement repeatability does not depend on the operator or the robot.
Rules that matter more in two-shot molding
- Balance wall thickness across both shots. Shrinkage mismatch between the two materials is a common source of warpage and can also open the shut-off.
- Think about gate location for both materials independently. The second shot’s gate must not wash out or displace the first.
- Leave room for the mould mechanism. Rotary and core-back systems constrain where cavities and cooling can go.
Rules that apply to both
- Maintain uniform wall thickness to avoid sink marks and residual stress — see the guide on wall thickness for injection molded parts.
- Specify adequate draft on both materials; a soft overmould drags more than a rigid substrate.
- Review the defect modes specific to multi-material parts, covered in the injection molding defects prevention guide.
Equipment availability and supplier capability risk
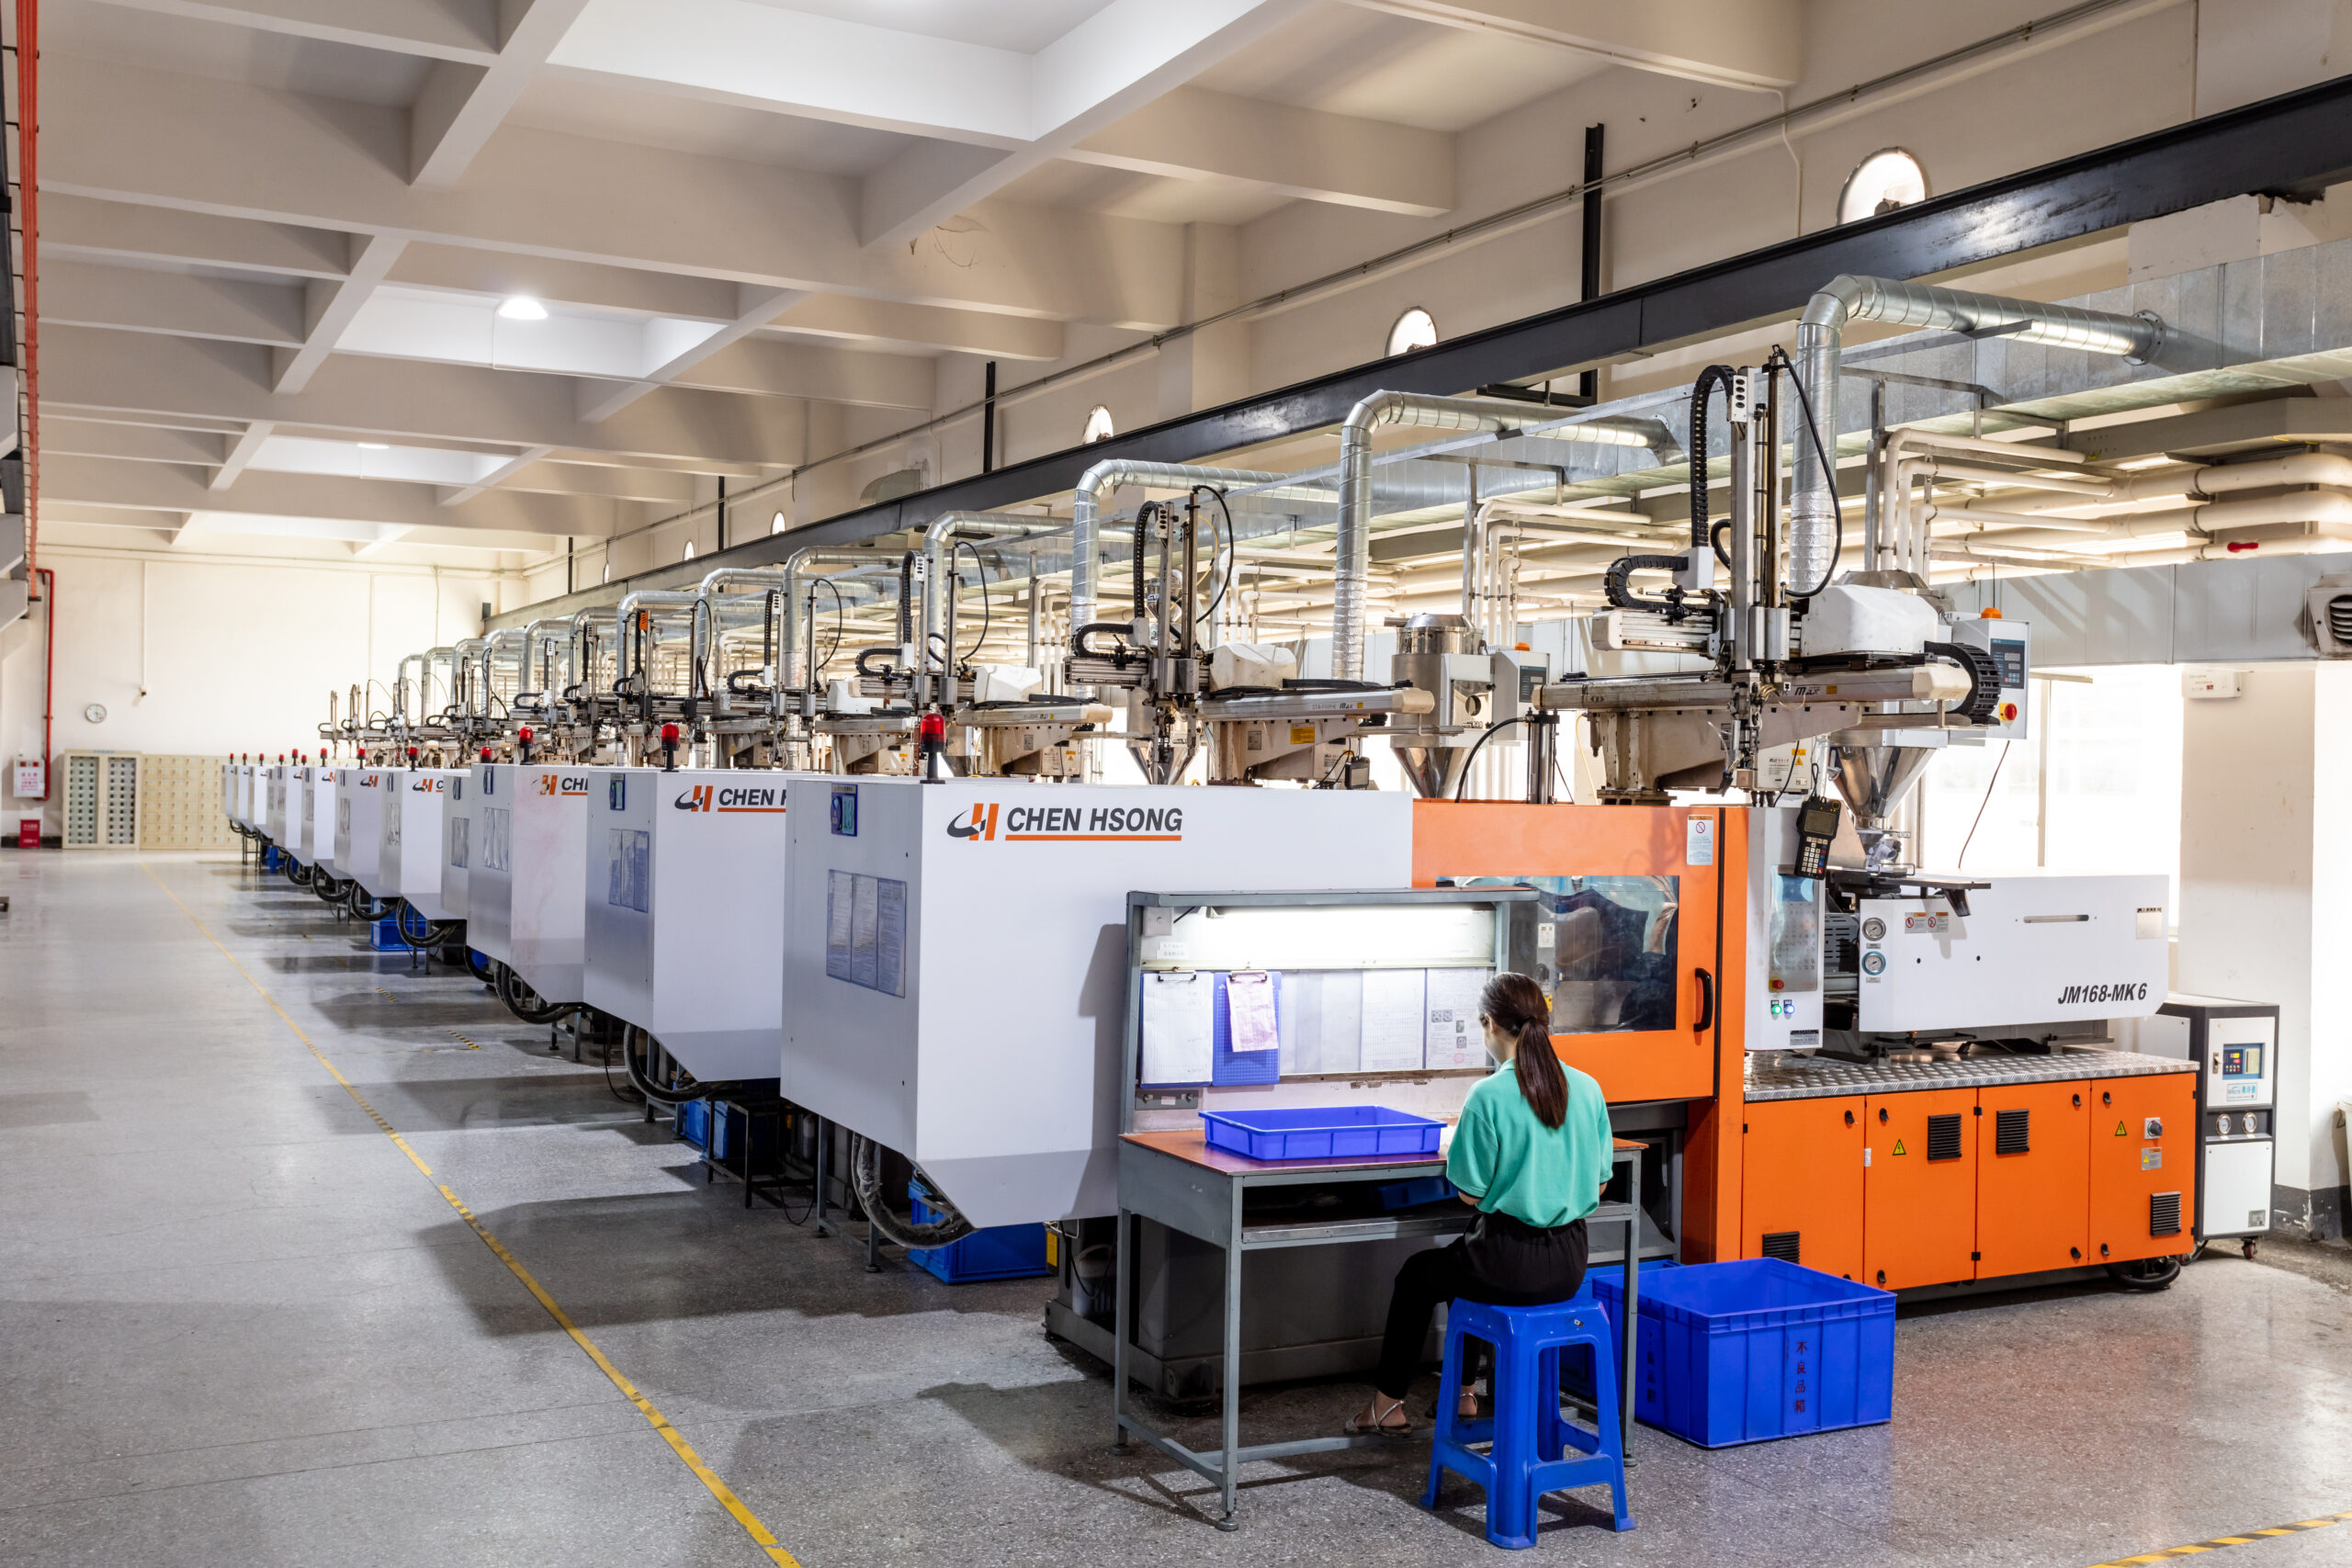
Two-shot molding has a supply chain constraint that overmolding does not: it requires a dedicated multi-barrel press, and not every moulder has one, or has one in the tonnage your part needs.
That matters for two reasons. Lead times lengthen when a supplier has to schedule around a limited asset. And switching suppliers later is harder, because your multi-shot mould is tied to a specific machine interface.
Before committing, ask:
- How many multi-shot machines do you operate, and in what tonnage range?
- Which material pairs have you run in production, and can you show test data?
- Is the multi-shot mould designed and maintained in-house, or subcontracted?
- What happens to my programme if the multi-shot press goes down?
The supplier audit checklist covers the broader evaluation. For the tooling side, confirm that plastic mould fabrication is handled in-house, because multi-shot tools need adjustment during commissioning and that goes faster when the mould maker is in the same building.
Decision framework: five questions before you request a quote
Work through these in order. Any one of them can settle the question without further analysis.
- Is the substrate plastic or metal? Metal rules out two-shot molding and points to overmolding or insert moulding.
- Do the two materials bond chemically? Check the compatibility table, then confirm with your resin supplier. If they do not, you need mechanical interlocks, and overmolding usually handles that more flexibly.
- What is your annual volume, and how confident are you in it? Run the break-even calculation. If you are below it, overmolding. If you are comfortably above it and the forecast is firm, two-shot.
- What does the bond line have to do? A structural or sealing requirement, or a tight cosmetic boundary, favours two-shot — the mould controls the interface rather than part placement.
- How likely is the design to change? If it is still moving, two simpler moulds give you room to revise at a fraction of the cost.
Moving from overmolding to two-shot as volume grows
A staged approach is common and often the right call: launch with overmolding to validate the market and settle the design, then migrate to two-shot molding once volume justifies the tooling and the geometry is frozen.
To keep that path open, design the substrate from the start as if it might eventually run two-shot — chemically compatible materials, wall thickness balanced across both shots, and interlock features that do not conflict with a rotary tool. Retrofitting a part designed purely for pick-and-place overmolding can force a redesign that the staged approach was supposed to avoid.
If you are still at the rapid prototyping stage, raise the intended production process with your supplier now. It changes decisions that are expensive to revisit later.
Key takeaways
- Two-shot molding runs both materials in one clamp cycle on a dedicated machine; overmolding runs two cycles with a transfer between them.
- The substrate is still hot in two-shot molding and cold in overmolding. That single difference drives bond strength, material compatibility, and the achievable bond-line control.
- Compare total cost, not tooling cost. Two-shot tooling is substantially higher; the unit cost is lower; the break-even quantity is where they cross.
- Break-even quantity = (two-shot tooling − overmolding tooling) ÷ (overmolding unit cost − two-shot unit cost). Get all four numbers from one supplier quoting the same part.
- Material compatibility can override economics. PP with TPE, ABS with TPE or TPU, and PC with TPU generally bond; nylon, POM and PBT with TPE usually need mechanical interlocks.
- A metal substrate rules out two-shot molding. Use overmolding or insert moulding with mechanical retention features.
- Never design the overmould to a feather edge. Terminate it in a shut-off groove or a step.
- Verify bond strength by test, not by inspection, and read the failure mode — cohesive failure in the soft material means the bond is not the weak point.
Frequently asked questions
Is two-shot molding stronger than overmolding?
In most plastic-to-plastic applications, yes. The second material is injected while the substrate is still hot, so the interface fuses chemically rather than relying on adhesion to a cold surface. In destructive testing the soft material often tears before the bond fails. Overmolding can reach comparable strength when the materials are compatible and the part includes well-designed mechanical interlocks.
What is the difference between 2K molding and two-shot molding?
They are the same process. 2K, two-shot, two-colour, dual-shot and multi-shot all describe injecting two materials in a single machine cycle. Two-colour is sometimes used specifically for two colours of the same polymer; 2K and two-shot usually imply two different materials.
How much does two-shot tooling cost compared with overmolding tooling?
A multi-shot mould costs substantially more than two single-shot moulds for the same part, because of the rotary or core-back mechanism, the second injection system, and the matched shut-off surfaces. The multiple varies widely with part complexity, so the only meaningful comparison is a quotation for your own geometry.
Can two-shot molding use two completely different materials?
Yes, if they bond chemically. Where they do not, the part needs mechanical interlocks — undercuts, through-holes, or textured surfaces — and at that point overmolding is usually the more practical route.
Can you overmold onto metal?
Yes, and this is where overmolding has no real competitor. Metals do not chemically bond to thermoplastics, so the insert is held mechanically through holes, grooves, knurls or undercuts. Two-shot molding is not normally used with metal substrates.
What volume justifies two-shot molding?
There is no universal threshold. Calculate it from your own quotations using the break-even formula above. The answer moves a long way with the tooling delta, the unit cost delta, and how confident you are in the volume forecast.
Can I start with overmolding and switch to two-shot later?
Yes, and it is a common path. Design the substrate for it from the beginning — compatible material pair, balanced wall thickness, interlock features that a rotary tool can accommodate — so the migration does not force a part redesign.
How do you test whether the bond is good enough?
Peel or pull testing to destruction, reading the failure mode rather than just the force. If the soft material tears, the bond is stronger than the material. Cross-sectional analysis, thermal cycling and functional testing such as leak testing are used depending on what the part has to survive.
Does two-shot molding always produce better parts?
No. It produces more consistent bond lines and better high-volume economics, but it costs more to tool, takes longer to develop, tolerates design changes badly, and depends on a material pair that actually bonds. For low volumes, metal substrates, or designs still in flux, overmolding is the better process.
Making the call on your part
The two-shot molding vs overmolding decision comes down to four inputs: your substrate and overmould materials, your annual volume, what the bond line has to do, and how settled the design is. Work through those in order and the answer is usually clear without a spreadsheet. Where it is not, the break-even calculation settles it.
Send your 3D CAD files, target annual volume, and intended material combination to the GoodTech engineering team for a process recommendation and design-for-manufacturability review. We run both processes and will tell you which one your part actually belongs on.